Toilet Supply Line Leaking: Find the Leak and Fix It
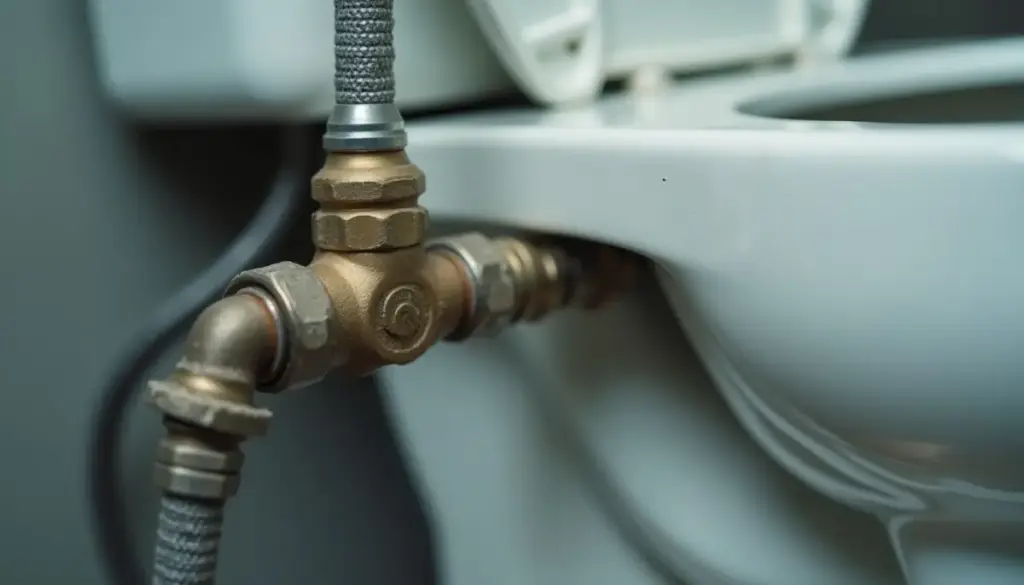
A toilet supply line leaking almost always fails at one of four spots: the valve stem, the nut on the valve, the plastic nut at the tank, or the hose itself.
Key Takeaways
- Standard toilet lines connect 3/8 inch compression at the valve to a 7/8 inch ballcock thread at the tank, per Fluidmaster’s Click Seal spec sheet.
- Plastic coupling nuts are hand tight only. Metal valve nuts get 1/4 turn past hand tight (BrassCraft) or 1/2 turn (Fluidmaster).
- Fluidmaster rates its Click Seal line at 15 to 20 inch-pounds of torque and up to 1,500 PSI burst strength.
- An IBHS study summarized by the Connecticut Insurance Department put toilet water damage at $2,000 to $10,000 per incident.
- That same study tied 78% of toilet incidents to supply lines, flanges, fill valves or overflows.
- IBHS tells homeowners to replace dishwasher supply hoses every 5 years, and BrassCraft’s stop sheet says do not reuse and inspect annually.
- A DIY swap costs about $12; HomeAdvisor puts pro toilet leak repairs at $100 to $600.
Where exactly is your toilet supply line leaking?
Your toilet supply line is leaking from one of four places: the valve stem behind the handle, the compression nut where the line meets the valve, the coupling nut under the tank, or a split in the hose. Dry every surface, wrap each joint in a strip of dry toilet tissue, and wait. The first tissue to darken is your leak, and it decides the fix. Once you’ve pinpointed the leak, the same tissue-test logic works on a toilet shut off valve leaking at the stem or nut shut off valve leaks, and on tracking down water under kitchen sink cabinets.
Repeat the test right after a flush, since some leaks only show while the fill valve runs. A drip that appears only when you turn the handle is the valve stem packing, not the line.
Rule out impostors first. Tank condensation can drip off the coupling nut and fake a supply leak. Put food coloring in the tank, wait without flushing, and check the tissue at the nut. Colored water is coming from the tank through the shank washer or tank bolts, and the fix is in our guide to fixing a leaking toilet tank. Clear water at that nut is the supply connection itself.
| Leak spot | Likely cause | Fix |
|---|---|---|
| Valve stem, behind the handle | Loose or worn packing on a multi-turn stop | Snug the packing nut slightly; replace the valve if it keeps dripping |
| Compression nut on the valve outlet | Loose nut, flattened washer, or an old ferrule on a rigid riser | Tighten just enough to stop it (Fluidmaster); a metal nut gets 1/4 turn past hand tight (BrassCraft) |
| Coupling nut at the tank shank | Missing or hardened cone washer, cross-threaded or cracked plastic nut | Back off, realign, rethread by hand; replace the line if cracked |
| Inside the tank, showing at the shank | Fill valve shank washer or lock nut leaking | Reseat the fill valve; hand tighten the lock nut only or the tank may crack (Fluidmaster) |
| Braided hose body | Frayed braid, rust spots, bulge or kink | Replace the whole line; never tape or clamp a hose |
What sizes and threads does a toilet supply line use?
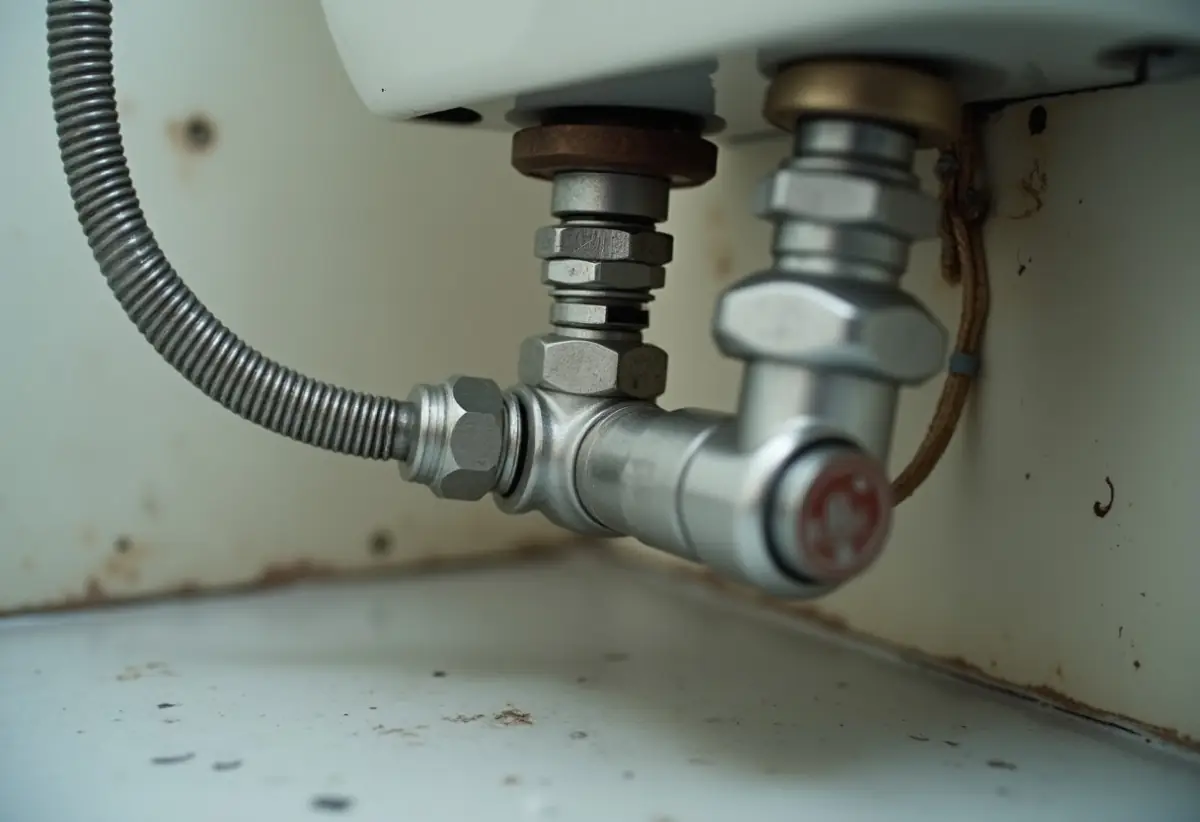
A standard toilet supply line has a 3/8 inch compression nut on the valve end and a 7/8 inch ballcock nut on the tank end. That is the connection Fluidmaster lists for every model in its Click Seal line, including the B1T09CS (9 inch), B1T12CS (12 inch), B1T16CS (16 inch) and B1T20CS (20 inch). Measure from the valve outlet to the fill valve shank and buy the next length up.
Older houses may not have a 3/8 inch outlet. Fluidmaster’s universal models, such as the B4T12UCS, fit 3/8, 7/16 and 1/2 inch compression plus 1/2 inch iron pipe (FIP) outlets.
Fluidmaster lists the Click Seal line as braided stainless over a PVC core, certified to NSF/ANSI 61, with a 5-year limited warranty.
How tight should the nuts on a toilet supply line be?
Hand tight is the rule for plastic nuts, and a small wrench turn past hand tight is the rule for metal nuts. BrassCraft’s stop instructions say to thread the wing nut onto the toilet ballcock and hand tighten only, while metal nuts get hand tight plus 1/4 turn. Fluidmaster’s Click Seal instructions call for 1/2 turn past hand tight on the metal nut at the shutoff valve.
The makers differ by a quarter turn, so follow the sheet in your package. BrassCraft warns overtightening can crack the product over time. Fluidmaster rates Click Seal at 15 to 20 inch-pounds, and the plastic nut clicks there to tell you to stop.
Bars show the top of each range; BrassCraft specifies 1-1/2 to 2 turns for PEX.
How do you fix a toilet water supply line leaking at the nut?
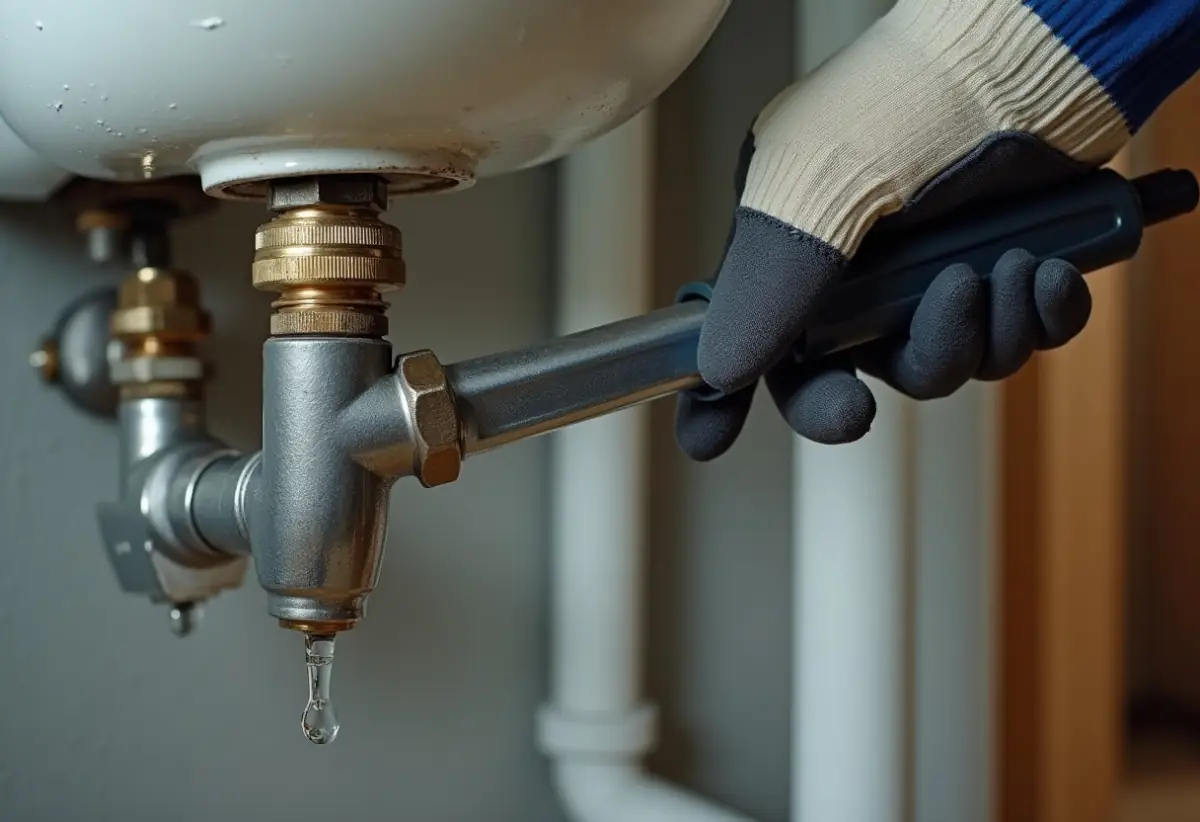
Fix a toilet water supply line leaking at the nut by matching the move to the nut. At the valve, snug the metal nut a little at a time until the drip stops. At the tank, back the plastic nut off completely, check the cone washer, and rethread it by hand. If a plastic nut is cracked or the threads are stripped, replace the line, since the nut is part of the hose.
- Metal nut at the valve. Hold the valve with one wrench and turn the nut with another. Fluidmaster says tighten just enough for a leak-free joint.
- Plastic nut at the tank. Turn it counterclockwise until the threads align, then clockwise by hand. Fluidmaster notes a Click Seal nut only clicks while tightening, so clicking during removal means you are turning the wrong way.
- Old rigid riser. A copper riser seals with a brass ferrule, which BrassCraft tightens 1 to 1-1/4 turns past hand tight. Our explainer on how compression fittings seal covers why a crushed ferrule rarely reseals.
- Valve stem drip. A drip at the handle means worn packing. If snugging the packing nut fails, or the valve will not shut off fully, replace the shut-off valve before you replace the line.
If water pools around the toilet but every tissue stays dry, suspect the wax ring, covered in our guide to a toilet leaking at the base.
How do you replace a toilet supply line, step by step?
Replacing a toilet supply line takes one new line, an adjustable wrench, a towel and a sponge. You shut the valve, drain the tank, unscrew both nuts, clean the threads, and install the new line with a hand-tight plastic nut and a quarter to half turn on the metal nut. These steps follow the Fluidmaster Click Seal and BrassCraft connector instructions. Since that same supply line connection point is where a T-valve attaches, see installing a bidet attachment before your next bathroom upgrade.
- Close the shutoff valve fully. BrassCraft says stops must be used fully open or fully closed.
- Flush and hold the handle to empty the tank, then sponge out the rest.
- Unscrew the plastic coupling nut at the tank by hand, counterclockwise.
- Hold the valve with one wrench and loosen the compression nut with another.
- Confirm the outlet size (3/8 inch compression on most toilets) and pick a 9, 12, 16 or 20 inch line that loops without kinking.
- Wipe both sets of threads clean, as Fluidmaster’s sheet directs. Use no tape or sealant, because BrassCraft says its connectors include washers and sealant is not to be used.
- Thread the metal nut onto the valve by hand, then add 1/4 turn (BrassCraft) or 1/2 turn (Fluidmaster) with the wrench.
- Thread the plastic nut onto the 7/8 inch fill valve shank by hand until it stops, or until it clicks on a Click Seal line.
- Open the valve slowly, let the tank fill, and run the dry tissue test on both ends. Check again the next morning.
Which toilet supply line is best: braided stainless, PEX or copper?
Braided stainless is the best toilet supply line for most homes because it installs by hand, bends without kinking, and carries its own washers. Fluidmaster rates its braided Click Seal line to 1,500 PSI burst strength. Rigid chrome copper and PEX risers last but need cutting and a compression ferrule, which leaves more room for an installation leak. Plain vinyl lines are the ones to replace first.
| Type | How it connects | Maker spec | Best for |
|---|---|---|---|
| Braided stainless over PVC core (Fluidmaster Click Seal B1T12CS) | 3/8 in compression nut at valve, 7/8 in plastic ballcock nut at tank | 1,500 PSI burst, 15 to 20 in-lb torque, 5-year limited warranty | Nearly every residential toilet |
| Braided polymer connector (BrassCraft universal kit) | Wing nut hand tight at tank, metal nut plus 1/4 turn at valve | 125 psi max operating, 40 to 160 degrees F, NSF 61/9 | Toilets and faucets in accessible spots |
| Chrome copper riser | Cut to length, nut and ferrule | 1 to 1-1/4 turns past hand tight (BrassCraft) | Exposed installs where looks matter |
| PEX riser | Cut to length, plastic sleeve on 3/8 in OD tube | 1-1/2 to 2 turns past hand tight (BrassCraft) | Installers already working in PEX |
The braid is not the weak link. An IBHS white paper on interior water damage says flexible hoses use plastic cores and rubber gaskets that fail from wear, high pressure, heat and poor water quality.
How often should you replace a braided toilet supply line?
Replace a braided toilet supply line every 5 years, or any time you change the fill valve. IBHS does not set a toilet-specific interval, but its homeowner water damage guide says to replace dishwasher supply hoses every 5 years with braided stainless steel and washer hoses every 3 to 5 years. A toilet line uses the same plastic core, braid and rubber gasket.
The manufacturers point the same way. BrassCraft’s water stop sheet prints a blanket warning: do not reuse, inspect annually, and replace if damage, deterioration or corrosion is detected. Fluidmaster backs its Click Seal line with a 5-year limited warranty. Between replacements, a Connecticut Insurance Department pamphlet built on an IBHS study advises inspecting the toilet supply line every 6 months.
Source: IBHS study via the Connecticut Insurance Department, which also tied 44% of sink incidents to faulty supply lines.
How much does it cost to fix a leaking toilet supply line?
Fixing a leaking toilet supply line yourself costs about $12, the price of a new braided line. Fluidmaster’s online store lists its Click Seal line at $11.99 to $13.99 depending on length. If you call a plumber, HomeAdvisor’s toilet repair cost guide puts leak repairs at $100 to $600 and the average toilet repair at $271.
Labor is 60% to 75% of the bill, per HomeAdvisor, at $45 to $200 an hour, and after-hours calls add $100 to $300. HomeAdvisor prices toilet valve replacement at $50 to $150 including labor.
EPA WaterSense says household leaks average more than 9,300 gallons a year and fixing easy ones can cut a water bill about 10%. Call a licensed plumber when the valve will not close, the pipe behind it is corroded, or water has reached the subfloor.
How we sourced this
We read the maker instructions directly: Fluidmaster’s Click Seal installation sheet (FM91233 Rev.2), its Click Seal FAQ and product pages, its fill valve sheet (P/N 5-2622), and BrassCraft’s water stop (425.04) and universal connector (425.10) sheets. Damage figures come from IBHS and the Connecticut Insurance Department pamphlet publishing IBHS study results; water loss from EPA WaterSense; costs from HomeAdvisor’s June 2026 update. We consulted more than 15 pages and cited 11. We excluded forum anecdotes, unsourced contractor-blog replacement intervals, and a six-figure average claim we could not trace to a study. Reviewed October 2026.
Frequently asked questions
Why is my toilet supply line leaking at the nut?
Most nut leaks come from a loose nut, a worn or missing cone washer, or a cross-threaded plastic coupling nut. At the tank end, water from a failing shank washer inside the tank can also run down the shank and drip off the nut. Dry everything, wrap each joint in dry tissue, and the first wet tissue shows the true source.
Can you just tighten a leaking toilet supply line?
Often yes, if the leak is at the metal nut on the shutoff valve. Fluidmaster says to tighten that nut just enough to stop the leak, and BrassCraft calls for hand tight plus 1/4 turn on metal nuts. Plastic coupling nuts at the tank are hand tight only, so cranking one with pliers can crack it and turn a drip into a flood.
How tight should a toilet supply line be?
Plastic nuts at the tank go on hand tight only. Metal nuts at the shutoff valve get hand tight plus 1/4 turn per BrassCraft, or hand tight plus 1/2 turn per Fluidmaster, so follow the sheet in your package. Fluidmaster rates its Click Seal line at 15 to 20 inch-pounds of torque, and its plastic nut clicks to tell you when to stop.
Do you need plumber’s tape on a toilet supply line?
No. BrassCraft’s instructions say its connectors include washers and tell installers not to use thread sealant. The seal forms where the rubber cone washer presses against the fill valve shank and where the nut seats on the valve outlet, not on the threads. Tape on those threads can keep the nut from seating squarely and cause the very leak you are fixing.
How often should you replace a toilet supply line?
IBHS does not publish a toilet-specific interval, but it tells homeowners to replace dishwasher supply hoses every 5 years and washer hoses every 3 to 5 years, and those hoses share the same plastic core and braided jacket. Fluidmaster warranties its Click Seal line for 5 years. Replacing a toilet line every 5 years, or whenever you swap the fill valve, follows the same logic.
What size supply line fits a toilet?
Most US toilets take a line with a 3/8 inch compression nut at the shutoff valve and a 7/8 inch ballcock nut at the tank, the connection Fluidmaster lists for its Click Seal lines. Common lengths are 9, 12, 16 and 20 inches. Older homes may have a 1/2 inch compression or 1/2 inch iron pipe valve outlet, which needs a universal connector or an adapter.
How much does it cost to replace a toilet supply line?
Doing it yourself costs the price of the line, about $11.99 to $13.99 for a Fluidmaster Click Seal braided line on the maker’s online store. Hiring it out folds into a service call, and HomeAdvisor puts toilet leak repairs at $100 to $600, with plumbers billing $45 to $200 an hour and after-hours calls adding $100 to $300.