Bathtub Drain Plumbing Diagram: Parts, Sizes and Rough-In
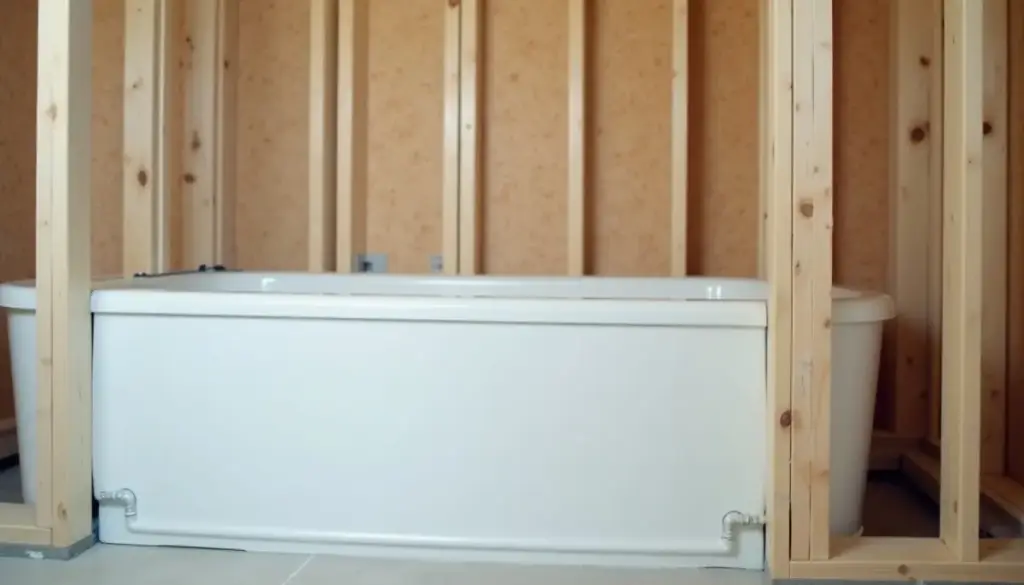
A bathtub drain plumbing diagram runs from the overflow faceplate and drain shoe into one waste-and-overflow tee, down a tailpiece to a 1-1/2 inch P-trap, then along a trap arm no longer than 6 feet to a vent.
Key Takeaways
- A bathtub counts as 2 drainage fixture units and needs at least a 1-1/2 inch trap under IPC 2021 Table 709.1.
- A 1-1/2 inch trap arm can run 6 feet from trap weir to vent at 1/4 inch of fall per foot, per IPC 2021 Table 909.1.
- Signature Hardware’s alcove tub guide calls for a 6 by 12 inch floor opening for a 1-1/2 inch drain and waste-and-overflow kit.
- Vintage Tub & Bath locates the drain with a plumb line dropped from the overflow centerline, so the tub sets the rough-in.
- House Made Clear puts a tub and shower valve about 28 to 32 inches above the tub floor, with a fixed shower head near 80 inches.
- Leak test in two stages, a fill to the overflow and a full drain, because the overflow gasket only gets wet in a deep bath.
What does a bathtub drain plumbing diagram show?
A bathtub drain plumbing diagram shows two paths that meet below the tub. Water leaves through the drain flange in the tub floor and the overflow opening in the end wall, the two pipes join at a waste-and-overflow (W&O) tee, and a tailpiece drops into a 1-1/2 inch P-trap. The trap arm then carries water to a vented drain line inside the wall or floor.
The supply side sits in the same end wall, where a mixing valve feeds the spout below it and a shower riser above it.
Clearing a clog rarely goes past the stopper and trap. Our guide shows how to unclog a bathtub drain through the stopper and overflow without opening a wall.

What are the parts of a bathtub drain, and how does each one fail?
A bathtub drain has seven parts between the tub and the drain line: overflow faceplate, overflow elbow and tube, drain flange, drain shoe, W&O tee, tailpiece and P-trap, then the trap arm and vent. Each fails in a recognizable way, which tells you where to look before cutting drywall.
| Part | Size or location | Usual material | Failure sign |
|---|---|---|---|
| Overflow faceplate and gasket | On the tub end wall, below the spout | Plated brass or plastic plate, rubber gasket | Ceiling stain below only when the tub is filled high |
| Overflow elbow and tube | 1-1/2 in kit tubing | PVC, ABS or brass | Drip down the outside of the tube during a deep bath |
| Drain flange and stopper | Threads into the drain shoe through the tub floor | Plated brass | Water under the tub every time it drains, stopper will not hold |
| Drain shoe and gasket | 90 degree elbow directly under the drain hole | PVC, ABS or brass | Wet subfloor at the drain end, softened floor |
| W&O tee and tailpiece | 1-1/2 in, joins overflow and shoe | PVC, ABS or brass | Drip at the slip nut, white or green crust on brass |
| P-trap | 1-1/2 in minimum (IPC Table 709.1) | PVC or ABS | Sewer smell, slow drain, standing water in the trap bay |
| Trap arm and vent | 6 ft max for 1-1/2 in (IPC Table 909.1) | PVC, ABS or cast iron | Gurgling, trap siphons dry, smell after other fixtures drain |
| Mixing valve and spout | About 28 to 32 in above tub floor | Brass valve body | Spout drips with the handle off, water behind the spout |
Lift-and-turn, toe-touch and trip-lever stoppers all thread into or ride inside the same drain assembly, and our guide to bathtub drain stopper types covers how each one seals.
What size is bathtub drain plumbing under the code?
The 2021 International Plumbing Code rates a bathtub at 2 drainage fixture units and sets its minimum trap size at 1-1/2 inches in Table 709.1. That row covers tubs with or without an overhead shower or whirlpool attachment, and the table’s note says a showerhead over the tub does not raise the fixture unit value.
The code also says a trap must drain the fixture rapidly and match the fixture outlet, which is why tub W&O kits are built for a 1-1/2 inch line. Table 709.1 sets a minimum, so many plumbers run the drain at 2 inches past the trap.
Homes built under the International Residential Code follow its own trap and vent chapters (Chapter 32 for traps, Chapter 31 for vents). We did not check the IRC table text, so confirm residential numbers against your adopted edition.
How far can the bathtub trap be from the vent?
For a 1-1/2 inch trap arm, IPC 2021 Table 909.1 allows 6 feet of developed length from the trap weir to the vent fitting, at a slope of 1/4 inch per foot. Section 909.1 states that “each fixture trap shall have a protecting vent” placed so the slope and length stay within that table.
Developed length is measured along the pipe centerline through every fitting, not straight across the floor plan. When a corner tub sits far from the stack, the fix is a vent closer to the trap, not a steeper pipe.
A trap arm that is too long or too steep can siphon the trap dry, and our explainer on how a P-trap holds its water seal covers why that lets sewer gas into the room.
What are the rough-in dimensions for bathtub plumbing?
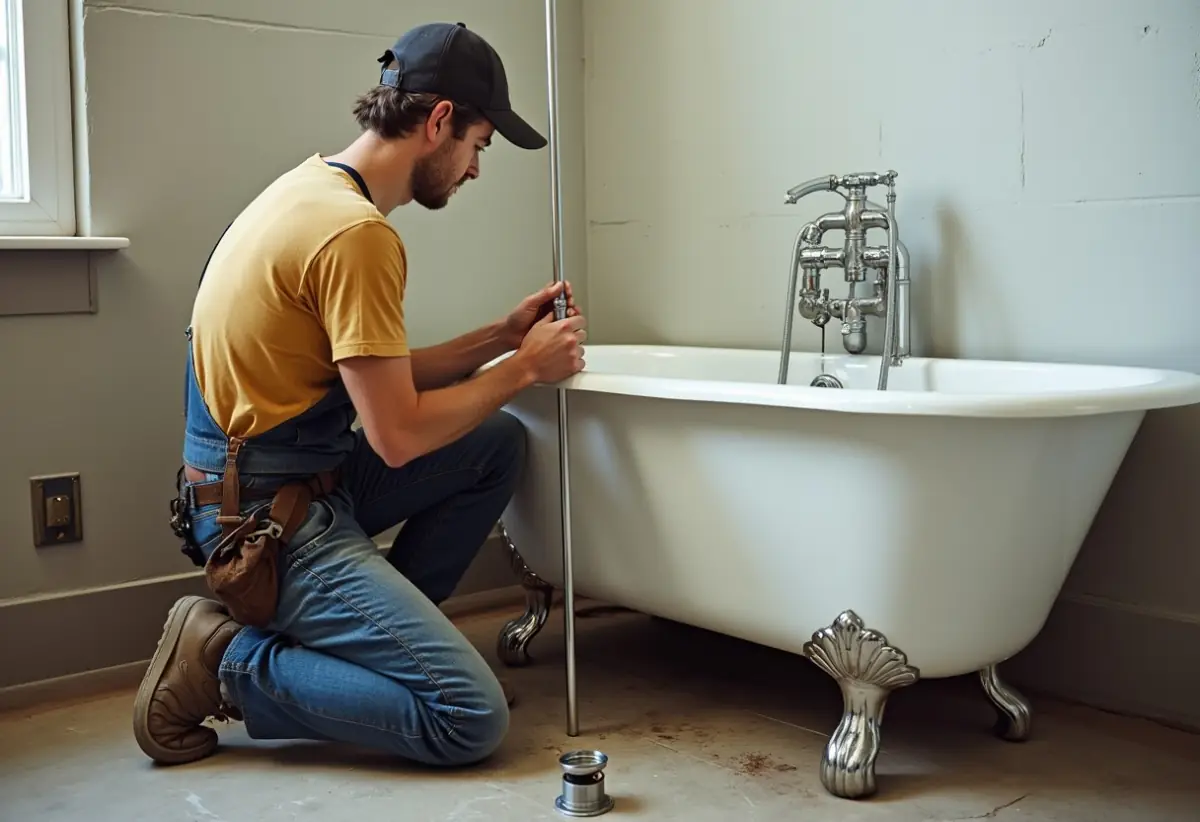
Bathtub rough-in starts from the tub, not a fixed number. Vintage Tub & Bath’s alcove tub installation guide says to set the tub in place with the overflow connection installed, drop a plumb line from the overflow centerline to the floor, and mark that point as the drain rough-in. Valve and spout heights come from the valve maker’s drawing.
Chart sources: House Made Clear (heights), IPC 2021 Tables 909.1 and 709.1 (trap arm, trap), Signature Hardware (cutout).
Drain end and floor cutout
Signature Hardware’s alcove tub instructions call for a 6 by 12 inch floor opening for a 1-1/2 inch drain and W&O kit, because the drain and overflow hang below the bottom of the tub. Hunker describes an opening about 12 inches long and 3 to 6 inches wide, cut from about 2 inches behind the drain mark to the edge of the subfloor at the faucet wall.
- Dry-fit the tub with the W&O kit and drop a plumb line from the overflow centerline.
- Mark the drain centerline on the subfloor.
- Check for joists, then cut from about 2 inches past the mark to the wall plate.
- Set the trap so the tailpiece drops straight into it.
Hunker notes most alcove tubs are 60 inches long and 30 or 32 inches wide, advises framing the alcove about 3/4 inch larger than the measured tub, and reminds buyers to match a right-hand or left-hand drain tub to the existing drain.
Valve, spout and shower riser
House Made Clear gives about 28 to 32 inches above the tub floor as the planning range for a tub and shower valve, and about 80 inches above the finished floor for a fixed shower head. Spout height guidance varies between secondary sources, so set it from the valve maker’s piping diagram. House Made Clear notes that some valve makers also limit the pipe type and length between valve and spout. Our tub spout replacement guide covers slip-on versus threaded spouts on that stub-out.
Which waste-and-overflow kit should you buy for a bathtub?
Pick a W&O kit by three choices: body material (PVC, ABS or brass), stopper style, and whether the kit matches the drain pipe you already have. Plastic kits solvent-weld or slip-joint onto PVC or ABS drains, and brass kits come in thinner and heavier tubing, where a lower gauge number means a thicker wall.
| Kit type | Joins to | Good fit | Watch for |
|---|---|---|---|
| PVC W&O | PVC drain, solvent weld or slip nut | New construction with PVC DWV | Do not glue PVC to ABS without a transition fitting your code accepts |
| ABS W&O | ABS drain, solvent weld or slip nut | Homes plumbed in black ABS | Same transition rule in reverse |
| Brass, thinner gauge | Slip nuts to trap | Exposed or decorative installs on a budget | Dents easily, corrodes at slip joints over time |
| Brass, heavier gauge | Slip nuts to trap | Clawfoot and exposed drains where looks matter | Costs more, still needs an accessible slip joint |
| Trip-lever kit | Linkage runs inside the overflow tube | Replacing an existing trip-lever tub | Linkage length must be adjusted to seat the plunger |
| Lift-and-turn or toe-touch kit | Stopper threads into the drain flange | Most new alcove installs | Hair wraps the stopper post and slows draining |
Check that the kit’s overflow tube covers the drop from your tub’s overflow hole to its drain, and trim it to fit.
How do you replace a bathtub waste-and-overflow?
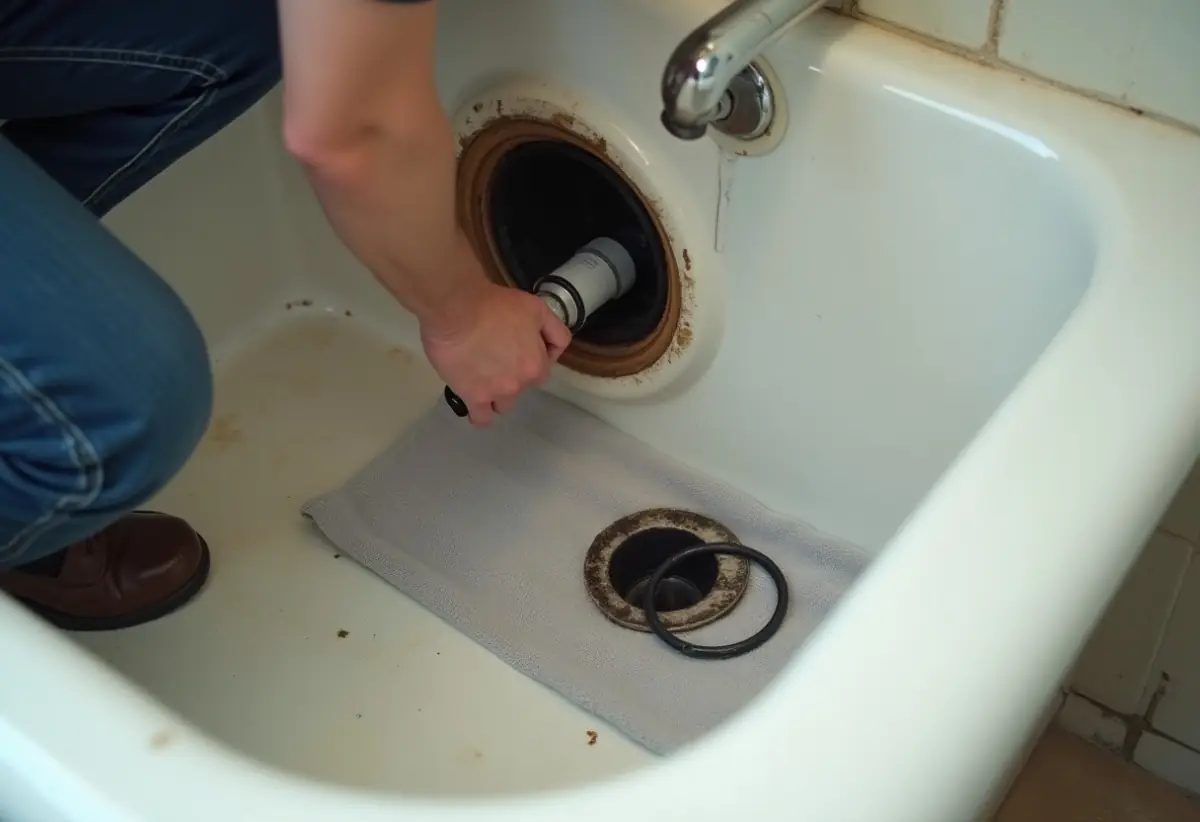
Replacing a bathtub W&O takes access to the drain end from behind or below, a drain key, and a new kit sized to your 1-1/2 inch line. You remove the old flange from inside the tub, free the old assembly at the trap, and set the new one with fresh gaskets.
- Open the access panel, or cut one behind the drain end or in the ceiling below.
- Remove the stopper and overflow faceplate from inside the tub.
- Unscrew the drain flange from the drain shoe with a drain key or a flange tool.
- Loosen the slip nut at the trap, or cut the tailpiece above a glued trap.
- Pull the old assembly out and scrape old putty off the drain hole.
- Set the new shoe and overflow elbow with their gaskets against the outside of the tub, then thread in the flange with the sealant the kit calls for.
- Connect the tee, cut the tailpiece to length and join it to the trap.
- Run the leak test below before closing the panel.
The IPC calls for access to concealed slip-joint connections. If your tub has no panel, adding one now saves the next repair from a drywall patch. A tub on a slab with no access means working from inside the tub with a drain flange tool, or calling a plumber before you break tile.
How do you leak test a bathtub drain?
Test a bathtub drain in two stages: a high fill that loads the overflow gasket, then a full drain that loads the shoe, tee, tailpiece and trap. Many W&O leaks show in only one of those states, so a tub that seems fine during a shower can still stain the ceiling during a bath.
- Close the stopper and fill the tub until water reaches the bottom of the overflow opening.
- From the access panel or the ceiling below, check the overflow elbow and its gasket.
- Open the stopper and watch the drain shoe, tee, tailpiece and trap while the full tub empties.
- Wrap dry paper towel around each slip joint to catch small drips.
- Tighten slip nuts by hand plus a small turn, then repeat the test.
A gurgle as the tub empties points to the trap arm and vent, not the W&O.
How we sourced this
Code values come from the ICC’s published text for IPC 2021 Sections 709.1 and 909.1 and their tables. Floor cutout figures come from Signature Hardware and Hunker, drain location from Vintage Tub & Bath, and valve and shower head heights from House Made Clear. We could not retrieve Kohler, American Standard, Moen, Delta, Oatey or Watco spec sheets in October 2026, so we give no drain centerline, spout height or kit part numbers from them. IRC values were not checked. Content-farm diagram pages were excluded.
Frequently asked questions
What size is a bathtub drain pipe?
A bathtub trap must be at least 1-1/2 inches under Table 709.1 of the 2021 International Plumbing Code, which also rates a tub at 2 drainage fixture units. Waste-and-overflow kits match that 1-1/2 inch line, and many plumbers run the drain past the trap at 2 inches.
How far can a bathtub trap be from the vent?
For a 1-1/2 inch trap arm, IPC 2021 Table 909.1 allows 6 feet from the trap weir to the vent fitting, laid at 1/4 inch of fall per foot. Past that the trap can siphon dry and let sewer gas in. States may amend the table, so check your local edition.
Does a bathtub need a P-trap?
Yes. IPC 2021 Table 709.1 lists a minimum 1-1/2 inch trap for a bathtub, and Section 909.1 says each fixture trap must have a protecting vent. The trap sits in the floor or joist bay under the drain end of the tub, below the waste-and-overflow tee and tailpiece.
How big should the floor hole be for a bathtub drain?
Signature Hardware’s alcove tub instructions call for a 6 by 12 inch floor opening for a 1-1/2 inch drain and waste-and-overflow kit. Hunker gives a similar opening about 12 inches long and 3 to 6 inches wide, running from roughly 2 inches behind the drain mark to the faucet wall.
How high should a tub and shower valve be?
House Made Clear gives a planning range of about 28 to 32 inches above the tub floor for a tub and shower valve. Shower-only valves sit higher, about 40 to 48 inches above the shower floor. The valve maker’s rough-in drawing sets the final number.
Do I need an access panel behind my bathtub drain?
Usually yes. The IPC calls for access to concealed slip-joint connections, and most waste-and-overflow kits use slip joints at the tee, tailpiece and trap. Without a panel, replacing the overflow gasket or drain shoe means opening the wall from the next room or the ceiling below.
How do I test a bathtub drain for leaks?
Close the stopper and fill the tub to the overflow opening, then check the overflow elbow and gasket from the access panel or ceiling below. Next open the stopper and watch the drain shoe, tee, tailpiece and trap while the full tub empties. Dry paper towel at each joint shows small drips.