How to Install a Bidet Seat or Attachment
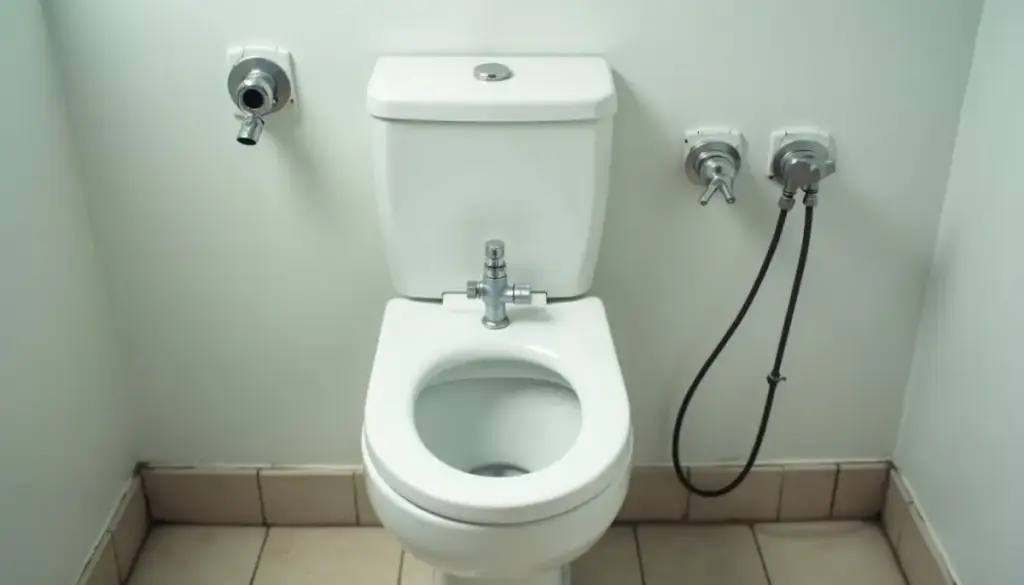
How to install a bidet: shut off the toilet supply, thread a 7/8 inch T-valve onto the tank fill valve, mount the seat or attachment, connect the hose, then leak-check for 5 to 10 minutes.
Key Takeaways
- Brondell’s attachment kit ships a 7/8 x 7/8 x 3/8 inch T-valve with a rubber cone washer and a 27½ inch braided hose, per its installation guide.
- The T-valve goes on the fill valve under the tank, never on the wall shut-off valve. Brondell labels the wall position “incorrect.”
- Brondell says a rigid supply pipe must be swapped for a flexible hose (7/8 inch ballcock top, 3/8 or 1/2 inch compression bottom).
- TUSHY says connections go finger tight, and a hose that turns only once before stopping may be cross-threaded, per its install guide.
- The TOTO Washlet C5 (SW3084) draws 403 W, has a 3.93 ft cord and needs 7.25 to 108.75 psi water pressure, per TOTO’s spec sheet.
- Bio Bidet’s attachment install is 5 steps, its seat install is 8, and it says to check for leaks before plugging in a seat.
How do you install a bidet attachment step by step?
To install a bidet attachment, close the toilet’s shut-off valve, empty the tank, swap the supply hose onto a T-valve at the fill valve, set the attachment under the seat, connect its hose, and open the water slowly. Brondell’s guide covers it in 8 numbered steps. TUSHY and Bio Bidet each describe 5. Nothing gets cut, glued or soldered.
If you have not picked a model, start with our bidet types compared report. The steps below follow Brondell’s 2021 attachment guide.
- Remove the toilet seat. Lift the hinge covers and back out the bolts with a flathead or Phillips screwdriver. Keep the bolts.
- Shut off and drain. Close the wall shut-off valve, then flush and hold the handle until the tank empties.
- Disconnect the supply hose from the fill valve shank under the tank.
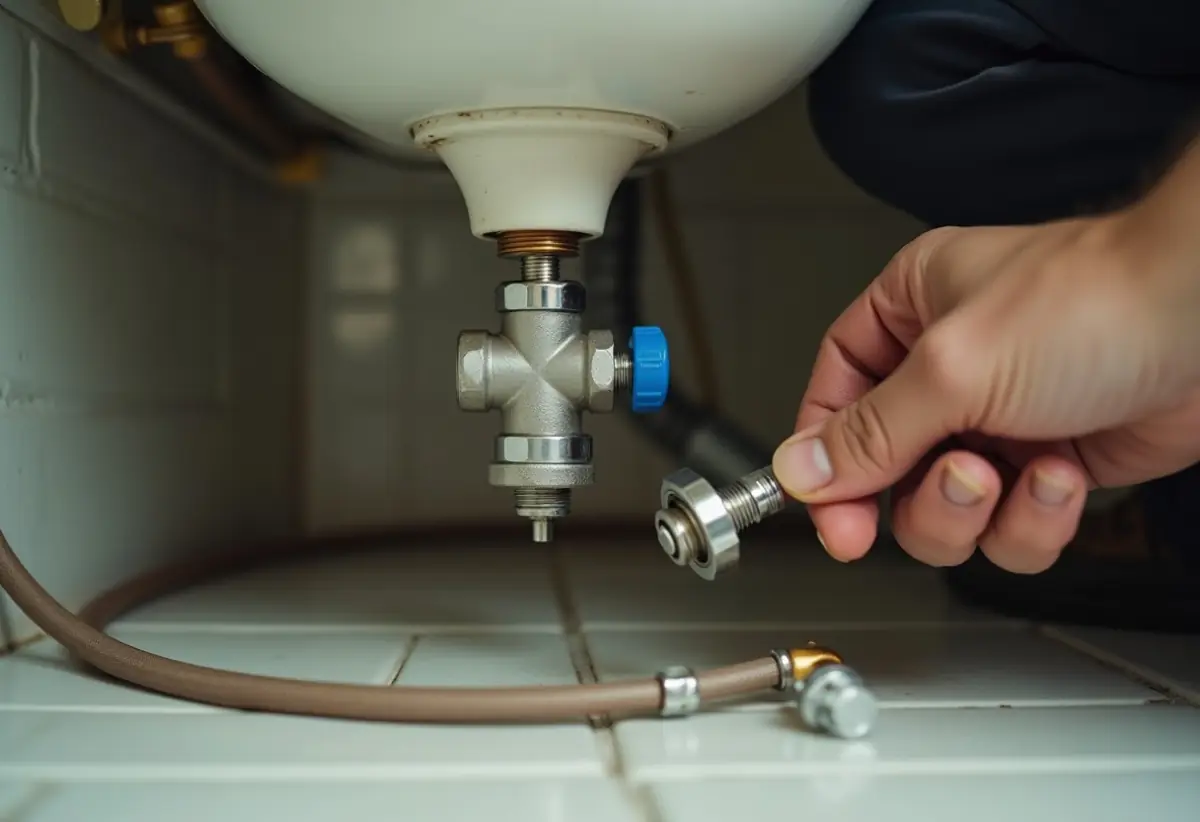
- Thread the T-valve onto the fill valve. Seat the rubber cone washer tapered side up and turn the T-valve onto the 7/8 inch shank. Connect the wall supply hose to the bottom of the T-valve.
- Attach the bidet hose to the T-valve. The 27½ inch hose has two different ends. The smaller end goes on the open side of the T-valve.
- Fit the brackets and set the attachment. Snap the 2 adjustable brackets in, place the attachment with its nozzles near the back of the bowl, and turn the brackets to line up with the seat bolt holes.
- Bolt the seat back on with the original hardware, through the brackets, tight enough that neither the seat nor the attachment shifts. Set the control knob flat in the off position.
- Connect the hose to the attachment, open the valve slowly and check for leaks. Look again 5 to 10 minutes later before you call it done.
Bio Bidet adds one rule for its SlimEdge. Hand-tighten every hose connection, no wrench.
What parts and thread sizes does a bidet installation need?
A standard bidet installation uses three connections. The T-valve threads onto the toilet’s 7/8 inch ballcock (fill valve) shank, the toilet supply line threads onto the T-valve’s matching 7/8 inch inlet, and the bidet hose takes the 3/8 inch side outlet. At the wall, the supply line meets the shut-off valve with a 3/8 or 1/2 inch compression nut, per Brondell.
That matters if a rigid tube feeds your toilet. Brondell says it must be replaced with a flexible supply hose first. Buy one with a 7/8 inch ballcock nut on top and a female compression nut on the bottom sized to your shut-off valve. Our guide to fixing a leaking toilet supply line walks through that swap.
| Part | Size or spec | Where it goes | Source |
|---|---|---|---|
| T-valve (Brondell) | 7/8 x 7/8 x 3/8 inch, rubber cone washer | Fill valve shank under the tank | Brondell guide |
| Bidet hose (Brondell) | 27½ inch braided metal, two different end sizes | T-valve side outlet to attachment inlet | Brondell guide |
| Replacement supply line | 7/8 inch ballcock top, 3/8 or 1/2 inch female compression bottom | Shut-off valve to T-valve | Brondell guide |
| Tank adapter (TUSHY) | Bottom and side ports, cold line only | Fill valve under the tank | TUSHY guide |
| Teflon tape (Brondell) | Included, for leaking joints only | Any connection still weeping after a washer check | Brondell guide |
| Supply hoses (TOTO C5) | Included with the SW3084 seat | Toilet supply to seat inlet | TOTO spec sheet |
TUSHY calls its tee a tank adapter, and the port order flips by product. On a TUSHY seat the existing hose goes to the bottom port; on a TUSHY attachment it goes to the side port.
How do you install an electric bidet seat like the TOTO Washlet C5?
An electric bidet seat installs with the same T-valve hookup as an attachment, plus a mounting plate that bolts through the seat holes and a 120 volt outlet within cord reach. The TOTO Washlet C5 (model SW3084) ships with its supply hoses and a 3.93 foot cord, draws 403 watts in normal use and 512 watts at peak, and runs on 120 V, 60 Hz power.
Check fit first. TOTO’s spec sheet warns that the C5 “may not fit certain toilet bowl designs” and asks for the toilet model number from under the tank lid. TUSHY says to leave at least 3/4 inch, about a thumb’s width, between the seat’s base plate and the tank.
- Turn off the water at the toilet and remove the old seat.
- Bolt the mounting base plate through the seat holes, keeping the 3/4 inch tank gap.
- Install the T-valve or tank adapter on the fill valve.
- Slide the seat onto the plate until it locks. Bio Bidet says not to attach the hose to the seat until the seat is mounted.
- Connect the hose to the seat inlet, open the water and check every joint for leaks.
- Plug the cord in last. Bio Bidet says to check for leaks before plugging in.
On the electrical side, TUSHY tells owners to plug electric seats into a GFCI outlet, and the National Electrical Code (section 210.8) requires ground-fault protection for bathroom receptacles in homes. Bio Bidet calls for a grounded 120 volt outlet. TOTO recommends a surge protector to guard the seat’s electronics. If the nearest outlet is more than about 4 feet from the seat’s cord exit, an electrician has to add one before the seat goes on.
TOTO lists 7.25 psi dynamic minimum and 108.75 psi static maximum pressure for the C5, potable water only.
Do you need plumber’s tape to install a bidet?
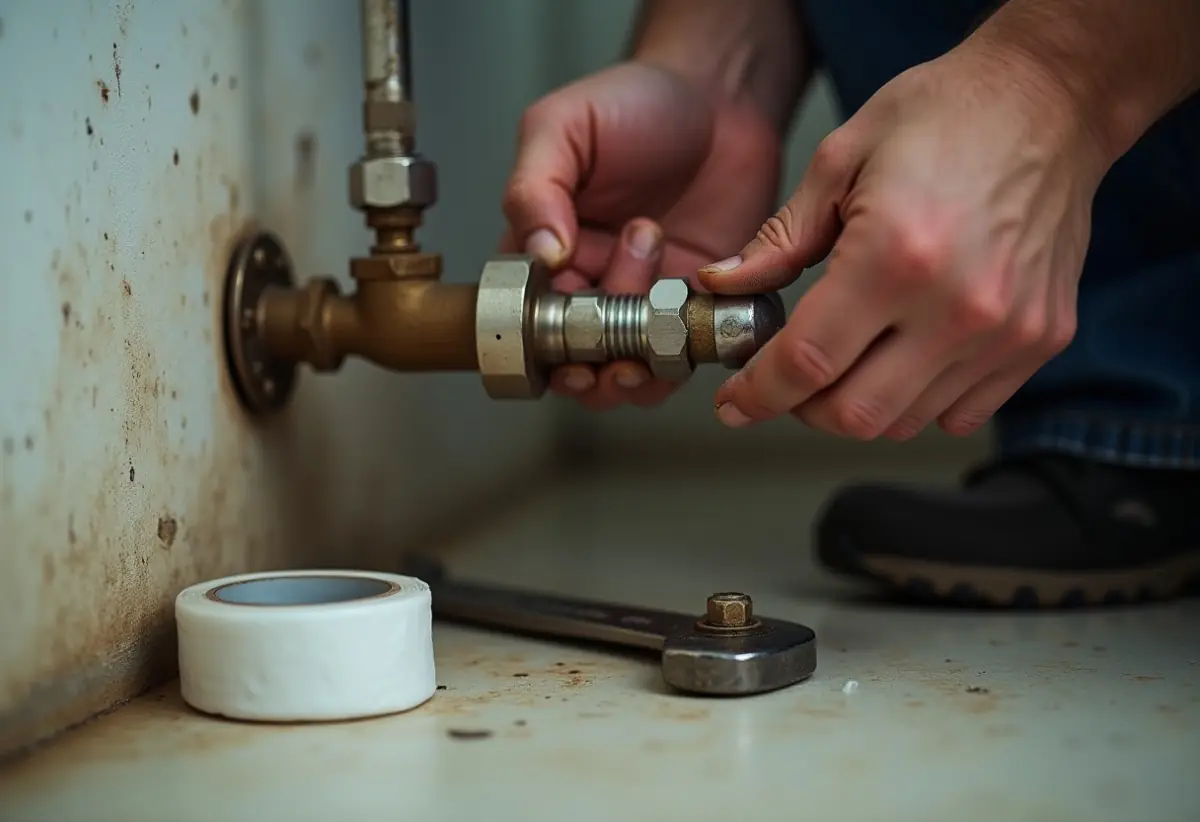
You normally do not need plumber’s tape to install a bidet, because the T-valve joint seals on a rubber cone washer, not on the threads. TUSHY says “finger tight is perfect.” Brondell packs a roll of Teflon tape in the box but tells you to use it only on a connection that still leaks after you check the rubber washers and snug the fittings.
The one case where TUSHY suggests thread tape is after you re-seat a hose that may have been cross-threaded. Our explainer on how plumber’s tape works covers which joints seal on threads and which seal on a gasket.
TUSHY’s cross-thread test is simple. If a hose nut turns only once and then stops, back it off, line it up straight and restart it by hand.
How do you connect a bidet attachment to warm water?
A warm-water bidet attachment needs a second hose run from the toilet to the hot water supply under the nearest sink, in addition to the cold T-valve at the tank. TUSHY says its warm-water models run “an additional hoseline to your sink water hookups.” Cold-only units must stay on the cold line, and TUSHY says plainly to connect them to cold water only.
TUSHY gives no fitting sizes for the sink side, so follow the sheet packed with your warm-water model. The practical limit is distance. The sink has to be close enough for the warm-water hose to reach without crossing a walkway. If not, an electric seat like the TOTO C5 heats its own spray water to 95 to 104°F.
If either shut-off valve weeps, sticks or will not close all the way, fix it before adding a tee. Our guide on how to replace the shut-off valve covers compression and sweat stops.
How do you leak-test a new bidet, and what are the common mistakes?
To leak-test a new bidet, open the shut-off valve slowly, dry every joint with a paper towel, and look again after 5 to 10 minutes, the window Brondell gives. Bio Bidet says about five minutes with no drips means the attachment is ready. Check the fill valve shank, both T-valve ports and the inlet under the seat.
If you see a drip, Brondell’s order is to check every rubber washer, confirm each connection is snug, and only then wrap tape on the leaking joint. Most leaks trace to one of these mistakes:
- T-valve on the wall stop. Brondell marks this “incorrect.”
- Washer upside down. The cone washer seats tapered side up, per Brondell.
- Hose ends reversed. Brondell’s hose has a smaller end, and it goes to the T-valve.
- Cross-threaded nut. One turn and a hard stop, per TUSHY.
- Overtightening. TUSHY and Bio Bidet both say hand tight, and Bio Bidet says to skip the wrench on hose connections.
- Control left on. Brondell says to set the knob flat so water does not spray out of the bowl.
- Power before water. Bio Bidet says to confirm no leaks before you plug a seat in.
Which bidet is easiest to install, and what does it cost?
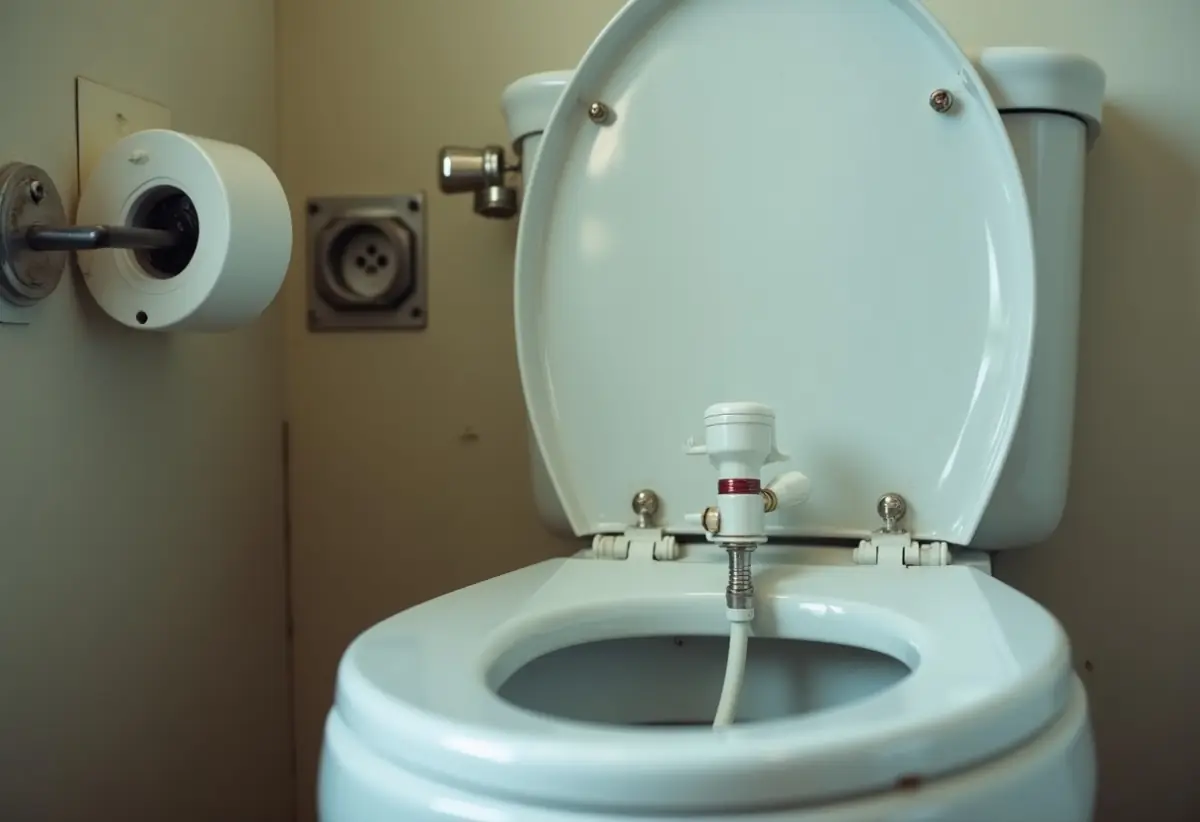
A non-electric attachment is the easiest bidet to install, with no outlet and 5 to 8 steps depending on the maker’s guide. An electric seat adds a mounting plate and a GFCI outlet within cord reach. Prices below are national ranges from 2026 HomeGuide and Angi cost guides, as compiled in our bidet types report.
| Type | Plumbing needed | Electrical | Install effort (maker guide) | Price |
|---|---|---|---|---|
| Non-electric attachment (Brondell SimpleSpa, TUSHY Classic 3.0, Bio Bidet SlimEdge) | 7/8 inch T-valve at fill valve, braided hose; warm models add a hose to the sink hot supply | None | 5 steps (TUSHY, Bio Bidet), 8 steps (Brondell), then a 5 to 10 minute leak check | $30-$100 |
| Non-electric bidet seat | Same T-valve hookup, seat replaces the old one | None | Attachment steps plus swapping the seat | $60-$150 |
| Electric bidet seat (TOTO Washlet C5) | T-valve plus included supply hoses; 7.25 to 108.75 psi | 120 V GFCI outlet within the 3.93 ft cord | 4 steps (TUSHY), 8 steps (Bio Bidet), leak check before plugging in | $150-$700 seat |
| Adding a GFCI outlet | None | New receptacle near the toilet | Electrician job if no outlet is in reach | $120-$350 |
How much water does a bidet use compared with a flush?
A bidet uses about one-eighth of a gallon of water per use, per Bio Bidet. That is a tenth of a 1.28 gallon WaterSense toilet flush and a small fraction of the 1.6 gallon federal flush limit, per the EPA. The T-valve shares the toilet’s supply line, so tank refill and spray draw from the same pipe.
Sources: Bio Bidet and EPA WaterSense. TOTO rates the C5’s rear spray at 0.07 to 0.11 gallons per minute.
How we sourced this
We ran two searches in October 2026, read the top guides, then went to the makers. Cited: Brondell’s Bidet Attachment Installation Guide (PDF, 2021) for the 8 steps, 7/8 x 7/8 x 3/8 inch T-valve, 27½ inch hose, rigid-pipe swap and tape rule; TUSHY’s install guide for finger-tight, cross-thread, 3/4 inch clearance, cold-only and GFCI guidance; TOTO’s SW3084 Washlet C5 spec sheet (SS-01893 v.01) for power, cord, pressure, spray and temperature figures; Bio Bidet’s install guide for step counts and leak timing; Bio Bidet and EPA WaterSense for water volumes. Price ranges come from 2026 HomeGuide and Angi guides compiled for our bidet types report. We excluded install-minute estimates that did not trace to a maker, and TOTO C2 specs, whose sheet we could not reach.
Frequently asked questions
Can I install a bidet myself or do I need a plumber?
Most people install a bidet attachment or seat themselves, because it taps the existing toilet supply with a T-valve and needs no pipe cutting. Call a plumber when the wall shut-off valve will not close fully, when the toilet is fed by a rigid pipe you cannot swap for a flexible hose, or when you want a freestanding bidet fixture with its own drain.
How long does it take to install a bidet attachment?
Bio Bidet says an attachment goes on in a matter of minutes, and TUSHY and Bio Bidet both break the job into 5 steps. Brondell’s guide runs 8 steps and then asks you to wait 5 to 10 minutes after opening the water and check the joints again. Budget extra time if the shut-off valve is old or the supply line is rigid.
Do you need plumber’s tape to install a bidet?
Usually not. The T-valve seals with a rubber cone washer, and TUSHY says finger tight is perfect. Brondell includes Teflon tape but tells you to use it only on a connection that still leaks after you check the washers and snug the fittings. TUSHY suggests thread tape only after re-seating a hose that may have been cross-threaded.
Does an electric bidet seat need a GFCI outlet?
Yes. TUSHY tells owners of electric seats to plug into a GFCI outlet, and bathroom receptacles in homes need ground-fault protection under the National Electrical Code. The TOTO Washlet C5 runs on 120 volts at 403 watts and ships with a 3.93 foot cord, so the outlet has to sit within that reach of the seat.
Can you connect a bidet attachment to hot water?
Only if it is a warm-water model built for it. TUSHY says its warm-water attachments run an extra hoseline to the sink’s water hookups, and that standard units connect to the cold line only, never the hot. Electric seats heat their own water, from 95 to 104°F on the TOTO C5.
Will a bidet fit any toilet?
Not every one. TOTO warns that the Washlet C5 may not fit certain toilet bowl designs, and Brondell needs access to the fill valve under the tank for its T-valve. If you cannot reach the fill valve, Brondell asks you to call its customer service for alternatives. Check the maker’s fit list against your toilet model before buying.