Compression Fittings: How They Work and How to Install Them
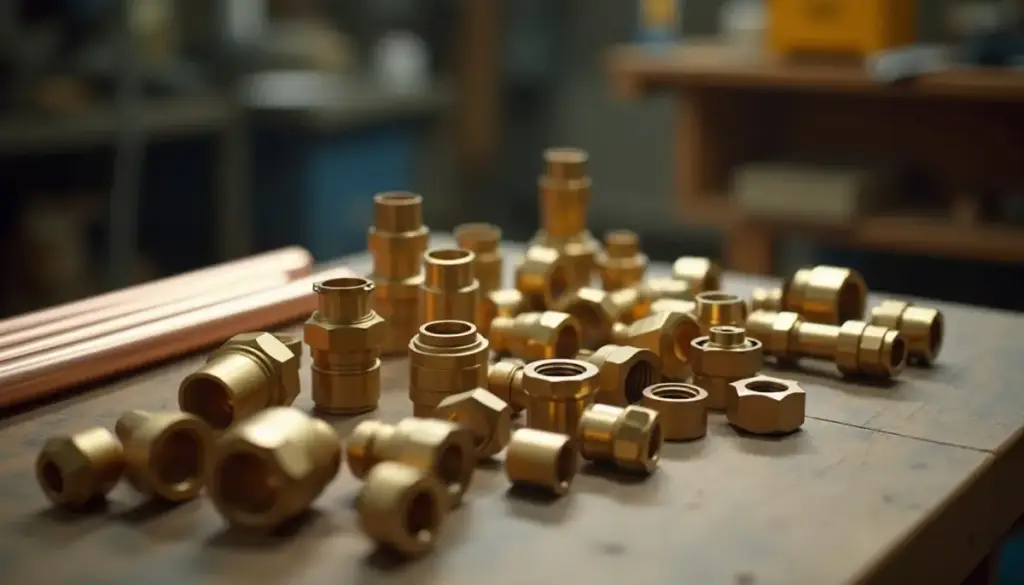
A compression fitting seals by crushing a soft brass ring (the ferrule) between a threaded nut and a tapered seat, so it needs no solder, no torch, and no tape, just a square cut and the right number of turns.
Key Takeaways
- Three parts do the work: body, nut, and ferrule (BrassCraft calls the ring a compression sleeve).
- Tightening is a turn count, not a feel. BrassCraft specifies 3/4 turn past hand tight for its copper compression stops; Swagelok specifies 1 1/4 turns for 1/4 to 1 inch instrument fittings.
- No tape. BrassCraft says do not use putty, gasket material, or thread seal tape on its compression connections.
- PEX works only with the maker’s parts. BrassCraft calls for a stainless steel insert and brass sleeve on PEX larger than 3/8 inch OD.
- Ratings drop as size goes up. Anderson Metals lists its 1/4 inch brass compression union at 300 psi and its 3/4 inch union at 100 psi, both up to 250°F.
- BrassCraft rates its compression stops for accessible locations only, and model codes defer to the maker’s instructions.
What is a compression fitting and how does it seal?
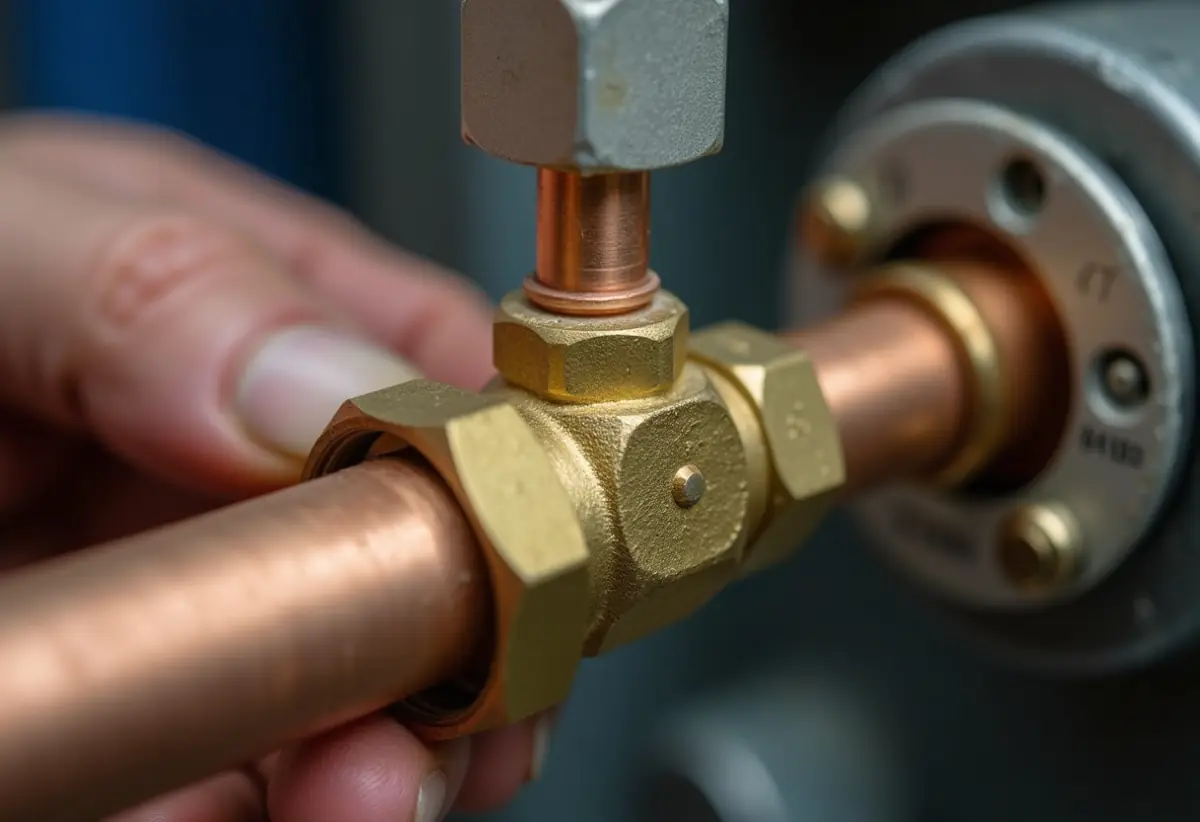
A compression fitting is a mechanical joint with three parts: a threaded body, a nut, and a ring called a ferrule, sleeve, or olive. As the nut threads onto the body, it drives the ferrule into a tapered seat. The ferrule squeezes inward and grips the tube while its outer face seals against the seat, so water stops at the metal, not at the threads.
The threads only pull the parts together. The seal lives in two rings of contact, ferrule to tube and ferrule to seat, so anything that keeps those surfaces apart (a burr, a dent, paint, tape) causes a weep.
Plumbing compression fittings use one brass ferrule. Instrument fittings often use two, a front ring that seals and a back ring that lets the nut turn without twisting the tube, per Beswick Engineering’s compression fitting instructions, which also note ferrules are not interchangeable between brands in most cases.
Brass vs plastic compression fittings
Brass is the default for household water because it handles heat and holds its shape under a wrench. Anderson Metals prints a limit of 0.25% weighted average lead on wetted surfaces for its low-lead compression line. Plastic compression fittings, common on irrigation and polyethylene (PE) service, tighten by hand and carry lower temperature ratings. For PE service lines paired with plastic fittings, swap-out basics still apply when upgrading a stop, covered in replacing a sink shut-off valve. Shut-off valves often feed toilets too, and tracking down a leaking toilet supply line follows the same compression-fitting logic. Diagnosing exactly where that drip originates is covered in fixing a leaking toilet shut off valve.
Where are compression fittings used in a house?
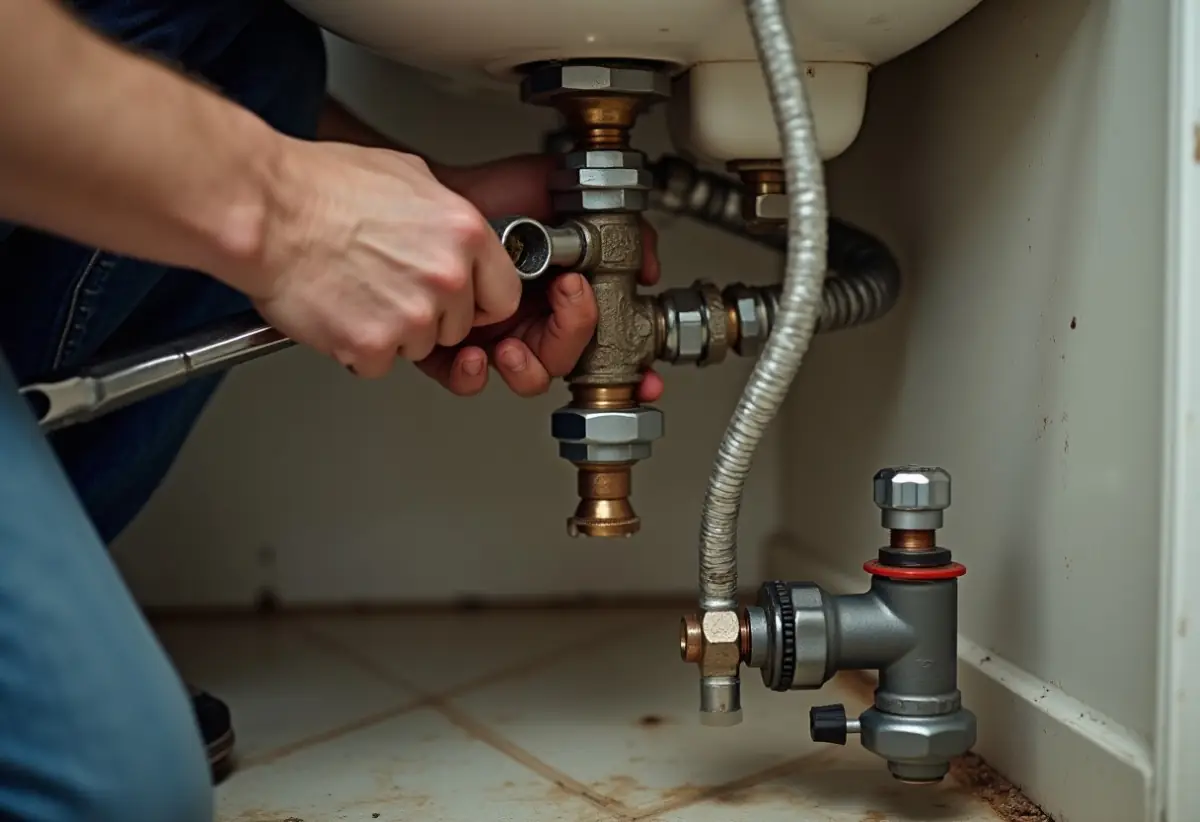
Compression fittings show up wherever a plumber wants a joint made without heat that can come apart later. The common spots are angle stops and straight stops on copper stub outs under sinks and behind toilets, faucet and toilet supply connections, ice maker and filter lines, and quick repairs on exposed copper in basements.
They sit inside the full family of plumbing fittings as the no-torch option for small-diameter tube. You will most often see them in 1/4, 3/8, 1/2, and 5/8 inch OD sizes. Sizes go by outside diameter, so 1/2 inch nominal copper takes a 5/8 inch OD fitting.
- Copper tube: BrassCraft rates its compression stops for type L or M copper only and its general compression fittings as not for thick-wall type K. If you are unsure which wall you have, the markings and color codes are covered in our guide to copper pipe types M, L, and K.
- PEX: allowed only when the maker says so, with the right sleeve and an insert on larger sizes. BrassCraft lists ASTM F876 and F877 PEX.
- Not gas: BrassCraft’s compression fitting instructions say do not use them for gas connections of any kind.
How do you install a compression fitting?
To install a compression fitting, shut off the water, cut the tube square, deburr it, slide on the nut and then the ferrule, push the tube fully into the body, thread the nut on by hand, then turn it the number of extra turns the maker lists while a second wrench holds the body. Then open the water slowly and check for drips.
- Shut off and drain. Close the nearest valve and open a faucet below the work.
- Cut square. Use a rotary tubing cutter, not a hacksaw. BrassCraft says the tube must be free of dings, dents, burrs, paint, or gouges.
- Deburr and clean. Ream the inside edge and polish the last inch with emery cloth. A dented or oval stub leaks no matter how hard you tighten.
- Nut first, then ferrule. Slide the nut on with its threads facing the fitting, then the ferrule. On PEX, add the insert and the sleeve the maker specifies.
- Seat the tube. Push the tube straight in until it bottoms out. A tube at an angle tilts the ferrule.
- Hand tight. Thread the nut on by hand as far as it goes. A drop of general purpose oil on the threads makes this smoother, per BrassCraft.
- Add the specified turns. Hold the body with one wrench and turn the nut with another. On a BrassCraft copper stop, that is 3/4 turn from hand tight. Mark the nut to count.
- Test. Open the water slowly and watch the nut for five minutes. If you see a weep, add a small amount (about 1/8 turn) and check again.
How tight should a compression fitting be?
A compression fitting should be hand tight plus the exact turns the manufacturer specifies, and no more. For household supply stops, BrassCraft lists 3/4 turn past hand tight on copper. Instrument makers publish their own counts, from 1/8 turn on a remade joint to 1 1/4 turns on a new two-ferrule fitting. The count matters because too little leaves a weak grip and too much distorts the ferrule.
Bars show the upper end of each published range, from the BrassCraft water supply stop instructions, the Swagelok tube fitting installer card, and Beswick. The first make-up needs more turns because the ferrule is being formed onto the tube; remakes need far less.
Pressure capacity also falls as the fitting gets bigger. Anderson Metals publishes these ratings for its brass compression line, each at up to 250°F.
Ratings come from Anderson Metals product specifications as listed by its retailer. Check the rating on any fitting you buy.
Do compression fittings need Teflon tape?
No. Compression fittings do not need Teflon (PTFE) tape, and tape can cause the leak you are trying to prevent. The seal forms at the ferrule and the tapered seat, not the threads. BrassCraft’s stop instructions say do not use putty, gasket material, or thread seal tape. Shreds of tape can also migrate onto the seat and hold the ferrule off its seal.
The nuance most guides miss: BrassCraft does allow a drop of oil, or a thin coat of thread sealant on the male compression threads only, kept off the ring and seat. It lets the nut turn smoothly so the turn count is accurate. The same sheet warns that excessive sealant may cause the joint to fail.
Tape does belong on the tapered pipe thread (NPT) end of an adapter, such as a 1/2 inch MIP by 3/8 inch compression adapter. Leave the compression end bare.
What mistakes make a compression fitting leak?
Most compression fitting leaks trace back to five mistakes: overtightening, reusing an old ferrule, tape or putty on the joint, misaligned tube, and a damaged tube end. Each one stops the ferrule from meeting the tube and seat in a clean, even ring. The fix is nearly always to redo the joint, not to add another turn.
- Overtightening. BrassCraft warns that overtightening can crack the product and lead to failure and leaking long after installation.
- Reusing a ferrule. A used ferrule has taken the shape of the old tube. BrassCraft’s stop sheet says do not reuse.
- Misaligned tube. If the stub out is not square to the fitting, the ferrule seats at an angle.
- Short insertion. A tube that does not bottom out leaves the ferrule riding near the cut edge.
- Wrong partner parts. BrassCraft warns against connectors with a solid brass cone or bull nose design on its stops because fractures can develop.
How do you remove a stuck compression ferrule?
A tightened compression ferrule is swaged onto the tube and will not slide off by hand. The cleanest way to remove it is a compression sleeve puller, a small threaded tool that grabs the nut and pushes the tube out of the ferrule. If you have slack, cut the tube behind the ferrule with a tubing cutter and start fresh.
- Loosen the nut. With the water off, back the nut off and pull the old body away.
- Try a puller first. Thread the puller onto the old nut and turn the handle; the ferrule comes off with the nut and the stub stays full length.
- Cut if you have length. A tubing cutter just behind the ferrule removes it in seconds.
- Last resort, split it. Score the ferrule lengthwise with a fine hacksaw or rotary tool without cutting into the tube, then twist it open with a flat screwdriver. A nick in the tube becomes a leak path.
- Clean and inspect. If the tube is oval, scored, or flared, cut back to good tube.
If the stub is too short to remake, a push-fit stop or a soldered extension is the usual fix. To end a line during a remodel, our guide to capping a water line compares compression, push, and soldered caps.
Compression fitting vs SharkBite, sweat, and PEX crimp: which should you use?
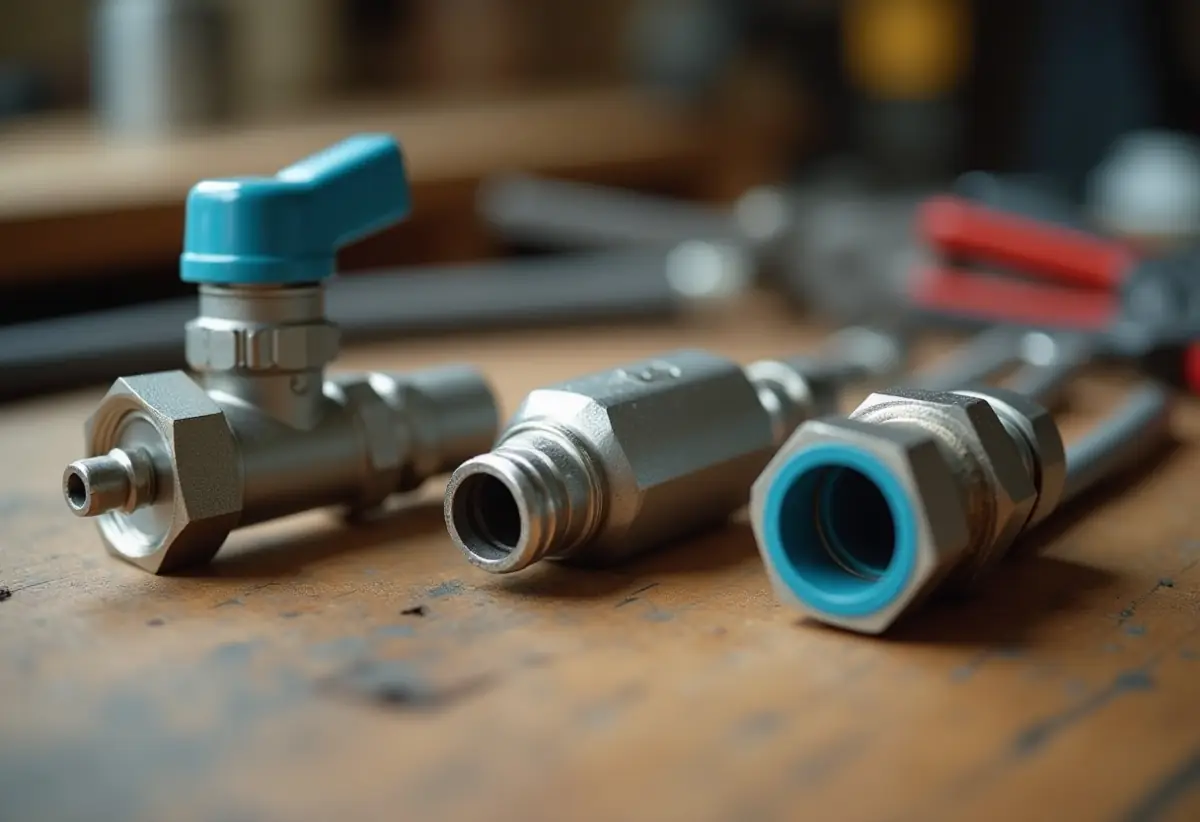
Pick compression for visible, small-diameter connections like fixture shutoffs, where you want low cost, no heat, and no rubber seal. Pick push-fit for speed, wet lines, and emergency repairs. Pick a sweat (soldered) joint for permanent copper work, especially inside walls. Pick PEX crimp or expansion for new PEX runs.
| Connection type | Tools needed | Reusable? | Where typically allowed | Relative cost |
|---|---|---|---|---|
| Compression (brass ferrule) | Tubing cutter, deburring tool, two wrenches | Body and nut yes, ferrule no | Accessible locations per BrassCraft; concealed use depends on maker and local inspector | Low per fitting, no special tool |
| Push-fit (SharkBite, Tectite) | Tubing cutter, deburr and depth gauge, release clip | Many brands yes, with the release tool | Concealed and buried use where listed to ASSE 1061 and local code accepts it | Highest per fitting, no special tool |
| Sweat (soldered copper) | Torch, lead-free solder, flux, emery cloth | Only by heating and resoldering | Accepted almost everywhere, including inside walls | Lowest fitting cost, more labor and skill |
| PEX crimp (ASTM F1807 rings) | Crimp tool, go/no-go gauge, PEX cutter | No, ring must be cut off | Accepted inside walls in most codes with listed PEX | Low fittings, one-time tool purchase |
| Press (copper press) | Powered press tool and jaws | No | Accepted inside walls with listed fittings | High fittings and tool, fastest on big jobs |
The fair comparison with push-fit fittings comes down to the seal. A push-fit joint seals with an EPDM O-ring held by a stainless grab ring, so its life depends on that rubber. A compression joint seals metal to metal but depends on correct tightening. For a visible supply stop, compression is cheap and proven; for a dripping line in a tight ceiling bay, push-fit is faster.
Against a soldered joint, compression wins in finished spaces because there is no flame near cabinets. BrassCraft warns not to sweat within 12 inches of its G2 quarter-turn stops, so the stop usually goes on after soldering is done.
Are compression fittings allowed by code behind walls?
Model plumbing codes accept compression fittings as mechanical joints, but makers such as BrassCraft limit them to accessible locations, and that instruction carries code weight. The California Plumbing Code, based on the Uniform Plumbing Code, requires copper joints to follow the manufacturer’s instructions and lists compression among mechanical joints. If the maker says accessible only, the joint stays out of the wall.
California Plumbing Code Section 605.1 ties copper joining methods to the maker’s instructions, and BrassCraft’s stop sheet says accessible locations only. Put the two together and many inspectors will reject a buried brass compression joint.
Rules vary by state and city. If a joint has to go inside a wall, ceiling, or slab, check with your local building department or use a joint listed for concealment (sweat, press, crimp, expansion, or a listed push-fit). An access panel over a compression joint is a common compromise where the inspector allows it.
How we sourced this
We reviewed the top-ranking compression fitting guides and People Also Ask questions in October 2026. Every figure comes from a primary document: BrassCraft’s compression fitting (2020) and water supply stop instruction sheets, Swagelok’s tube fitting installer card, Beswick Engineering’s compression fitting instructions (2019), Anderson Metals product specifications as listed by its retailer, and California Plumbing Code Section 605.1. We cited each maker’s number for its own product only, did not average across brands, and excluded dollar figures we could not tie to a named source.
Frequently asked questions
Do compression fittings need Teflon tape?
No. A compression fitting seals where the brass ferrule crushes against the tube and the tapered seat inside the body, not at the threads. BrassCraft tells installers not to use putty, gasket material, or thread seal tape on its compression stops. A drop of oil or a thin coat of thread sealant on the male threads only is allowed, kept off the ferrule and seat.
How tight should a compression fitting be?
Hand tight first, then the number of wrench turns the maker specifies. BrassCraft calls for 3/4 turn past hand tight on its copper compression stops, while Swagelok specifies 1 1/4 turns for its 1/4 to 1 inch instrument fittings. Hold the body with a second wrench, stop at the specified turn, and only snug further if a pressure test shows a weep.
Can you reuse a compression fitting?
You can reuse the body and nut, but plan on a new ferrule. Once tightened, the ferrule bites into the tube and takes a permanent set, and BrassCraft labels its supply stops do not reuse. To remake a joint, cut the tube behind the old ferrule or pull it off, then install a fresh ferrule on clean, round tube.
Are compression fittings better than SharkBite?
Neither wins everywhere. A compression fitting costs less per joint, has no rubber O-ring, and suits a permanent valve on a visible stub out. A push-fit fitting such as SharkBite installs faster, works on wet lines, and is certified to ASSE 1061 for concealed use where local code allows. For a fixture shutoff under a sink, compression remains the common choice.
Can compression fittings be used behind walls?
Often not. BrassCraft rates its compression stops for use with water in accessible locations only, and many inspectors read that instruction as a ban on burying the joint in a wall. Model codes accept compression joints when installed to the maker’s instructions, so the instruction sheet decides. If the joint must be concealed, a sweat, press, or crimp joint is the safer pick.
Can you use a compression fitting on PEX?
Yes, if the fitting maker allows it and you use the right parts. BrassCraft calls for a plastic sleeve on PEX 3/8 inch OD and smaller, and a brass sleeve with a stainless steel tube insert on larger PEX. The insert keeps the soft tube from collapsing under the ferrule. Its stops list ASTM F876 and F877 PEX only.
Why is my compression fitting leaking?
The usual causes are a crooked tube, a ferrule that is not seated square, a scratched or out-of-round tube end, tape or putty on the joint, or a nut that is too loose or badly overtightened. Shut the water, back the nut off, and inspect the ferrule. If it is distorted or off-center, replace it rather than cranking harder.
How to properly connect a compression fitting?
Shut off the water, cut the tube square with a tubing cutter, and deburr it. Slide on the nut with threads facing the fitting, then the ferrule, and push the tube fully into the body until it bottoms out. Thread the nut on by hand, then add the maker's specified turns while a second wrench holds the body. Open the water slowly and check for drips.
Do professional plumbers use compression fittings?
The article indicates compression fittings are a standard option plumbers choose for visible, small-diameter connections such as angle stops and straight stops under sinks and behind toilets, faucet and toilet supply lines, ice maker and filter lines, and quick repairs on exposed copper, valued because they need no heat, no torch, and no solder.