How to Cap a Water Line: Methods, Steps, and Dead-Leg Rules
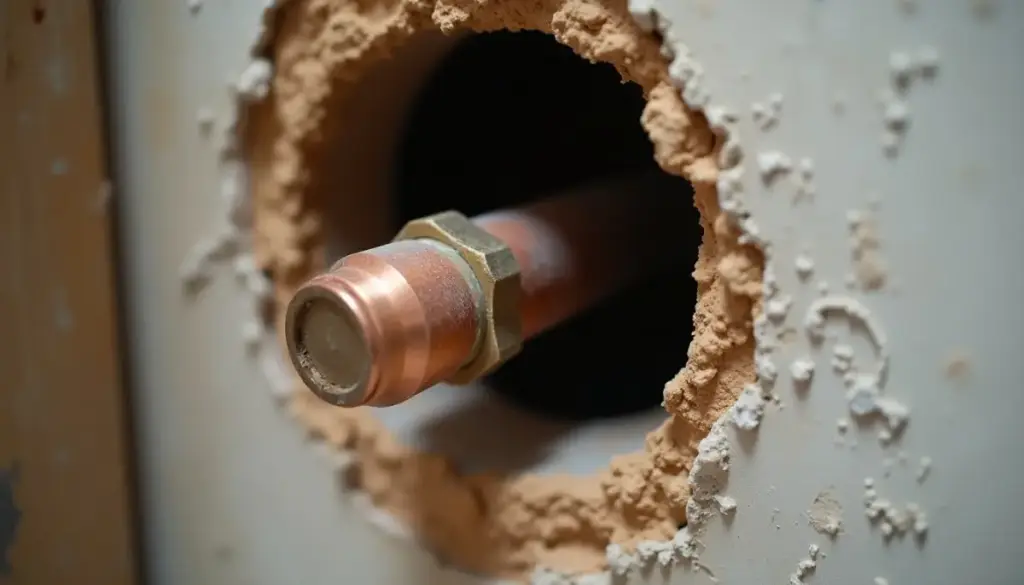
How to cap a water line in five steps: shut off and drain, cut back to the live pipe, cut square and deburr, install a cap made for that pipe, then pressure test before closing the wall.
Key Takeaways
- SharkBite rates its push-fit end stops to 200 psi and 200F and certifies them for use behind walls without access panels, per its manufacturer submittal.
- Uponor rates its ProPEX brass plug at 160 psi at 73F and 100 psi at 180F, per the Uponor product submittal.
- A copper joint made with 95-5 tin-antimony solder is rated 500 psi at 100F on 1/8 to 1 in tube, per ASME B16.18 tables reproduced by Engineering ToolBox.
- The CDC lists 77 to 113F as the favorable growth range for Legionella and tells building operators to eliminate dead legs.
- A 2020 review in Frontiers in Environmental Science (Nisar et al.) found 22 of 24 studies linked stagnation zones to more Legionella colonization.
- Federal law caps solder and flux for drinking water lines at 0.2% lead, per the EPA, so a lead-bearing 50-50 solder cap does not belong on a supply line.
What are the ways to cap a water line?
There are six common ways to cap a water line: a push-fit end stop, a compression cap, a soldered copper cap, a crimp or expansion plug on PEX, a threaded cap on steel or brass, and a solvent welded cap on CPVC. The right one depends on the pipe material, whether the cap is temporary, and whether it will end up inside a wall. Before deciding on a capping method near a kitchen wall, check running a fridge water line in case that dead leg gets reused later.
A cap holds full line pressure with nothing behind it, so the joint method matters more than the cap. Our guide to plumbing fittings by type and connection covers how each joint family seals.
| Method | Pipe type | Permanence | Skill and tools |
|---|---|---|---|
| Push-fit end stop (SharkBite and similar) | Copper, CTS CPVC, PEX | Temporary or permanent; removable with a release clip | Low; tube cutter, deburring tool, depth gauge |
| Compression cap | Copper; PEX only with an insert stiffener | Semi-permanent; keep accessible | Low; two wrenches |
| Soldered (sweat) cap | Copper | Permanent; can be concealed | Medium to high; torch, lead-free solder, flux |
| Crimp or cinch plug (ASTM F1807 or F2098) | PEX | Permanent; can be concealed | Medium; crimp or cinch tool, go/no-go gauge |
| Expansion plug (ASTM F1960, such as Uponor ProPEX) | PEX-A | Permanent; can be concealed | Medium; expansion tool and rings |
| Threaded cap | Galvanized steel, brass, black iron | Semi-permanent; keep accessible | Low to medium; pipe wrenches, PTFE tape or pipe dope |
| Solvent welded cap (ASTM F493 cement) | CPVC | Permanent; can be concealed | Low to medium; primer, CPVC cement, cure time |
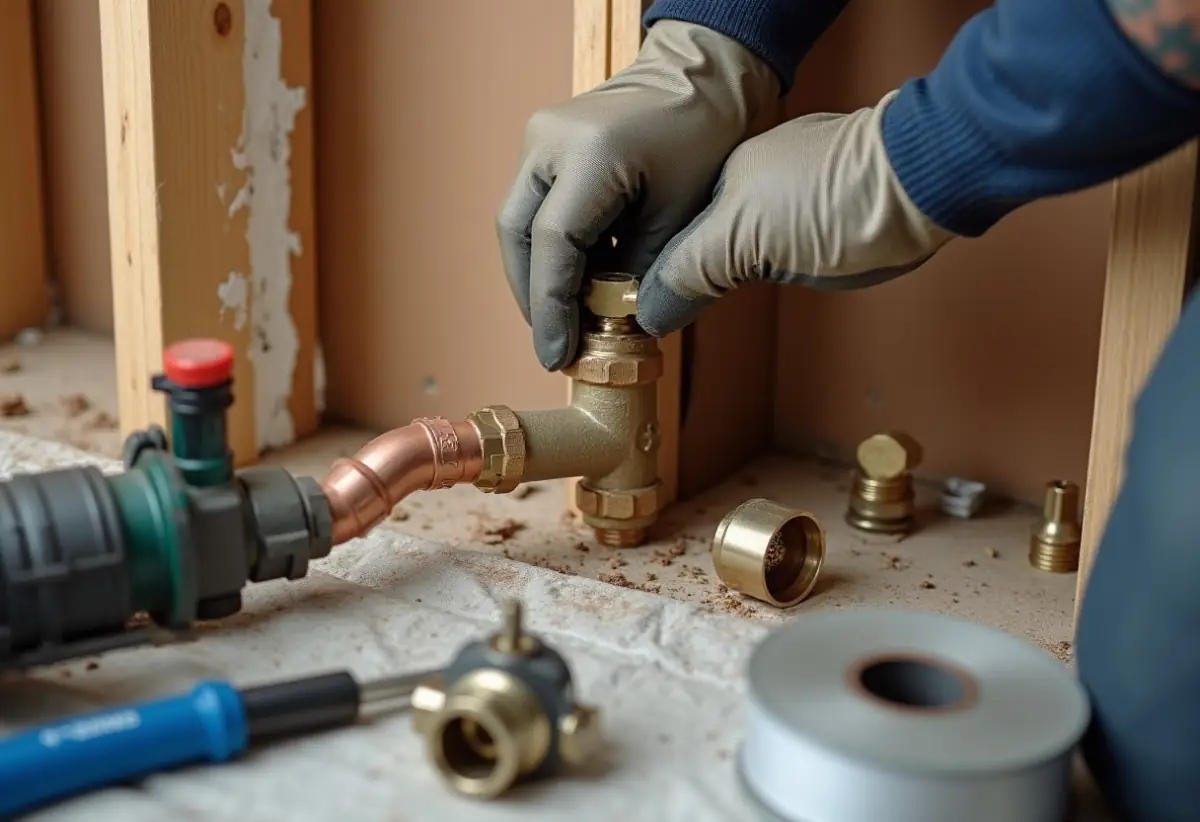
Which water line cap should you use for each pipe and situation?
Match the cap to the pipe first, then to the job. For a temporary cap during a remodel, use a push-fit end stop because it comes off clean. For a permanent cap inside a wall, use the pipe’s native joint: solder on copper, a crimp or expansion plug on PEX, or a solvent welded cap on CPVC. Keep compression and threaded caps where you can reach them.
Copper
A sweat cap is cheap, permanent, and takes up almost no room behind drywall. If you have never sweated a joint, our walkthrough on soldering copper pipe covers flux, heat, and cleaning. Use lead-free solder only. The EPA’s lead-free rules limit solder and flux to 0.2% lead and wetted surfaces to a weighted average of 0.25%.
Where a torch is a bad idea, such as next to framing or on a line that keeps dripping, a push-fit end stop goes on cold.
PEX
Use a plug from the same connection system as the rest of the pipe. Crimp and cinch plugs follow ASTM F1807 and F2098, and expansion plugs on PEX-A follow ASTM F1960. Uponor’s ProPEX brass plug submittal lists 160 psi at 73F and 100 psi at 180F. A push-fit end stop also works on PEX and needs no tool.
CPVC and galvanized
CPVC takes a solvent welded cap with cement made for CPVC (ASTM F493), not PVC cement. Galvanized steel takes a threaded cap, but old galvanized threads are often thin and rusted. If the stub is short or crusty, cut back to sound pipe or transition to copper or PEX before capping.
How do you cap a water line step by step?
Shut off the supply, drain the line, cut back to the point you want to cap, cut the pipe square, deburr and clean it, install the cap per the maker’s instructions, then turn the water back on slowly and watch the cap under pressure. Only the joining step changes between methods.
- Shut off and drain. Close the nearest valve that isolates the line, or shut off the water at the main. Open the lowest faucet on that branch to drop the pressure and drain the pipe.
- Decide where the cap goes. Trace the line back to the tee or fitting where it leaves the active pipe. Plan to cap there, not at the old fixture, so you do not leave a long stagnant branch.
- Cut square. Use a tube cutter on copper and a PEX or plastic pipe cutter on PEX and CPVC. A square cut seats fully in the socket.
- Deburr and clean. Ream the inside burr and chamfer the outside edge. A sharp outside edge can nick the O-ring inside a push-fit fitting. On copper, sand the outside bright for solder or for a clean seal.
- Install the cap. For push-fit, mark the insertion depth and push with a slight twist until the mark meets the fitting; SharkBite’s submittal says to push “until it clicks.” For solder, flux, heat, and feed lead-free solder. For PEX, set the ring and crimp or expand, then check with the go/no-go gauge. For CPVC, prime if the cement maker requires it, cement, and hold.
- Pressure test. Open the valve slowly, then check the cap with a dry paper towel. Leave it under line pressure and recheck before you close the wall. Permitted work may need a formal inspector test.
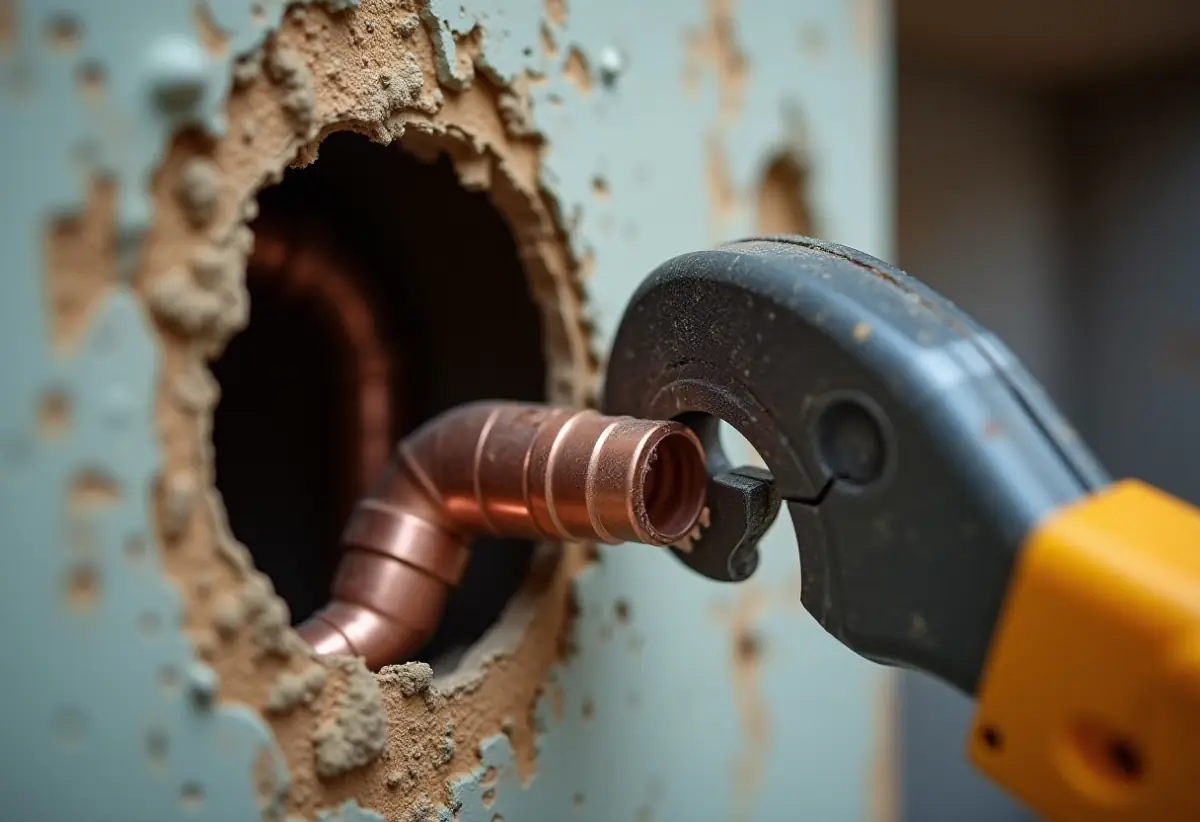
How far back should you cut before capping a water line?
Cut back as close to the active line as you can, ideally at the tee where the branch leaves the main run, or replace that tee with a straight coupling. A capped branch with no flow is a dead leg. Stagnant water in a dead leg loses disinfectant, warms toward room temperature, and gives bacteria such as Legionella a place to grow.
The CDC’s potable water systems guidance tells building water managers to “eliminate dead legs, which are sections of no- or low-water flow,” and to flush any that remain at least weekly. It lists 77 to 113F as the favorable range for Legionella and notes growth can start as low as 68F. A capped cold line in a warm wall cavity or ceiling can sit in that range.
A 2020 review in Frontiers in Environmental Science by Nisar and colleagues found that 22 of 24 studies showed a positive link between stagnation zones and higher Legionella colonization. The studies cover all building types, but a dead end pipe behaves the same in a house.
- Best: remove the tee and splice the main run with a coupling, so no branch remains.
- Good: cap the branch right at the tee, leaving only the fitting’s own depth of still water.
- Avoid: capping at the old fixture location and leaving several feet of dead pipe in the wall.
How much pressure can each type of water line cap hold?
Every listed cap holds far more than normal house pressure. SharkBite rates its push-fit fittings at 200 psi, Uponor rates its ProPEX brass plug at 160 psi at 73F, and a 95-5 soldered copper joint on small tube is rated 500 psi at 100F under ASME B16.18. Most homes run well under the 80 psi static pressure that triggers a pressure reducing valve under the International Plumbing Code.
Sources: Engineering ToolBox, reproducing ASME B16.18 (1/8 to 1 in tube at 100F); SharkBite submittal HB001 (rated to 200F); Uponor ProPEX brass plug submittal. Ratings use different temperatures and test bases, so they are not a quality ranking.
Capped lines rarely fail on rated pressure. Hot lines are the one to watch: PEX plug ratings drop as temperature rises, so a cap near a water heater has the thinnest margin.
Can you cap a water line inside a wall?
Usually yes, if the cap uses a joint that is listed for concealment and passes inspection where required. Soldered copper caps, PEX crimp and expansion plugs, and solvent welded CPVC caps are routinely buried. Some push-fit end stops are certified for concealed use too. Compression and threaded caps are generally kept accessible. Local code and your inspector have the final word.
SharkBite’s submittal says its push-fit fittings are certified “as a manufactured joint without access panels” and for underground use, and that they meet UPC, IPC, and cUPC requirements. Your local inspector can still require a native joint. Our push-fit fittings review covers the reliability record and where inspectors push back.
Compression caps seal with a brass ferrule and a nut that can loosen over time. Most plumbers treat them as accessible only: fine on a 3/8 in stub under a sink, a poor choice inside a closed wall.
Pressure testing rules also vary. The International Plumbing Code (section 312.5) calls for water supply piping to be tested at no less than its working pressure, or, for non-plastic piping, by an air test of at least 50 psi. Many local codes adopt that or their own version, so verify the test your jurisdiction expects before the drywall goes up.
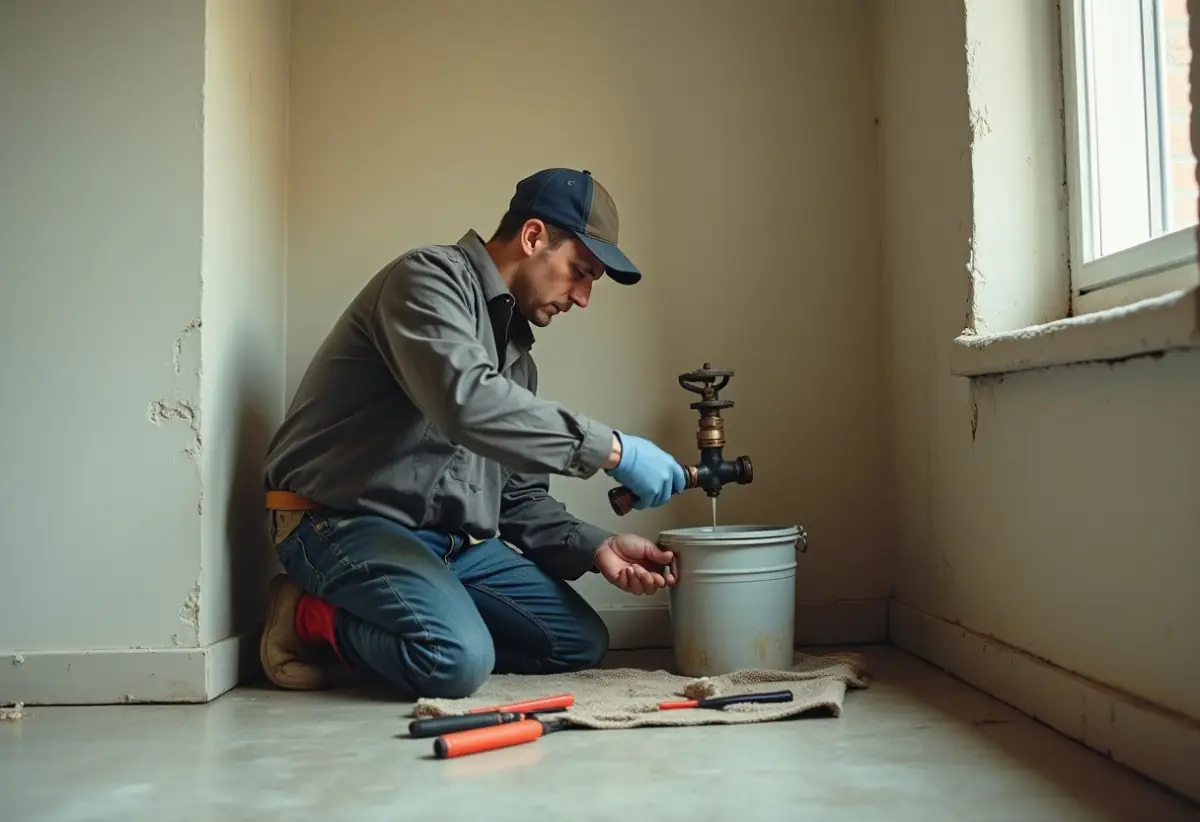
How long does capping a water line take, and what does it cost?
The cap is the fast, cheap part. A push-fit end stop goes on in seconds, and a sweat cap takes a few minutes once the pipe is dry. Most of the job is shutting off, draining, cutting back to the live line, and opening walls. Cost depends on tools you already own more than on the fitting, since caps are among the smallest parts a plumbing supplier sells.
| Method | Hands-on time for the cap | Tool you may need to buy | Where cost comes from |
|---|---|---|---|
| Push-fit end stop | Seconds after prep | Tube cutter, deburring and depth tool | The fitting, which costs more than a native cap |
| Compression cap | A few minutes | Two wrenches | The fitting |
| Soldered copper cap | A few minutes plus cool-down | Torch, solder, flux, emery cloth | Torch kit if you lack one |
| PEX crimp or expansion plug | A minute or two | Crimp, cinch, or expansion tool | The system tool, which costs far more than the plug |
| CPVC solvent cap | A minute, then cure time before pressure | Cutter, CPVC primer and cement | Cement and wait time |
We left out retail prices because they move with supplier, size, and brand. The real cost swing is access. A cap on an exposed basement line is a short visit, while a cap that means opening and patching drywall, tile, or a ceiling adds a second trade. If you hire a plumber, ask whether the quote includes cutting back to the tee and a pressure check.
What mistakes make a capped water line leak?
Most capped line leaks trace to prep, not parts. The usual faults are a crooked cut, a burr that tears an O-ring, a push-fit cap short of full depth, water left in copper during soldering, a compression cap on bare PEX, and capped stubs that freeze. Five extra minutes of prep prevents nearly all of them.
- Short insertion on push-fit. Mark the depth with a gauge and confirm the mark meets the fitting.
- Wet copper. A trickle from a leaking valve keeps the joint too cool for solder to flow. Drain fully, or use a push-fit cap on wet pipe instead.
- Compression on PEX without an insert. The soft tube collapses under the ferrule. Use an insert stiffener or a PEX-rated cap.
- Wrong cement. PVC cement on CPVC is a mismatch. Use cement listed for CPVC.
- Cold exterior walls. A capped line in an unheated wall or crawlspace still holds water and can freeze. Cut it back to heated space when you can.
How we sourced this
We reviewed the top-ranking pages for “how to cap a water line” and related questions in October 2026, then went to primary documents for every number: the SharkBite push-fit submittal (HB001, Cash Acme), the Uponor ProPEX brass plug submittal, ASME B16.18 solder joint ratings as reproduced by Engineering ToolBox, the CDC potable water systems guidance, the EPA lead-free rules, a 2020 peer-reviewed review in Frontiers in Environmental Science, and the International Plumbing Code. We consulted more sources than we cited and excluded forum claims and retail prices. Code requirements vary by state and city, so treat the code notes as a starting point and confirm with your local inspector.
Frequently asked questions
Can you cap a water line with a SharkBite?
Yes. A SharkBite end stop fits copper, CTS CPVC, and PEX, and the maker rates its push-fit fittings to 200 psi and 200F. Its submittal says they are certified for underground use and behind walls without access panels. Deburr the pipe, mark the insertion depth, and push until the mark meets the fitting. Check your local code before you bury one in a wall.
Can you leave a capped water line in the wall?
Often yes, if the cap is a type listed for concealment, such as a soldered copper cap, a PEX crimp or expansion plug, a solvent welded CPVC cap, or a push-fit end stop certified for use behind walls. Compression and threaded caps are usually left where you can reach them. Cut back to the live line first so you do not bury a stagnant dead leg.
Do you have to turn off the water to cap a pipe?
Yes, for any real repair. Shut the nearest valve or the main, open a low faucet to drain the line, and confirm no water is moving before you cut. A push-fit cap can go on wet pipe, which helps when a valve weeps. Soldering needs a dry pipe, since trapped water keeps the joint too cool for solder to flow.
How do you temporarily cap a water line?
A push-fit end stop is the usual temporary cap because it installs with no tools and comes off with a release clip, so the pipe can be extended later. A compression cap also works on copper stub-outs. Both should stay where you can see them during a remodel, and both should be pressure checked with the water on before you walk away.
Is it OK to leave a dead end water pipe?
It is better not to. The CDC tells building water managers to eliminate dead legs, which are sections of no or low flow, because stagnant water favors Legionella growth. A 2020 review in Frontiers in Environmental Science found 22 of 24 studies linked stagnation zones to more Legionella. Cap the line at the tee, or swap the tee for a coupling.
Can you cap PEX without a crimp tool?
Yes. A push-fit end stop rated for PEX goes on by hand, though it needs the tube cut square and the right insertion depth. Crimp, cinch, and expansion plugs all need their own tools. If the cap will sit inside a wall for years, a crimp or expansion plug from the same system as the rest of the PEX is the common permanent choice.
How long does it take to cap a water line?
The cap itself takes seconds to a few minutes. A push-fit end stop goes on in seconds, while a soldered copper cap takes a few minutes once the pipe is dry. Most of the time goes to shutting off, draining, cutting back to the live line, and watching the cap under pressure before the wall is closed.
What is the best way to cap off water pipes?
The best method matches the pipe's native joint and keeps it permanent if it will be concealed. Use a soldered cap on copper, a crimp or expansion plug on PEX, or a solvent welded cap on CPVC. Cut back to the tee where the branch leaves the main run, cut square, deburr, install the cap per the maker's instructions, then pressure test before closing the wall.
How to close a water pipe permanently?
Shut off and drain the line, cut back to the tee where the branch leaves the active pipe, cut the pipe square, and deburr it. Install a permanent, concealable cap suited to the pipe material, a soldered cap on copper, a crimp or expansion plug on PEX, or a solvent welded cap on CPVC. Then open the valve slowly and pressure test before closing the wall.