Washing Machine Shut Off Valve Leaking: Fixes
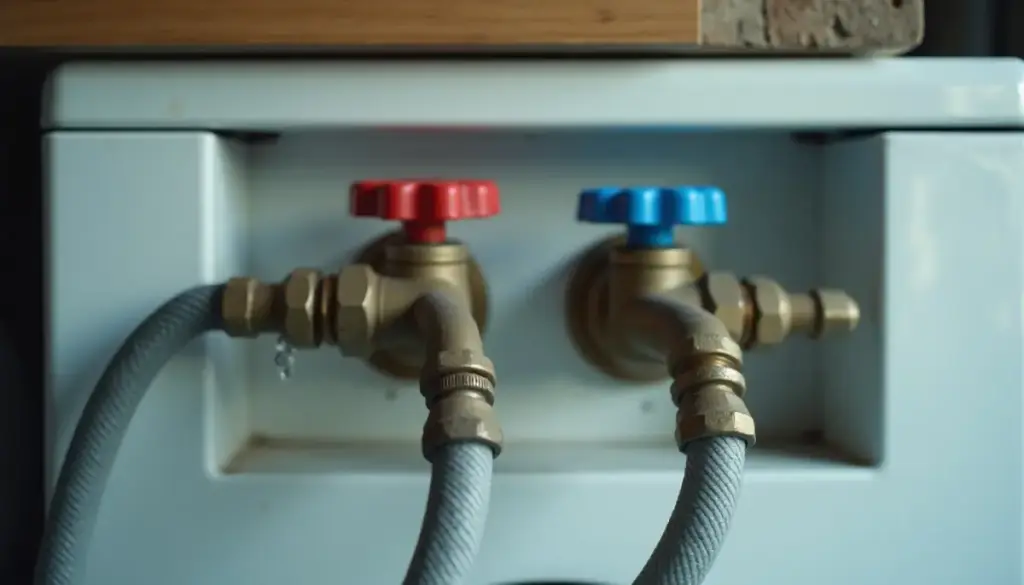
A washing machine shut off valve leaking almost always drips from one of four spots: the stem packing, the hose washer, the valve body or solder joint, or the box itself.
Key Takeaways
- An IBHS study published by the Connecticut Insurance Department found a burst supply line caused half of all washing machine water damage incidents.
- Those washing machine incidents averaged more than $6,000 in damage each, per the same Connecticut pamphlet.
- Family Handyman says to snug a leaking packing nut 1/8 to 1/4 turn, then 1/8 turn at a time until the drip stops.
- The Connecticut pamphlet says to hand tighten a washer hose, then add 2/3 of a turn with pliers, and leave a 3 to 4 inch gap behind the machine.
- Manufacturers recommend new washer hoses every 5 years (Connecticut Insurance Department); the IBHS homeowner guide says every 3 to 5 years.
- Oatey sells individual box valves by connection: 38470 copper sweat, 38472 PEX F1807, 38473 PEX F1960, 38471 CPVC.
Where is your washing machine shut off valve leaking?
A washing machine shut off valve leaking will drip from the stem behind the handle, the hose coupling on the valve outlet, the valve body or the solder joint below it, or from inside the box. Dry everything with a towel, wrap a strip of dry tissue around each joint, and run a fill cycle. The first tissue that darkens marks the leak and decides the fix.
It is the same tissue test we use for a toilet supply line leaking. Test with the washer idle, then again while it fills. Water pooling in the box can also come from the drain side: if the standpipe overflows during pump out, you have a washing machine drain backing up, not a valve leak.
| Leak location | Likely cause | Fix | Parts |
|---|---|---|---|
| Stem, under the handle (multi-turn valve) | Loose or worn packing around the stem | Snug packing nut 1/8 to 1/4 turn, then 1/8 at a time (Family Handyman) | Packing washer or graphite string |
| Stem of a quarter-turn or single-lever valve | Worn stem seal on a ball valve | Light snug on an exposed stem nut; replace if it keeps weeping | Box valve matched to your pipe (Oatey 38470 to 38485 for fire-rated boxes) |
| Hose coupling on the valve outlet | Hardened, split or missing hose washer; loose coupling | Hand tight plus 2/3 turn with pliers (Connecticut Insurance Dept.) | Flat rubber hose washers, or a new pair of braided stainless hoses |
| Hose body near the coupling | Crack, kink or blister in the hose | Replace both hoses; leave 3 to 4 inches behind the washer | Braided stainless steel hoses |
| Valve body or solder joint | Corrosion, pinhole, or a failed sweat joint | Shut the main, cut out and replace the valve | Sweat, PEX, CPVC or push-fit valve |
| Hose outlet with valve fully closed | Worn seat washer or damaged ball and seats | Replace the valve | Complete valve |
How do you fix a washer valve leaking at the stem or packing nut?
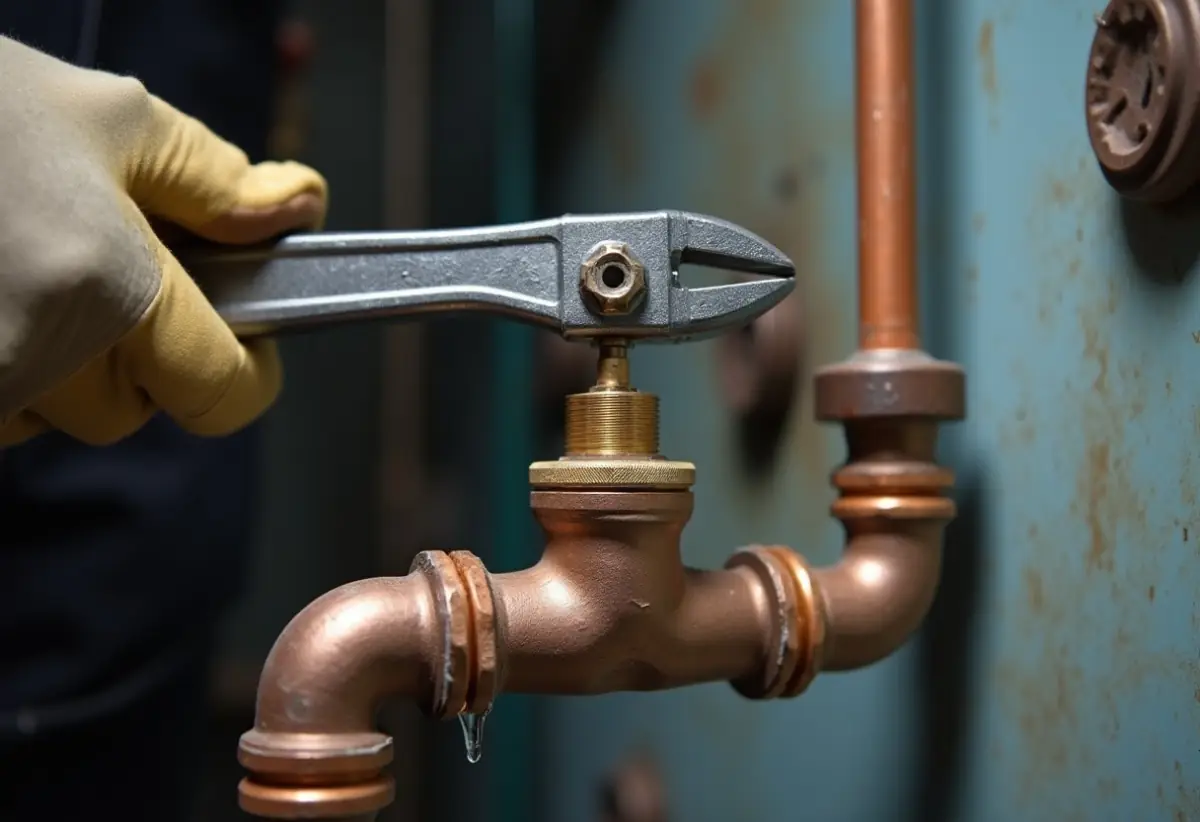
Close the valve, then snug the packing nut directly under the handle 1/8 to 1/4 turn clockwise with a wrench, which is the first step Family Handyman gives for a shutoff valve leak. Open the valve and watch. If it still weeps, go 1/8 turn more, one step at a time. If that fails, the packing washer is worn and needs replacing.
Hold the valve body with a second wrench, since one wrench can twist a valve hanging from copper and crack the solder joint or the box. Stop when the drip stops; an overtight nut makes the handle stiff.
- Close the house main and drain the line at a lower faucet.
- Remove the handle and unscrew the packing nut.
- Pick out the old packing washer or graphite string.
- Fit a matching washer, or wrap new graphite string in the direction the nut tightens, then reassemble.
Hot water is hard on rubber. The IBHS interior water damage white paper names wear, high pressure, heat and poor water quality as the causes of hose and gasket failure, and hot side packing and washers see the most heat, which is why the hot valve often drips first. Check the cold valve too.
Why is the washer hose connection dripping, and how do you stop it?
A drip at the threaded coupling where the hose meets the valve almost always means the flat rubber washer inside the hose coupling has hardened, split or gone missing, or the coupling is loose. Washer hoses seal on that washer, not on the threads. Replace the washer, then tighten the coupling by hand plus 2/3 of a turn with pliers.
That 2/3 turn figure comes from the Connecticut Insurance Department’s water damage pamphlet, which publishes IBHS study guidance. It also warns against overtightening and says cracks, kinks and blisters show up most often near the hose connection.
- Close both valves and unscrew the coupling into a bucket.
- Pry out the old flat washer and seat a new one fully (screen-type washers replace like with like).
- Thread on by hand, add 2/3 of a turn with pliers, and run one fill with dry tissue on the joint.
Skip thread tape; the rubber washer seals, and tape can keep the coupling from seating square. If a coupling is cracked or a hose bulges, replace both with braided stainless steel lines, as the pamphlet suggests, and keep the washer 3 to 4 inches off the wall so the hoses do not kink.
When should you replace a leaking washing machine valve instead of repairing it?
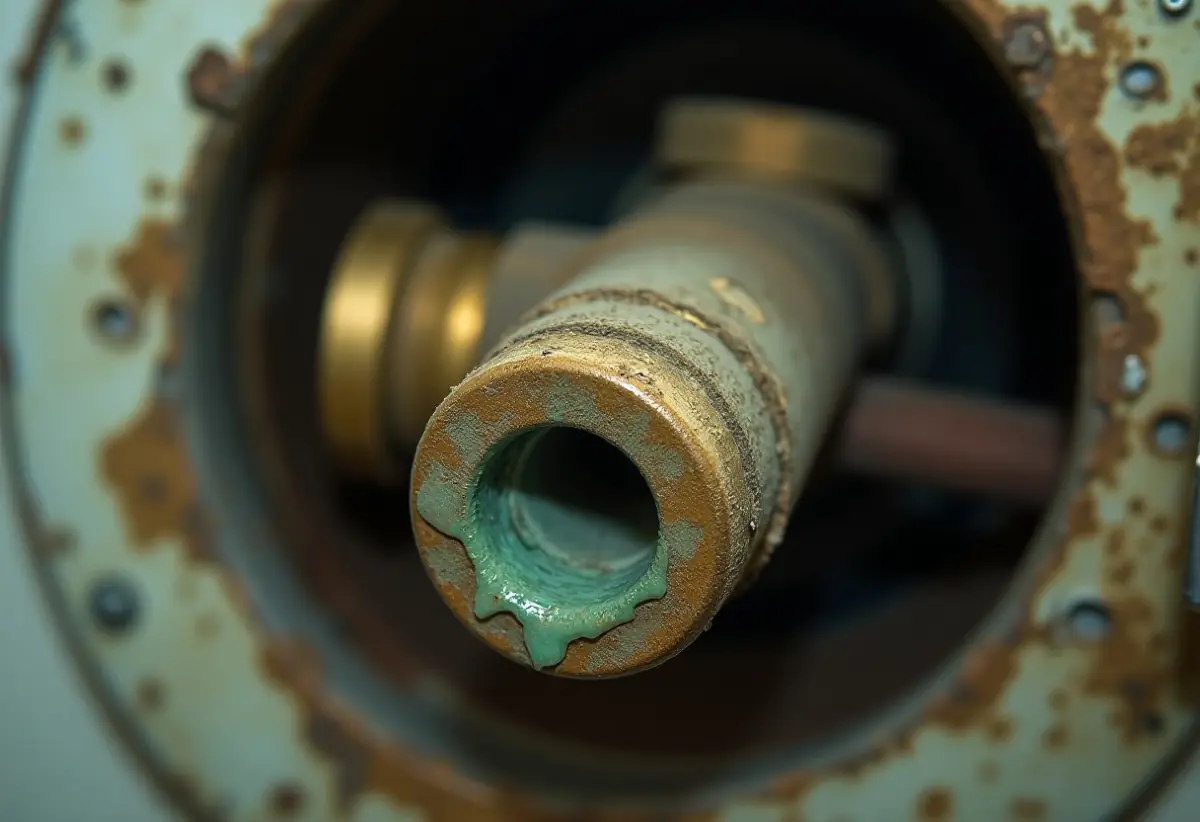
Replace the valve when water passes through it fully closed, when the body or the solder joint below it is wet, when the handle is seized, or when a quarter-turn or single-lever valve keeps weeping at the stem after a light snug. Packing and hose washers are repairs. A leaking body, a failed seat or a corroded sweat joint means a new valve.
Test for an internal leak with the hose off. Close the valve, unscrew the hose into a bucket, and hold a dry rag at the outlet for a minute. Any flow means a worn seat washer or worn ball seats, and a valve that cannot close fails the day a hose bursts.
- Green or white crust on the body: corroded brass. Replace and check the pipe behind the box.
- Single-lever valve leaking at the lever: the lever is part of the valve assembly, so replace the whole valve.
The technique mirrors replacing a shut-off valve under a sink, except you work inside a recessed box instead of an open cabinet.
How do you replace a washing machine shut off valve in a wall box?
Shut off the main, drain the line, remove the hose, then cut out the old valve and install one with the same connection: copper sweat, PEX crimp or expansion, CPVC, or a push-fit or compression valve on clean copper. Test with the hose off, then reconnect it with a new washer and run a fill with dry tissue on every joint.
Sweat (soldered copper)
- Close the main and open the lowest faucet to drain the line.
- Cut the copper below the old valve with a tube cutter, leaving enough pipe to reach the new valve.
- Clean pipe and socket with emery cloth and flux both.
- Solder with the ball valve open so heat does not damage the seats, and protect the plastic box from the flame with a heat shield.
Read the valve’s sheet first. BrassCraft tells installers not to sweat within 12 inches of its G2 quarter-turn stops, while sweat-end box valves such as the Oatey 38470 are made to be soldered.
PEX (crimp or expansion)
- Cut the PEX square below the old valve.
- Match the valve end to your system: ASTM F1807 for crimp rings, ASTM F1960 for expansion rings.
- Seat the barb fully, crimp or expand, and check crimps with a go/no-go gauge.
Push-fit or compression (no torch)
- Cut the copper square, deburr it, and mark the insertion depth from the maker’s sheet.
- Push the valve to the mark, or tighten the compression nut to the maker’s turn count, then tug to confirm.
Check the drain side too. The box’s drain outlet is part of how a washing machine drain is set up, and Oatey’s fire-rated box, for one, uses a 2 inch drain piece sized for 2 inch PVC or ABS Schedule 40 pipe.
Which replacement valve fits your washing machine outlet box?
Match three things: the valve style (quarter-turn ball or single lever), the pipe connection, and whether you want a built-in water hammer arrestor. Oatey’s fire-rated outlet box spec sheet lists 16 brass ball valves sold one per pack, all listed to ASME A112.18.1 / CSA B125.1, with arrestors listed to ASSE 1010. The table below maps them by connection.
| Connection | Quarter-turn | Single lever | Quarter-turn with arrestor | Single lever with arrestor |
|---|---|---|---|---|
| Copper sweat | Oatey 38470 | Oatey 38474 | Oatey 38478 | Oatey 38482 |
| CPVC | Oatey 38471 | Oatey 38475 | Oatey 38479 | Oatey 38483 |
| 1/2 in PEX, ASTM F1807 (crimp) | Oatey 38472 | Oatey 38476 | Oatey 38480 | Oatey 38484 |
| 1/2 in PEX, ASTM F1960 (expansion) | Oatey 38473 | Oatey 38477 | Oatey 38481 | Oatey 38485 |
Those numbers come from Oatey’s fire-rated outlet box specification, which lists a box opening 8.33 inches wide and 3.92 inches deep. Oatey’s Quadtro and Centro boxes use other part numbers, so read the label inside your box before ordering.
A single-lever valve shuts hot and cold in one motion, and the Connecticut pamphlet suggests a lever-type valve that is easy to close between loads. If pipes bang when the washer’s solenoid snaps shut, pick an arrestor version.
How often should washing machine hoses be replaced, and what does a failure cost?
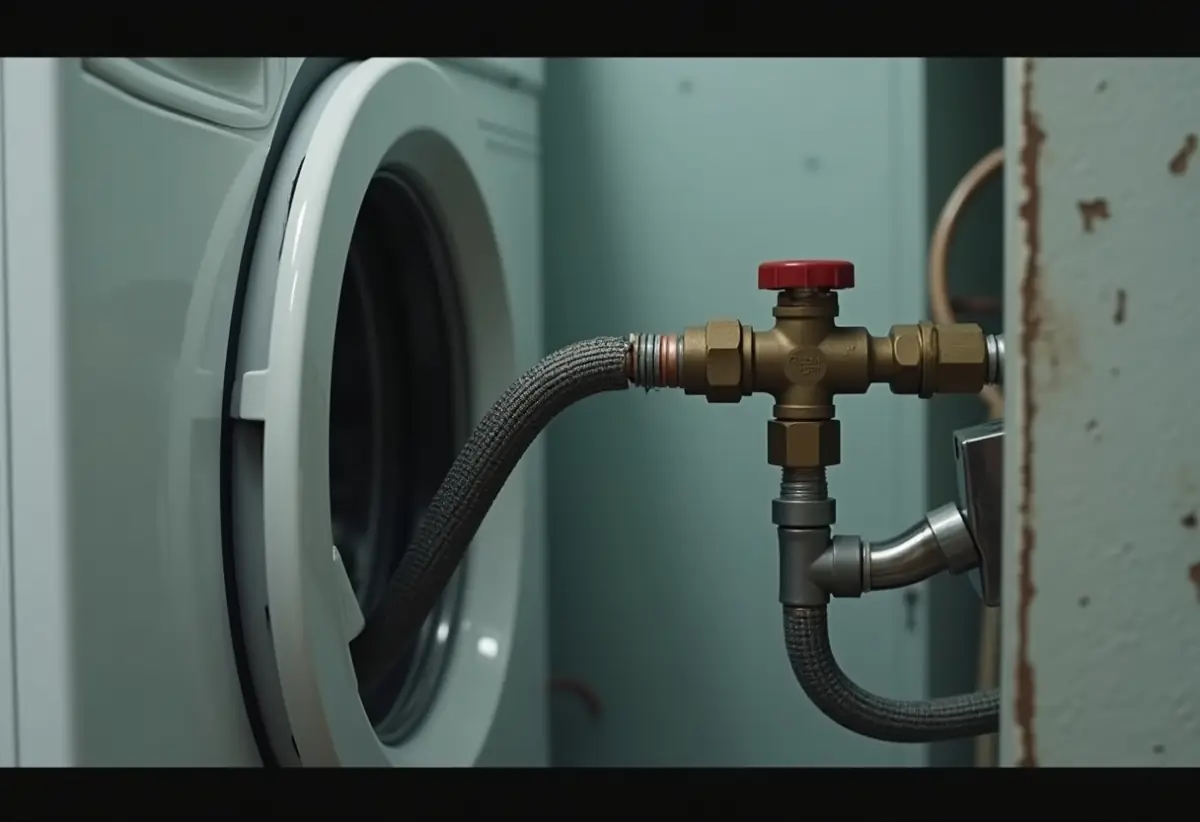
Replace washing machine hoses every 5 years, the interval the Connecticut Insurance Department says manufacturers recommend, or every 3 to 5 years under the IBHS homeowner guide. The stakes are high. In the IBHS study the pamphlet reports, a burst supply line caused half of all washing machine water damage incidents, and those incidents averaged more than $6,000 each.
Source: IBHS study via the Connecticut Insurance Department. The toilet figure combines supply lines, flanges, fill valves and overflows.
The pamphlet adds two habits: do not run the washer while the home is empty, and close the supply valves when it is not in use. For a hands-off backstop, distributor The Granite Group lists the Watts A2CM1, a 1/2 inch male automatic washing machine shutoff valve with a leak sensor.
What does it cost to fix a washing machine valve leak?
A packing nut snug or a hose washer swap costs a few dollars, and new hoses or a box valve is a parts run. Hiring a plumber to replace a valve costs far more: Homewyse priced a basic shut-off valve install at $277 to $333 per valve in May 2026, with a two-hour labor minimum.
A cracked recessed box costs more, since it means opening drywall and remaking the supply and drain joints. Call a licensed plumber when the leak is inside the wall, when the main will not close, or when the job needs a torch and you have never soldered near a plastic box and framing.
How we sourced this
Damage figures, hose intervals and tightening guidance come from the Connecticut Insurance Department pamphlet publishing IBHS study results and from IBHS guidance. Valve numbers and box dimensions come from Oatey’s fire-rated box spec sheet, packing steps from Family Handyman, and install cost from Homewyse (May 2026). We consulted about 25 pages and cited 7. We excluded a widely repeated $5,308 average claim and an 8.7 year failed-hose age we could not trace to the IBHS report. Reviewed October 2026.
Frequently asked questions
Why is my washing machine shut off valve leaking only when it is open?
A drip that shows only with the handle open almost always comes from the stem packing. Water pressure reaches the packing only when the valve is open, so closing it hides the leak. On a multi-turn valve, snug the packing nut 1/8 turn at a time as Family Handyman advises, and replace the packing washer if that fails.
Can I tighten a leaking washer hose connection?
Yes, once you rule out a bad washer. The Connecticut Insurance Department, publishing IBHS study guidance, says to hand tighten the hose and then add 2/3 of a turn with pliers, and to avoid overtightening. If it still drips, remove the hose, replace the flat rubber washer inside the coupling, and reconnect.
Why is my washer hot water valve dripping and the cold one is not?
Hot water works the rubber parts harder. The IBHS interior water damage white paper names wear, high pressure, heat and poor water quality as the causes of hose and gasket failure. Hot side packing and hose washers see the most heat, so a hot only drip is common aging. Check the cold valve too, since both are the same age.
How often should washing machine hoses be replaced?
The Connecticut Insurance Department pamphlet based on an IBHS study says washing machine manufacturers recommend replacing hoses every 5 years. The IBHS homeowner guide sets a tighter range of every 3 to 5 years. Inspect them every 6 months for cracks, kinks or blisters near the couplings, and replace them sooner if you see any.
Should I replace a leaking washing machine valve or repair it?
Repair a stem drip or a hose connection drip, since a packing nut or a hose washer usually solves it. Replace the valve when it passes water while fully closed, when the body or a sweat joint is wet, when the handle is seized, or when a quarter turn or single lever valve leaks at the stem after a light snug.
Can I replace a washing machine valve without soldering?
Often yes. Oatey sells box valves with PEX ends to ASTM F1807 and F1960, which go on with a crimp or expansion tool instead of a torch. On copper you can cut out the old valve and use a compression or push fit valve on clean, square, deburred pipe. Sweat valves need a torch and solder.
How much water damage can a leaking washer valve cause?
A slow drip soaks the wall cavity and floor, but a burst hose floods a room. The IBHS study published by the Connecticut Insurance Department found that a burst supply line caused half of all water damage incidents involving washing machines, and those incidents averaged more than $6,000 in damage per incident.