Leaking Shower Pan: Signs, Tests and Repair Cost
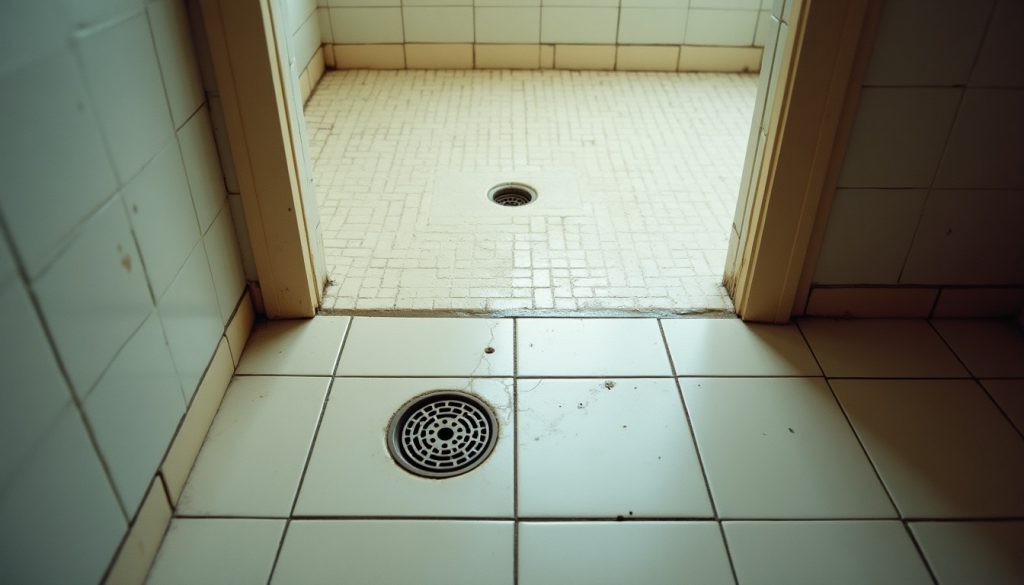
A leaking shower pan shows up as ceiling stains, grout that never dries and loose floor tile, and a plugged-drain flood test tells you within 24 hours whether the pan, the drain or the walls are to blame.
Key Takeaways
- IPC 312.9 requires a new shower liner to hold 2 inches of water at the threshold for at least 15 minutes, per the International Code Council.
- Schluter calls a 24-hour water test typical for its shower systems, long enough to catch slow leaks.
- The UPC, as adopted in Minnesota Rule 4714.0408, pitches the liner 1/4 inch per foot to weep holes and turns it up 3 inches above the threshold.
- ASHI names inside corners, the threshold and the drain seal as common leak points in tiled showers.
- Fixr prices a professional shower pan repair at $150 to $500 and a shower drain replacement at $250 to $400.
- Angi puts a full shower pan replacement at $900 to $2,300.
What are the signs of a leaking shower pan?
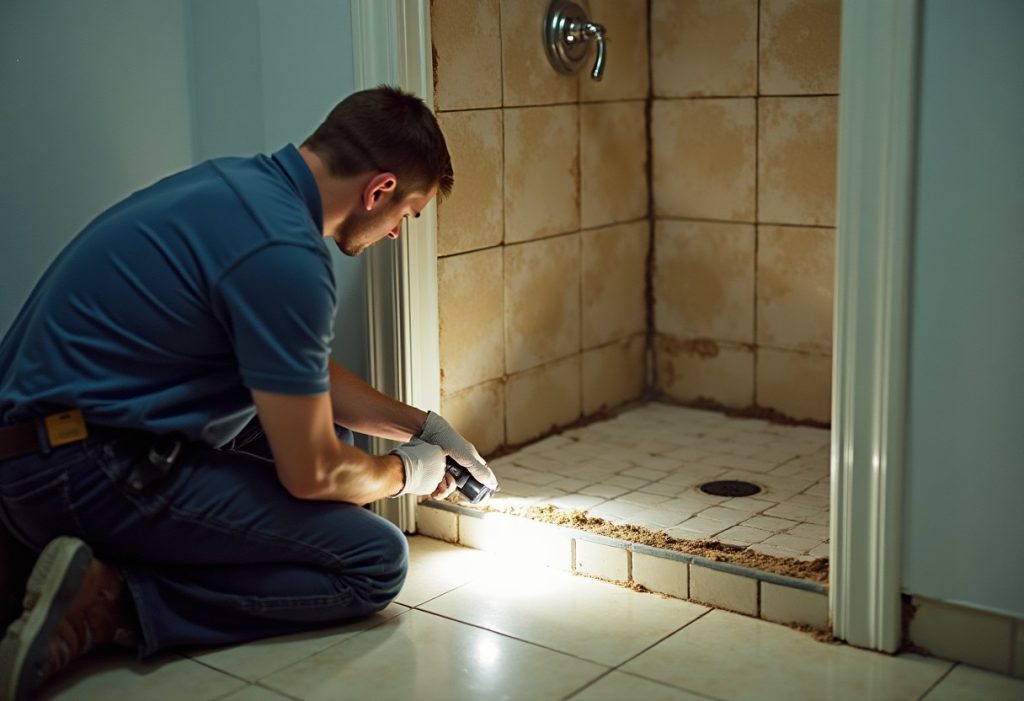
The signs of a leaking shower pan are water damage low and close to the shower floor: a ceiling stain below a second-floor bathroom, grout around the drain that stays dark for days, floor tiles that shift or sound hollow, swollen baseboards outside the curb, and a musty smell that returns after cleaning.
Kenny Hart, writing for the American Society of Home Inspectors, adds wet carpet and white crusty deposits under crawlspace framing. Each sign points somewhere specific.
- Ceiling stain below the shower: under the drain points to the drain or pan, under the door to the curb or splash.
- Dark grout ring around the drain: the mortar bed is holding water, often behind blocked weep holes.
- Loose or hollow tiles on the floor: a saturated mortar bed has lost its bond.
- Swollen baseboard or spongy floor outside the curb: water is getting over or through the curb.
- Musty odor: trapped moisture and mold in the floor or wall.
- A prefab base that flexes or creaks: the base is unsupported and may be cracking.
How do you tell if the shower pan is leaking or something else?
To tell if the shower pan is leaking, rule out everything else first. Many leaks blamed on the pan come from the supply piping and valve, the drain body, wall grout and caulk, or splash past the door. Test one component at a time, cheapest first, and let the ceiling below answer before moving on.
- Check the supply side. With every fixture off, watch the water meter. If it moves, the leak is in pressurized piping, not the pan. On a slab foundation that can mean a slab leak under the floor rather than anything in the bathroom.
- Look at the valve. Through an access panel, run the shower and watch the valve and riser. ASHI flags failed riser solder joints as a hidden source.
- Test the drain alone. Pour a bucket straight into the drain. A stain now points to the drain body, gasket or trap.
- Flood test the pan. Plug the drain and fill the floor (steps below). A drop or stain points to the liner or drain clamp.
- Spray the walls and door. If the pan passes, spray the walls, then the door and curb. A leak now points to grout, caulk or splash.
| Sign | Likely source | Test | Fix |
|---|---|---|---|
| Stain below even when the shower has not run | Supply line or valve | Water meter check with all fixtures off | Plumber repairs the pipe or valve |
| Stain only when water goes down the drain | Drain body, gasket or trap joint | Bucket test, then dye test | Replace gasket or drain |
| Dark grout ring around the drain that never dries | Clogged weep holes or a flat liner | Flood test with plug below the weep holes | Clear weep holes, reset drain tiles, or rebuild |
| Loose or hollow floor tiles | Saturated mortar bed, failed liner | 24-hour flood test | Tear out and replace the pan |
| Swollen baseboard outside the curb | Curb liner too low or punctured, failed curb caulk | Flood test to the threshold, then spray the curb | Recaulk, or rebuild the curb |
| Stain near the door only after long showers | Splash past the door or curtain | Spray the door and curb only | Recaulk, adjust door sweep |
| Prefab base flexes or shows a hairline crack | Unsupported or cracked base | Visual check, then flood test | Patch kit or new base |
How do you do a shower pan leak test?
A shower pan leak test is a flood test. Plug the drain, fill the shower floor with about 2 inches of water at the threshold, mark the waterline and wait. IPC 312.9 sets 15 minutes as the minimum for a new liner at inspection. For an existing shower with a slow leak, run 24 hours, the window Schluter calls typical for its systems.
Under IPC 312.9, the drain is plugged watertight, the floor is filled to at least 2 inches at the threshold (with a temporary threshold if needed), and the water must sit 15 minutes with no leakage. South Carolina’s residential version uses the lesser of threshold depth or 2 inches, so check your state’s adoption.
- Remove the strainer and clean hair and debris from the drain opening.
- Set a test plug below the weep holes. UPC inspection guides call for a deep plug below the weep hole outlets. A plug at the strainer lets water seep through the grout and out the weep holes, dropping the level even when the liner is fine.
- Build a dam if there is no curb. Schluter suggests a temporary dam such as a 2×4 and silicone for a curbless shower.
- Fill and mark. Fill to about 2 inches at the threshold and mark the line. Set a marked cup of water nearby as an evaporation control.
- Watch below early. ASHI’s Hart advises checking the ceiling below an upper-floor shower while it fills.
- Wait 24 hours and compare. A drop matching the cup is evaporation. A larger drop, or a stain below, means the pan or its drain connection is leaking.
Expect a small drop in the first hour on a finished tile floor as grout and mortar absorb water. That absorption is the reason a 15-minute test on an old shower proves little.
How do you test a shower drain for leaks?
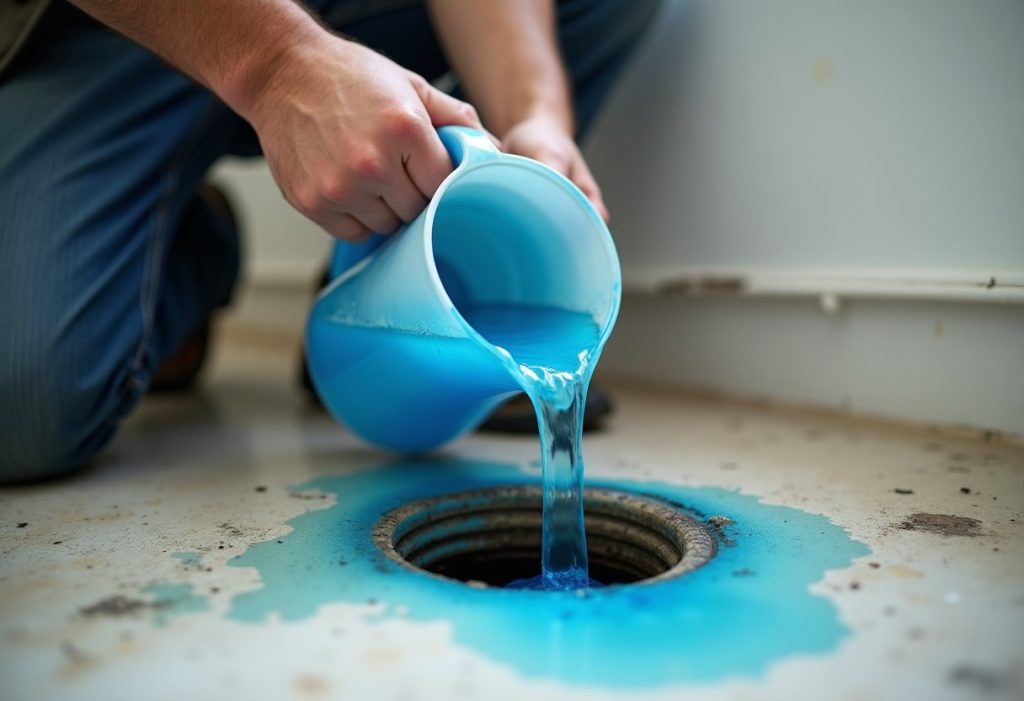
To test a shower drain for leaks, keep water off the floor. Pour dyed water from a pitcher straight into the drain and watch the ceiling or access panel below. A colored drip means the drain body, gasket or trap joint is leaking, not the pan liner, and that repair is far smaller.
Food coloring makes the source easy to read on drywall. ASHI describes a second check for tiled pans: plug the drain hub, pour a little water around the compression seal and see whether it disappears, then shift your weight around the strainer to find a loose seal.
Clamping, compression gasket and bonded-flange drains each fail differently, and our guide to types of shower drains shows how to tell yours apart.
Why do clogged weep holes make a shower pan leak?
Clogged weep holes make a shower pan leak because water that soaks through the grout has nowhere to go. In a traditional tile pan, water passes the grout and mortar bed, runs along the sloped liner and exits through weep holes in the drain’s clamping ring. Block them and the bed stays saturated until water finds another way out.
The plumbing code spells out the design. The UPC, as adopted in Minnesota Rule 4714.0408, pitches the lining 1/4 inch per foot to weep holes in the subdrain, requires those weep holes to be protected from clogging, and requires a clamping ring that seals the liner to the drain. The liner turns up at least 3 inches above the finished threshold.
The usual culprit is mortar packed into the weep holes during the build. A liner laid flat, with no pre-slope, causes the same trouble. Expect a dark grout ring, white efflorescence and a lingering smell. Many tile setters guard the holes with pea gravel or a plastic weep guard.
Do tile and prefab shower pans leak differently?
Tile and prefab shower pans leak in different places. A tiled pan usually fails at the liner, drain clamp, curb or weep holes, all hidden under tile. A prefab acrylic or fiberglass base usually fails at its drain gasket or at a crack where it flexes, often reachable without demolition.
| Pan type | Where it usually leaks | Best test | Typical fix |
|---|---|---|---|
| Mortar bed with PVC or CPE liner and clamping drain | Liner seams, curb nail holes, drain clamp, clogged weep holes | 24-hour flood test with plug below weep holes | Clear weep holes or tear out and re-liner |
| Bonded membrane system (for example Schluter KERDI with KERDI-DRAIN) | Membrane seams, inside corners, drain flange bond | 24-hour test to the drain flange height | Remove tile at the failed seam and patch the membrane |
| Acrylic or fiberglass prefab base | Drain gasket or nut, cracks from an unsupported base | Bucket and dye test at the drain, then flood test | New gasket, patch kit, or replace the base |
Bonded membranes sit directly under the tile, so there is no wet mortar bed, and Schluter’s test fills to the drain’s bonding flange rather than a fixed depth.
How do you fix a leaking shower pan?
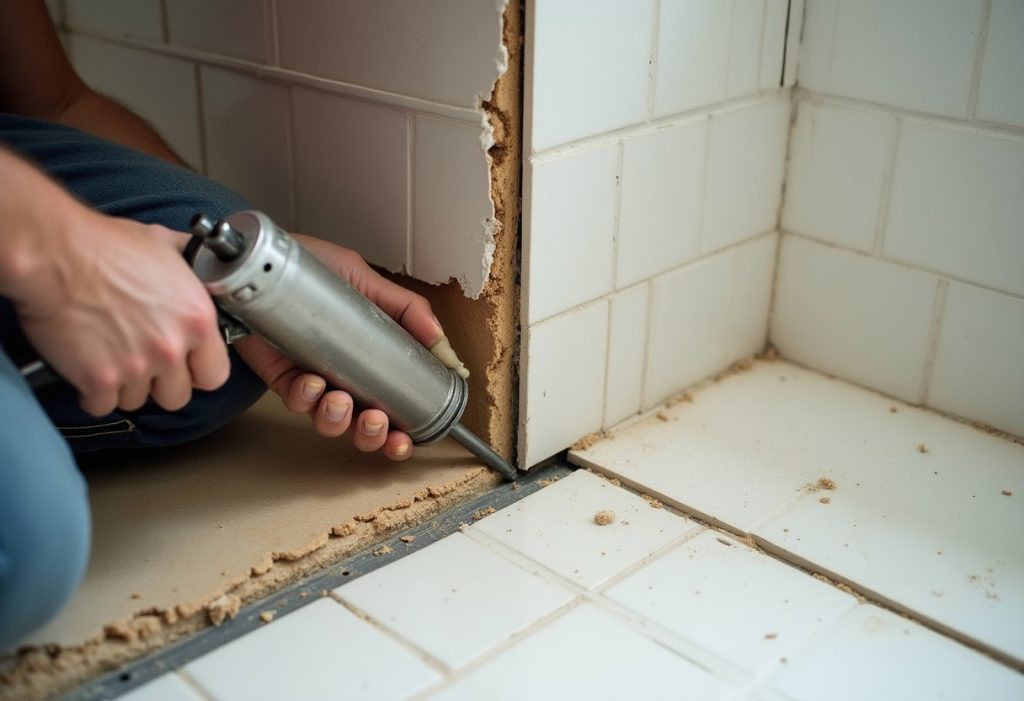
You fix a leaking shower pan by matching the repair to the failed part. Joint leaks need fresh caulk or grout and sealer. A drain leak needs a new gasket or drain. A liner failure needs the tile floor torn out and the pan rebuilt, because no coating over tile reliably reseals a liner underneath.
- Recaulk the change-of-plane joints where the floor meets the walls and where the curb meets the door. Our steps on how to caulk a bathtub apply to the shower curb and corners too.
- Regrout and seal cracked or missing grout. Fixr puts grout sealing at about $1 to $2 per square foot.
- Replace the drain gasket or drain when the dye test shows color below.
- Clear the weep holes where a dark ring sits around the drain. This often means cutting out the tiles around the drain.
- Patch a cracked prefab base with a manufacturer repair kit if the crack is small and the base is now fully supported.
- Replace the liner when the flood test fails away from the drain. Plan on removing the floor tile, mortar bed and usually the bottom row of wall tile.
A full tear-out is the time to rethink the layout. If you are weighing a walk-in over a tub combo, our tub to shower conversion cost breakdown prices the base, walls and plumbing together. In many areas a new liner needs a permit and the code flood test.
How much does a leaking shower pan cost to repair?
A leaking shower pan costs $150 to $500 to repair when a pro can reach the problem, per Fixr, and $900 to $2,300 to replace, per Angi. Recaulking runs $150 to $300 and regrouting averages $700. A custom tile pan can reach $3,500 before you count ceiling, subfloor or mold repairs below the shower.
Bars show the top of each range. Pan repair and drain figures come from Fixr’s shower repair cost guide, and the recaulk and regrout figures from Fixr’s regrouting guide. The replacement figure is from Angi, and the custom tile pan range is from This Old House, which credits Angi data.
The pan is often the cheap part. Fixr lists a leak behind a wall at $200 to $1,000 and water-damaged wall repair at $200 to $600.
How we sourced this
We read the IPC 312.9 shower liner test, the UPC shower lining rules as adopted in Minnesota Rule 4714.0408, South Carolina’s adopted residential liner test, Schluter’s shower system water test instructions and ASHI’s guide to inspecting tiled showers. Costs come from Fixr (shower repair, January 2025; regrouting, August 2025), Angi, and This Old House (updated June 2026, citing Angi). We reviewed top-ranking pages and People Also Ask questions in October 2026 and excluded cost figures from contractor blogs and unattributed aggregator pages. Local code adoption varies, so your inspector’s test may differ.
Frequently asked questions
How do I test if my shower pan is leaking?
Pull the drain strainer, set a test plug below the weep holes, and fill the floor with about 2 inches of water at the threshold. Mark the waterline, set a marked cup of water nearby to show evaporation, and wait 24 hours. A drop well past the cup, or a stain below, means the pan or drain connection leaks.
Where is the most common place for a shower to leak?
Most shower leaks start at joints, not mid-floor. ASHI’s inspection guidance points to inside corners, the curb and threshold, and the drain seal. Splash past a door or curtain and worn curb caulk are also common, and both cost far less to fix than a failed pan liner.
How much does it cost to fix a leaking shower pan?
It depends on what failed. Fixr puts a professional shower pan repair at $150 to $500 and a drain replacement at $250 to $400. Angi puts a full pan replacement at $900 to $2,300, and This Old House, using Angi data, prices a custom tile pan at $900 to $3,500.
Can I replace just the shower pan without removing the walls?
Sometimes. A prefab acrylic or fiberglass base can often be swapped while the wall surround stays. A tiled pan is harder because the liner turns up the walls about 3 inches above the threshold under the UPC, so the bottom row of wall tile normally comes off too.
Is a leaking shower pan covered by homeowners insurance?
Often only partly. Many standard policies cover sudden, accidental water damage but exclude continuous or repeated seepage, which describes most pan leaks. Even when the damaged ceiling or subfloor is covered, the worn pan itself usually is not. Read your policy and call your agent before demolition.
How long should a shower pan hold water during a leak test?
IPC 312.9 sets a minimum of 15 minutes with 2 inches of water at the threshold for a new-construction inspection. Schluter calls 24 hours typical for its shower systems. For an existing shower with a slow leak, run the full 24 hours, because a small leak can take hours to show below.
What is the life expectancy of a shower pan?
Build quality matters more than age. A tile pan with a sloped liner, clear weep holes and a passed flood test can last as long as the tile above it. One built flat, with clogged weep holes or nails through the curb liner, can fail within a few years.