How to Glue PVC Pipe: Step-by-Step, Primer, and Cure Times
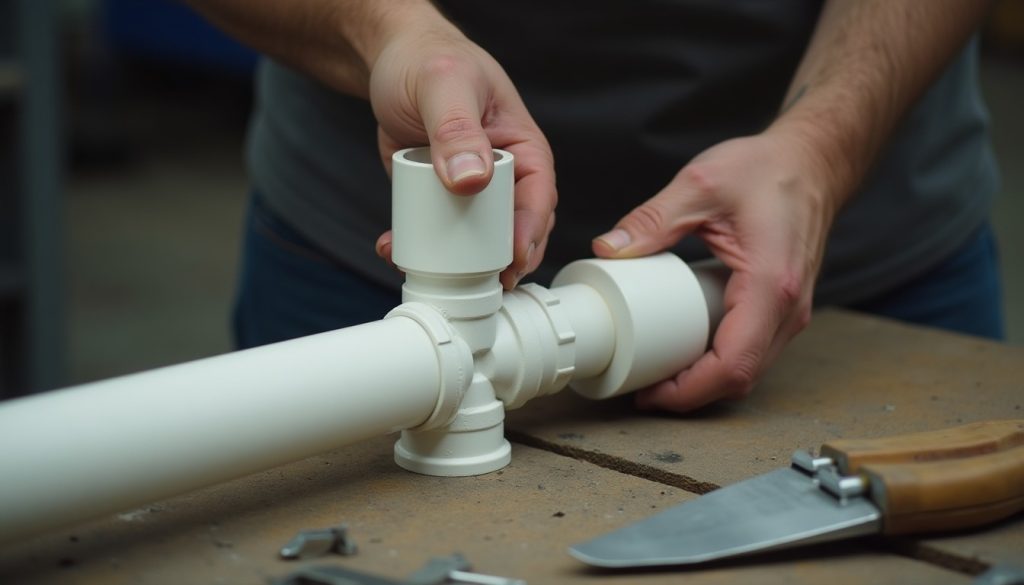
To glue PVC pipe, cut it square, deburr, dry fit, prime both surfaces purple, cement, push home with a quarter turn, and hold about 30 seconds before letting it set.
Key Takeaways
- Plumbing codes such as the International Plumbing Code call for a purple primer meeting ASTM F656 and a PVC solvent cement meeting ASTM D2564 on PVC joints.
- IPS Weld-On lists an initial set of 2 to 30 minutes at 60 to 100F for pipe from 1/2 in to 8 in, before the joint can be handled.
- Weld-On’s cure schedule ranges from 15 minutes (small pipe, up to 160 psi, warm weather) to 8 days (2 1/2 to 8 in pipe at high pressure below 40F) before you pressurize.
- Both Weld-On and Oatey tell installers to allow 50% more time in damp or humid weather; their charts assume 60% relative humidity or less.
- One quart of Weld-On cement makes about 300 joints on 1/2 in pipe but only about 60 on 2 in pipe, per the manufacturer’s estimate.
- PVC, CPVC, and ABS each have their own cement standard (ASTM D2564, F493, and D2235), so one can of glue does not cover every plastic.
What do you need to glue PVC pipe?
You need a square cutter, a deburring tool, a clean rag, purple primer meeting ASTM F656, and a PVC solvent cement meeting ASTM D2564 that is rated for your pipe size. Add a marker for alignment marks and gloves. Check the print line on the pipe too, since the wall class decides which fittings and pressure rating apply, the difference our guide to schedule 40 versus schedule 80 PVC lays out.
A ratcheting PVC cutter gives the cleanest square cut on pipe up to about 2 in. Larger pipe needs a saw with a miter box or a wheel cutter. Most of these tools already sit in a standard kit, and our list of essential plumbing tools covers which cutters and deburrers are worth buying.
Check that the pipe and fitting are actually PVC. Schedule 40, DWV, and Schedule 80 pipe all take the same primer and cement. If you are unsure what you have, our guide to PVC pipe schedules, sizes, and ratings explains the markings printed on the pipe wall.
- Primer (ASTM F656): softens and cleans the pipe surface so the cement can fuse into it. Code primer is tinted purple so an inspector can see it was used.
- Solvent cement (ASTM D2564): dissolves the outer layer of pipe and socket, then evaporates so the two surfaces fuse into one piece. It is not a glue in the adhesive sense.
- Cement body: regular, medium, and heavy-bodied cements are labeled with the largest pipe size they suit. Thicker cement fills the looser fit on larger pipe.
How do you glue PVC pipe step by step?
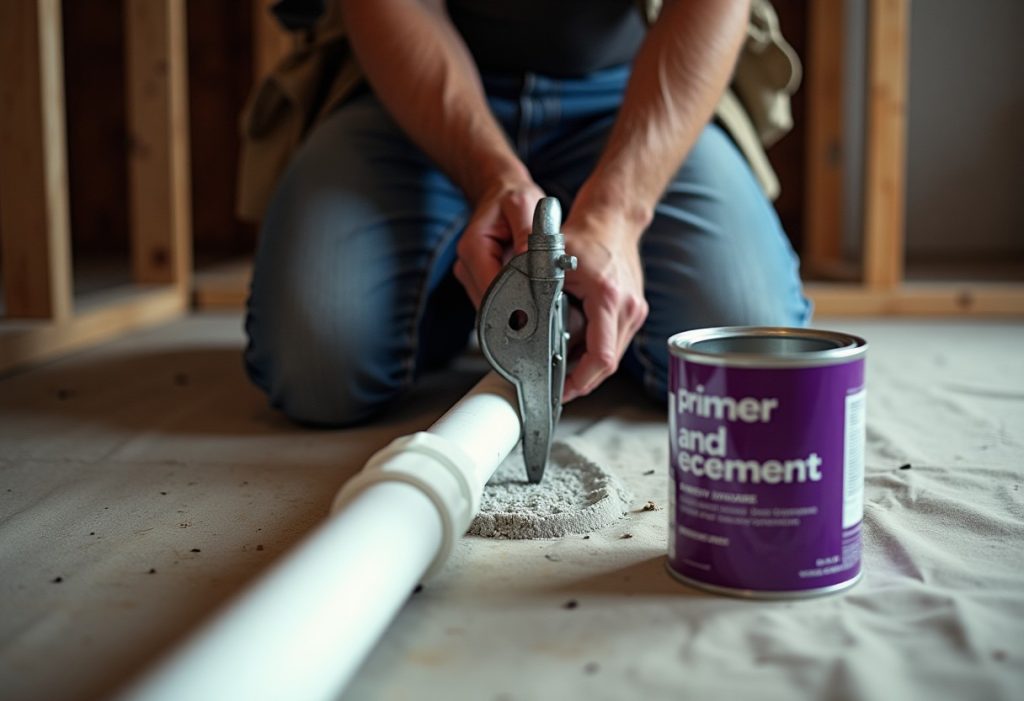
Glue PVC pipe in eight steps: cut square, deburr and bevel, dry fit, mark alignment, prime, cement, push in with a quarter turn, and hold. The whole sequence after primer goes on should take under a minute per joint, because the solvents start flashing off within seconds. Work one joint at a time and never prime several joints ahead.
- Cut square. Measure from the bottom of one socket to the bottom of the next, then cut straight across. An angled cut leaves a gap at the socket bottom where cement can puddle.
- Deburr and bevel. Scrape burrs off the inside and outside edge. A slight chamfer on the outside edge stops the pipe end from wiping cement out of the socket as it slides in.
- Dry fit. Solvent cement instructions commonly say the pipe should enter the socket about one-third to two-thirds of the way before it snugs up. If it bottoms out loose, the fit is too sloppy for a reliable weld; try a different fitting.
- Mark alignment. Draw a line across pipe and fitting so you can line up elbows and tees fast once the cement is wet.
- Prime. Wipe primer on the inside of the socket, then the outside of the pipe end, then the socket again. Keep the surfaces wet and tacky; do not let primer dry before cement goes on.
- Cement. While the primer is still wet, brush a full, even coat on the pipe end to the depth of the socket, then a medium coat in the socket. Excess cement in the socket can puddle and weaken the pipe wall.
- Push with a quarter turn. Insert the pipe to the socket bottom in one motion, rotating it a quarter turn as it goes. The ASTM D2855 joining practice uses this twist to spread cement evenly. Line up your marks as you finish the turn.
- Hold and wipe. Hold the joint about 30 seconds, as This Old House advises, so the pipe does not push back out. Wipe away excess cement, leaving a continuous bead around the joint.
Fittings matter as much as technique. Elbows, tees, couplings, and reducers all use the same socket method, and our breakdown of plumbing fittings by type and material shows which ones are made for solvent welding.
Do you need primer to glue PVC pipe?
In most plumbing work, yes. The International Plumbing Code and many state codes require a purple primer meeting ASTM F656 before PVC solvent cement is applied, and inspectors look for the purple stain. Recent IPC editions allow an exception for some non-pressure drain, waste, and vent joints up to 4 in, depending on your local code edition.
That IPC exception, as commonly adopted, applies only when the cement is third-party certified to ASTM D2564 and the joint is non-pressure DWV of 4 in or smaller. Pressure water lines still need primer. Your local inspector has the final say, and some jurisdictions never adopted the exception.
Primer does chemical work, not just cosmetic work. The ASTM F656 primer standard covers products made to prepare PVC and CPVC surfaces for cements meeting D2564. Clear primer exists for exposed work such as pool equipment or furniture, but it may not pass a plumbing inspection that expects to see purple. On a pool pad, those glued joints carry water from the skimmer and main drain through the pump and filter, the loop our pool plumbing diagram traces part by part.
How long does PVC glue take to set and cure?
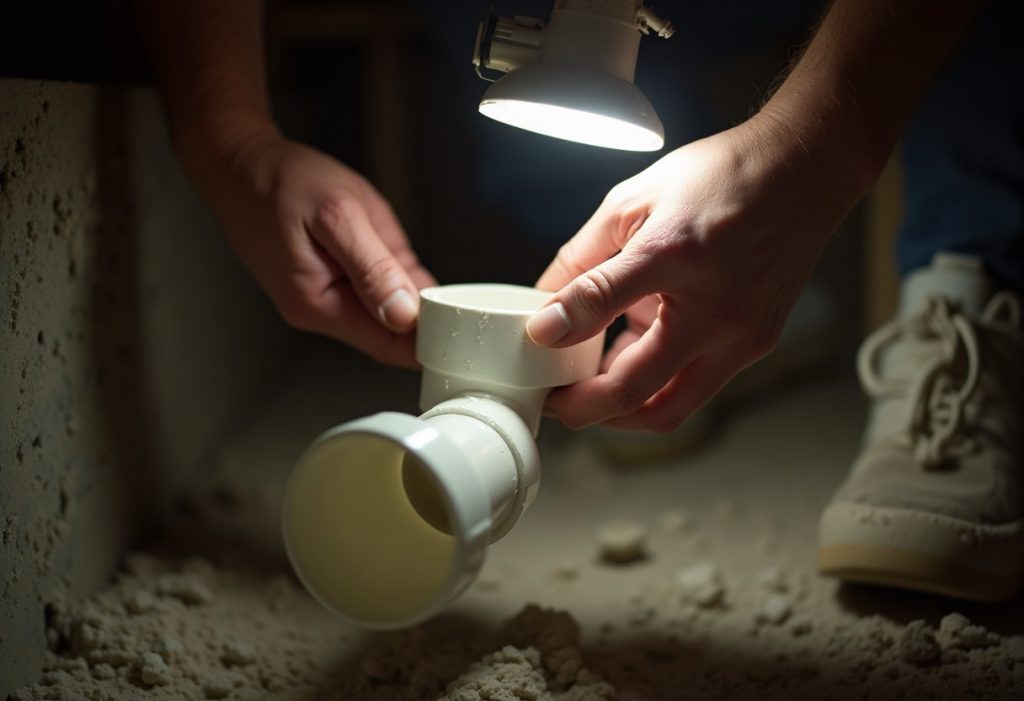
PVC glue sets fast but cures slowly. Weld-On’s chart gives an initial set of 2 minutes for 1/2 to 1 1/4 in pipe at 60 to 100F, which means the joint can be handled carefully. Full cure before pressurizing runs from 15 minutes to 6 hours for that same pipe in warm weather, depending on test pressure.
Set time is when you can move the assembly. Cure time is when the joint can take water pressure. Most online guides blur the two, which is how joints blow apart during a pressure test.
The table below reproduces the core of the IPS Weld-On set and cure time table for PVC and CPVC cements at 60% relative humidity or less. Weld-On notes the figures come from lab testing and that field conditions vary.
| Pipe size | Temperature | Initial set (handle) | Cure, up to 160 psi | Cure, high pressure |
|---|---|---|---|---|
| 1/2 to 1 1/4 in | 60 to 100F | 2 min | 15 min | 6 hr (160 to 370 psi) |
| 1/2 to 1 1/4 in | 40 to 60F | 5 min | 20 min | 12 hr |
| 1/2 to 1 1/4 in | 0 to 40F | 10 min | 30 min | 48 hr |
| 1 1/2 to 2 in | 60 to 100F | 5 min | 30 min | 12 hr (160 to 315 psi) |
| 1 1/2 to 2 in | 40 to 60F | 10 min | 45 min | 24 hr |
| 1 1/2 to 2 in | 0 to 40F | 15 min | 1 hr | 96 hr |
| 2 1/2 to 8 in | 60 to 100F | 30 min | 1 1/2 hr | 24 hr (160 to 315 psi) |
| 2 1/2 to 8 in | 40 to 60F | 2 hr | 4 hr | 48 hr |
| 2 1/2 to 8 in | 0 to 40F | 12 hr | 72 hr | 8 days |
For a house supply line, which the IPC generally caps at 80 psi static pressure, the “up to 160 psi” column is the one that applies. A drain line is not pressurized at all, but give it at least the set time plus the low-pressure cure before running a water test.
Does cold or humid weather change how you glue PVC pipe?
Yes, and by a lot. Weld-On’s chart shows a 1 1/2 to 2 in joint rated for high pressure needs 12 hours to cure at 60 to 100F but 96 hours at 0 to 40F, an eightfold jump. Humidity adds 50% on top, according to both Weld-On and Oatey, whose charts assume 60% relative humidity or less.
Cold slows solvent evaporation, so the joint stays soft longer. Keep cans warm until use, because cold cement thickens and spreads poorly, and check the label for its lowest application temperature.
Moisture is the other enemy: water on the pipe or in the socket blocks the solvent from fusing the surfaces, so dry both parts and shield the work from rain. If a joint looks cloudy or white after assembly, moisture got in, and that joint should be cut out and redone.
What are the most common mistakes when gluing PVC pipe?
The most common mistakes are skipping primer, letting primer dry before cement, using too little cement, not bottoming the pipe in the socket, and pressurizing too early. Each one leaves a joint that holds at first and then weeps or blows off under pressure. Nearly all of them come from rushing the 30 to 60 seconds after primer goes on.
- Dry joint. Not enough cement, or cement applied after primer flashed off. The pipe looks seated but fused only in patches.
- Pipe not bottomed. The pipe stops short of the socket bottom, leaving a weak, shallow joint. Push fully in one motion; you will not get a second try.
- Push-back. Letting go too soon lets the tapered socket push the pipe back out. Hold for about 30 seconds.
- Puddling. Too much cement in the socket pools at the bottom and can soften the pipe wall from the inside.
- Old or thick cement. Cement that has gone jelly-like or stringy will not fuse. Weld-On rates PVC cement shelf life at 3 years, CPVC cement at 2.
- Testing too early. Pressurizing before the cure time on the chart is the classic cause of a blown fitting.
Solvent cement and primer are flammable and give off strong fumes. Work with ventilation, keep flame and sparks away, and wear gloves; the label on each can lists the hazards that apply.
Is PVC cement the same as CPVC and ABS cement?
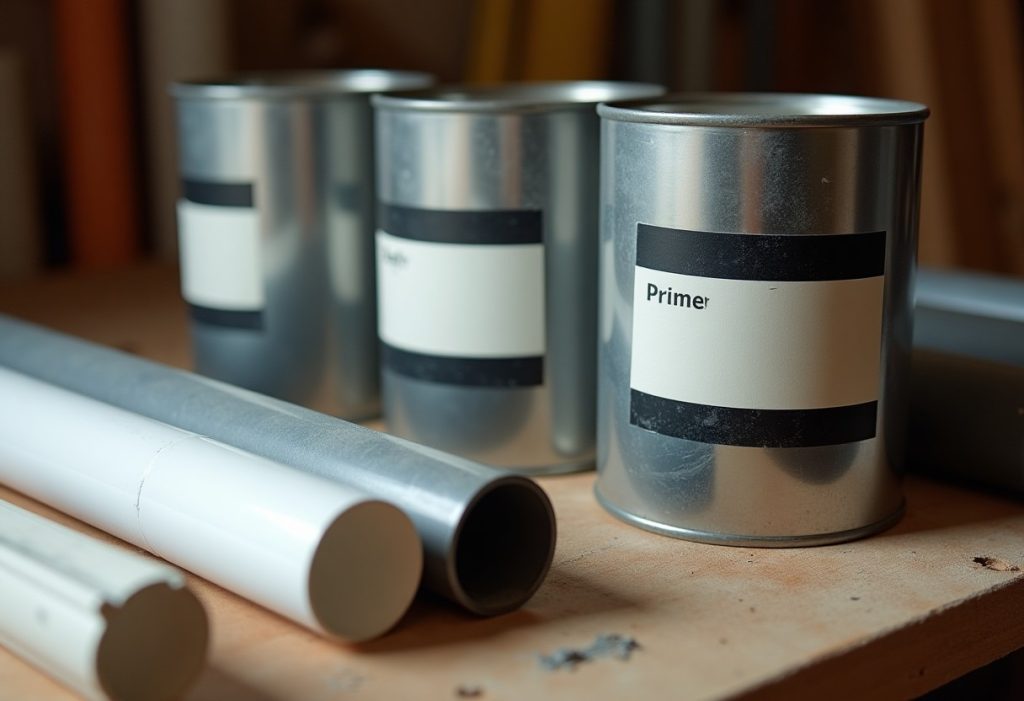
No. PVC cement meets ASTM D2564, CPVC cement meets ASTM F493, and ABS cement meets ASTM D2235, and each is made for the chemistry of its own plastic. PVC and CPVC both use primer; ABS joins in one step with no primer. Joining PVC to ABS needs a listed transition cement or a mechanical coupling, depending on local code.
| Pipe material | Cement standard | Primer? | Typical use | Shelf life (Weld-On) |
|---|---|---|---|---|
| PVC (white or gray) | ASTM D2564 | Yes, ASTM F656 purple in most plumbing codes | Cold water supply, DWV, irrigation, pool | 3 years |
| CPVC (cream or tan) | ASTM F493 | Usually yes, F656 primer; some one-step CPVC cements are listed without primer | Hot and cold water supply | 2 years |
| ABS (black) | ASTM D2235 | No, one-step cement | DWV only | Not listed on Weld-On chart |
| PVC to ABS transition | ASTM D3138 transition cement | Per product label and local code | Joining existing ABS drain to new PVC | Not listed on Weld-On chart |
All-purpose cements claim to bond PVC, CPVC, and ABS. Some local codes do not accept them for one or more of those materials, so check the listing printed on the can and ask your inspector. For the full material choice on drain lines, see our comparison of PVC vs ABS pipe, which covers where each is allowed.
How much PVC cement and primer do you need?
Plan on about 300 joints per quart of cement on 1/2 in pipe, 125 on 1 in, 90 on 1 1/2 in, 60 on 2 in, and 30 on 4 in, per IPS Weld-On’s estimate. A quart of primer goes about twice as far as the same amount of cement. Buy a pint for a few repairs and a quart for a whole-room project.
Smaller cans stay fresher. Opened cement thickens as solvent escapes, so keep the lid tight and check that it still flows like syrup before every job.
How we sourced this
We reviewed the top-ranking how-to pages for “how to glue pvc pipe” and the related People Also Ask questions in October 2026, then went to primary sources for every number. Set times, cure times, humidity adjustments, joints-per-quart, and shelf life come from the IPS Weld-On set and cure time table (published December 2024). The humidity rule was cross-checked against Oatey’s published set-up chart, which uses different pipe-size bands. Standards references come from ASTM (F656, D2564, D2855, F493, D2235, D3138) and the International Plumbing Code. We excluded uncited blog dry-time claims. All times are averages from lab testing; field results vary with fit, cement type, and conditions.
Frequently asked questions
How long after gluing PVC can you turn the water on?
It depends on pipe size, temperature, and pressure. IPS Weld-On’s chart allows 15 minutes for 1/2 to 1 1/4 in pipe at 60 to 100F and up to 160 psi, but 30 minutes at 0 to 40F. Larger pipe and higher pressure take hours or days. Add 50% in humid weather, and wait longer if you can.
Can you glue PVC pipe without primer?
Only where your code allows it. Most plumbing codes require purple primer meeting ASTM F656 on PVC joints, and pressure water lines need it. Recent International Plumbing Code editions allow an exception for some non-pressure drain, waste, and vent joints up to 4 in when the cement is certified to ASTM D2564. Ask your local inspector before skipping it.
Why do you twist PVC pipe a quarter turn when gluing?
The quarter turn spreads cement evenly around the joint and helps the softened surfaces fuse without dry spots. The ASTM D2855 joining practice includes the twist as part of inserting the pipe. Make the turn as you push the pipe to the socket bottom, finish with your alignment marks lined up, then hold the joint about 30 seconds.
How long should you hold PVC pipe after gluing?
Hold the joint for about 30 seconds, as This Old House advises. The socket is tapered, so a freshly cemented pipe can push back out if you let go too soon. After that, leave it alone until the initial set time passes: about 2 minutes for 1/2 to 1 1/4 in pipe at 60 to 100F per IPS Weld-On.
Can you use PVC cement on CPVC or ABS pipe?
Not reliably. PVC cement meets ASTM D2564, while CPVC cement meets ASTM F493 and ABS cement meets ASTM D2235. Each is made for its own plastic. All-purpose cements exist, but some local codes do not accept them, so check the listing on the can. PVC to ABS joints need a listed transition cement or a mechanical coupling.
Can you glue wet PVC pipe?
Standard solvent cement needs clean, dry surfaces. Water on the pipe or in the socket blocks the solvent from fusing the plastic and can leave a cloudy, weak joint. Dry both parts fully before priming. Some cements are marketed for wet or damp conditions, but follow the label, and allow 50% more set and cure time in humid weather, per Weld-On and Oatey.
Can you undo a glued PVC joint?
No. Solvent cement fuses the pipe and fitting into one piece, so a cured joint cannot be pulled apart. To fix a bad joint, cut the pipe on both sides of the fitting and install a new fitting with couplings. That is why a dry fit and alignment marks before priming save time; most rework comes from skipping those two steps.
Do you need to prime PVC before gluing?
In most plumbing work, yes. The International Plumbing Code and many state codes require a purple primer meeting ASTM F656 before PVC solvent cement is applied, and inspectors look for the purple stain. Recent IPC editions allow an exception for some non-pressure drain, waste, and vent joints up to 4 in, when cement is third-party certified to ASTM D2564. Pressure water lines still need primer.
What type of glue is best for bonding PVC pipe?
PVC joints need a solvent cement meeting ASTM D2564, used with a purple primer meeting ASTM F656, as required by plumbing codes like the International Plumbing Code. Cement comes in regular, medium, and heavy bodies labeled for the largest pipe size they suit, since thicker cement fills the looser fit on larger pipe. CPVC and ABS each need their own cement standard instead.