Shower Pan Liner: Sizes, Code Rules, and How to Install One
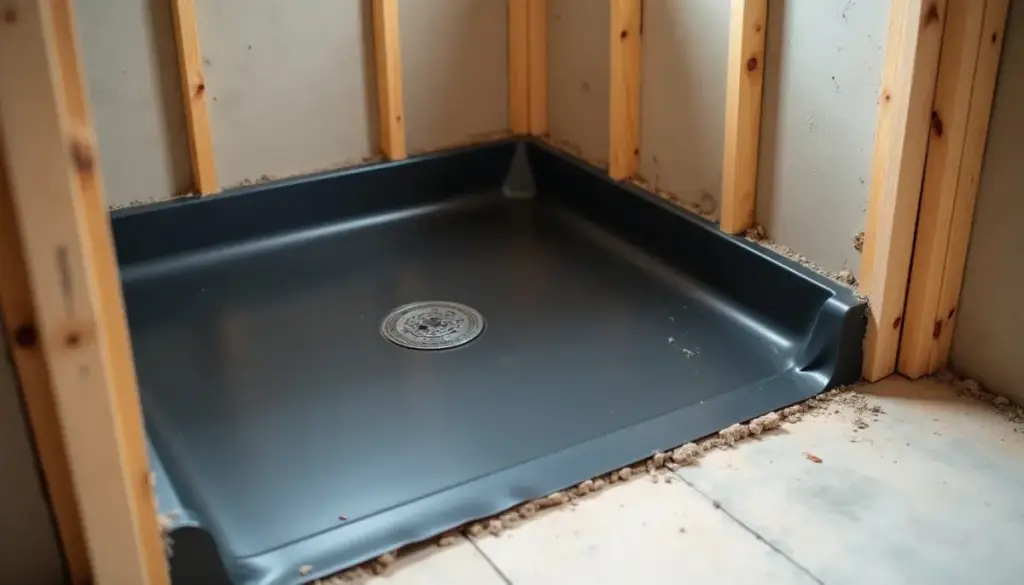
A shower pan liner is a 30 or 40 mil PVC or CPE sheet under a mortar-bed tile floor, sloped 1/4 inch per foot and turned up at least 2 inches above the threshold under IRC P2709.
Key Takeaways
- The 2021 IRC, Section P2709.2, runs the lining at least 2 inches above finished thresholds; UPC areas such as Minnesota require 3 inches.
- IRC P2709.3 pitches the liner 1/4 inch per foot to the drain weep holes and bans nails or holes less than 1 inch above the finished threshold.
- PVC liners must meet ASTM D4551 and CPE liners ASTM D4068, per IRC P2709.2.1 and P2709.2.2. Oatey sells both at 30 or 40 mil.
- Oatey’s 5 ft x 6 ft kit fits a 36 x 36 inch shower but comes up about 6 inches short on a 60 x 36 inch alcove, by our arithmetic using Oatey’s formula.
- IPC 312.9 sets the flood test minimum at 2 inches of water for 15 minutes. Oatey asks for at least 2 hours at curb height.
What is a shower pan liner and where does it sit?
A shower pan liner is the waterproof sheet in a traditional mortar-bed tile shower, sandwiched between a sloped pre-slope below and the tile bed above. Grout and mortar are not waterproof, so water soaks down to the liner, runs along its slope and exits through weep holes in a clamping drain.
From the subfloor up, the floor has five layers:
- Subfloor or slab, with the drain base glued to a 2 inch riser.
- Mortar pre-slope, pitched 1/4 inch per foot toward the drain, or a foam pre-slope such as Oatey Perfect Slope.
- The PVC or CPE liner, clamped between the drain base and its clamping ring.
- Pea gravel or a weep guard around the drain so the weep holes stay open.
- Reinforced mortar bed (at least 1-1/2 inches per Oatey’s 130 Series drain sheet), then thinset and tile.
What does the code require for a shower pan liner?
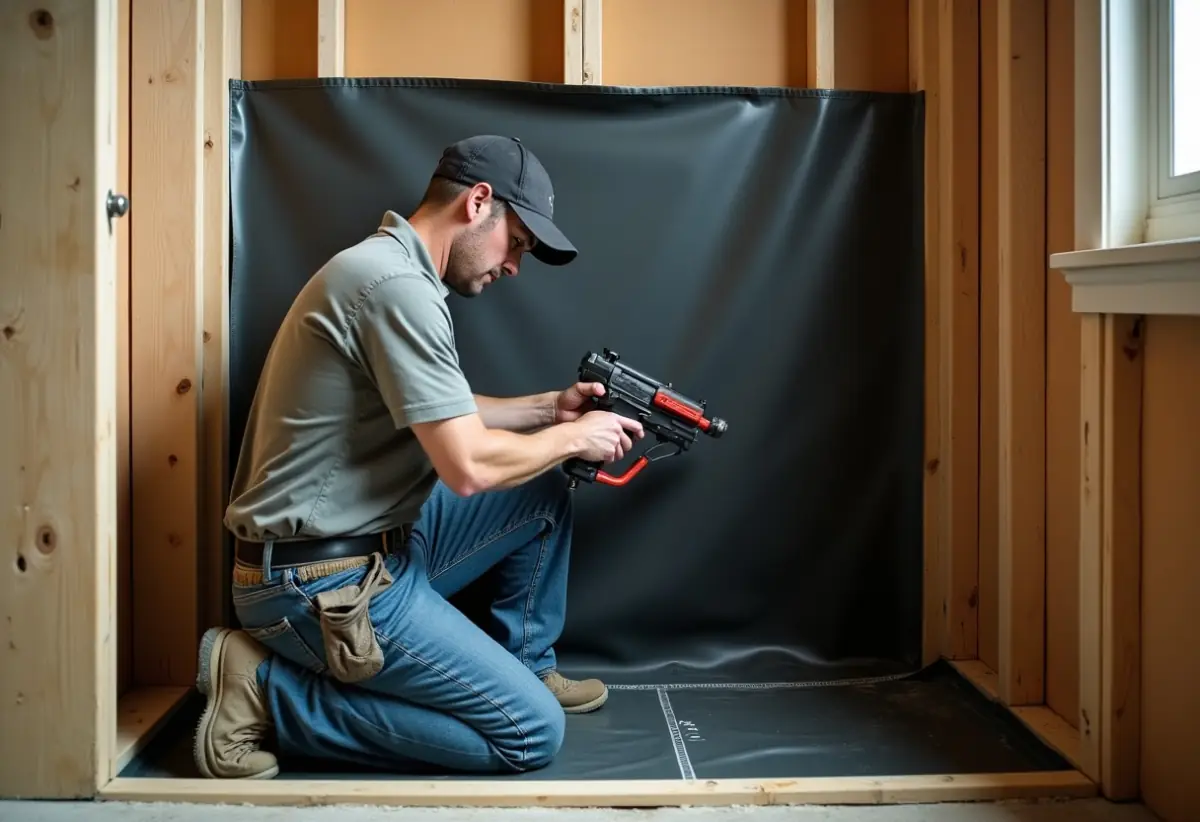
The 2021 IRC requires a lining under every on-site built shower floor, run at least 2 inches above the finished threshold and 2 inches past the rough jambs, sloped 1/4 inch per foot to the weep holes, and never nailed below 1 inch above the threshold. UPC jurisdictions raise the turn-up to 3 inches, so read your adopted code first.
Section P2709 in the 2021 residential code text on UpCodes (Colorado’s DFPC adoption of the 2021 IRC) says, in plain terms:
- P2709.1: the curb sits 2 to 9 inches above the drain top, and the finished floor slopes 1/4 to 1/2 inch per foot.
- P2709.2: approved linings are sheet lead, sheet copper, plastic liner to ASTM D4068 or D4551, hot mopping, or a sheet-applied bonded membrane to ANSI A118.10.
- P2709.3: the subbase is smooth and solid, the lining is recessed and fastened to backing so it does not eat wall-covering space, and it slopes 1/4 inch per foot to the weep holes.
- P2709.4: an approved flanged drain sits flush with the subbase, has weep holes into the drain, and seals the lining with a clamping ring. P2709.4.1 names ASME A112.18.2/CSA B125.2 for the drain.
The Uniform Plumbing Code is stricter on height. Minnesota Rule 4714.0408, the state’s UPC shower section, turns the liner up at least 3 inches above the finished threshold and requires weep holes protected from clogging. The IPC has its own lining section, so build to the code your inspector enforces.
Which shower liner membrane material should you use: PVC, CPE, lead or copper?
Use PVC or CPE sheet for almost every new shower pan liner. PVC must meet ASTM D4551 and is solvent welded; CPE must meet ASTM D4068 and is joined per the maker’s instructions, per IRC P2709.2.1 and P2709.2.2. Oatey sells both at 30 or 40 mil and recommends CPE over radiant floor heat.
The glue is not interchangeable. The Oatey liner guide pairs X-15 LO-VOC Bonding Adhesive with PVC only and Oateyweld with CPE only.
Sheet lead and copper are legal but rare. P2709.3.1 sets lead at 4 pounds per square foot and copper at 12 ounces, with burned lead joints and silver-brazed copper joints, and both must be insulated from conducting materials other than the drain with 15-pound asphalt felt. Keep that felt away from plastic: Oatey warns that the petroleum in felt paper can make a PVC or CPE liner crack or turn brittle.
What size shower pan liner do I need?
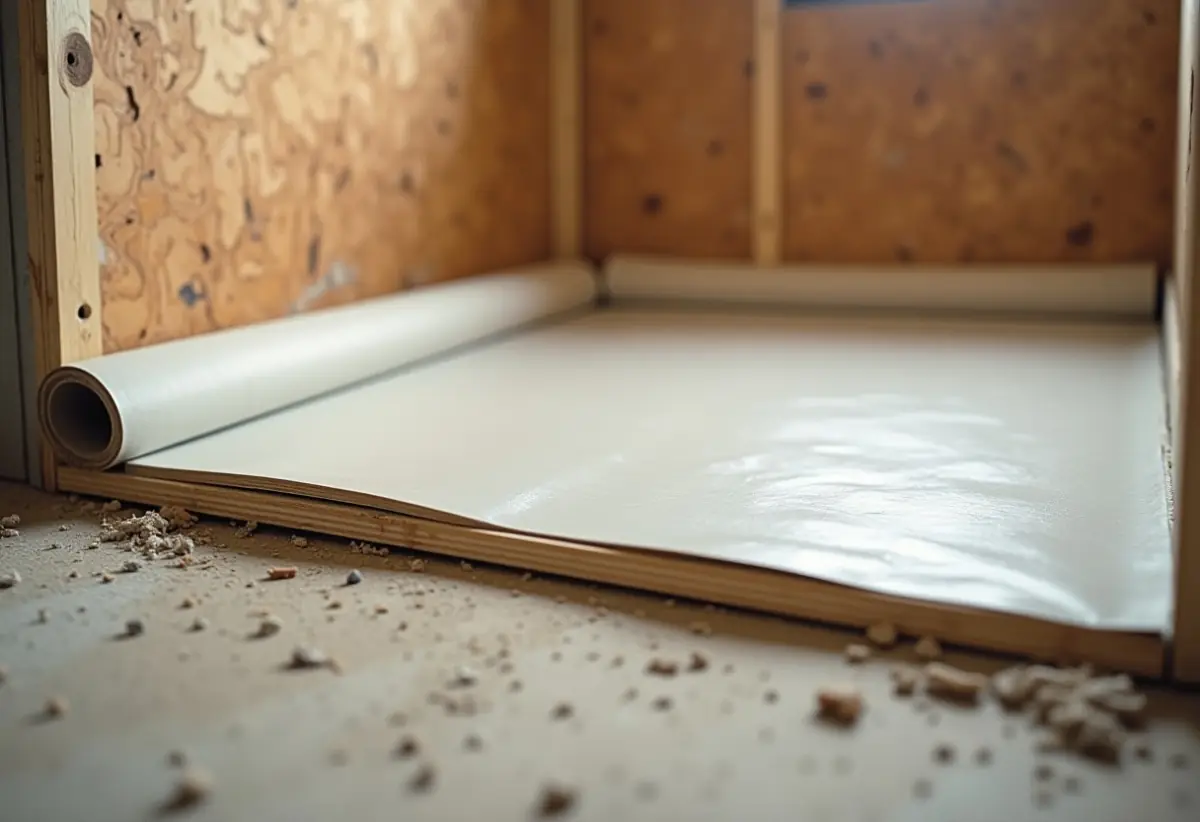
Size a shower pan liner by adding the turn-up height twice to the floor length and once to the floor width, then adding the full curb wrap. In our example, Oatey’s 5 ft x 6 ft kit covers a 36 x 36 inch shower, while a 60 x 36 inch alcove needs about 78 x 58 inches cut from a roll.
Oatey’s guide gives three steps, with the “application height” measured from a mark 5 inches above the curb down to the mortar bed:
- Total curb width = inside curb height + outside curb height + curb top width.
- Liner length = 2 x application height + mortar bed length.
- Liner width = total curb width + mortar bed width + application height.
Here is our worked example for a curb of three stacked 2x4s (4.5 inches tall, 3.5 inches wide) and a 9 inch application height. The curb wrap is 4.5 + 4.5 + 3.5 = 12.5 inches. A 60 x 36 inch floor needs 18 + 60 = 78 inches by 12.5 + 36 + 9 = 57.5 inches, so the 72 inch side of a 5 x 6 kit is 6 inches short. A 36 x 36 floor needs 54 x 57.5 inches and fits the kit. Confirm the minimum shower size before you frame.
Oatey lists its liner in a 5 x 6 ft kit (one liner plus 2 corner dams) and in rolls of 6 x 33, 5 x 40, 4 x 50, 5 x 50, 6 x 50, 5 x 100 and 6 x 100 ft. Retailers also stock cut lengths such as Oatey 41645 (6 x 10 ft gray PVC) and Pasco 83445 (5 ft wide, 40 mil).
How do you install a shower pan liner step by step?
To install a shower pan liner, glue the drain base, pour a 1/4 inch per foot pre-slope, fold the liner into the corners, staple only its top edge, bond the curb and dam corners, clamp it at the drain, then flood test before the mortar bed. Budget the pre-slope cure from the mortar bag plus one overnight cure for the adhesive.
These steps follow Oatey’s 10-step guide and the IRC limits; our guide on how to install a shower drain covers the riser.
- Add solid blocking between studs so the liner can recess into the framing without bulging the backer board, as P2709.3 requires.
- Glue the clamping drain base (such as the Oatey 130 Series, in a 4-1/2 inch hole) to the riser and plug it.
- Pour the pre-slope at 1/4 inch per foot from the walls to the top of the drain base, not over it, and let it cure dry.
- Flip the liner over, mark the application height up from the edge on three sides and pre-fold at each mark.
- Set it in, fold each inside corner (fold, never cut), and staple only the top 1/2 inch of the liner to the framing.
- Wrap the curb with the liner or a scrap piece about 6 inches high, bonded with X-15 or Oateyweld. No fasteners go through the curb.
- Glue a preformed dam corner at each curb-to-wall corner with the same adhesive. Oatey says no staples or screws are needed.
- Cut an X over each of the four clamping-ring bolts and a hole over the drain opening, keeping the weep holes clear.
- Bead silicone on the inner flange, bolt the clamping ring down snug, and let the adhesive cure overnight.
- Flood test (next section), then cover the weep holes with pea gravel and place the mortar bed.
Our breakdown of types of shower drains explains why a weep-hole point drain suits a liner and a bonding-flange drain suits a membrane.
How do you flood test a shower pan liner?
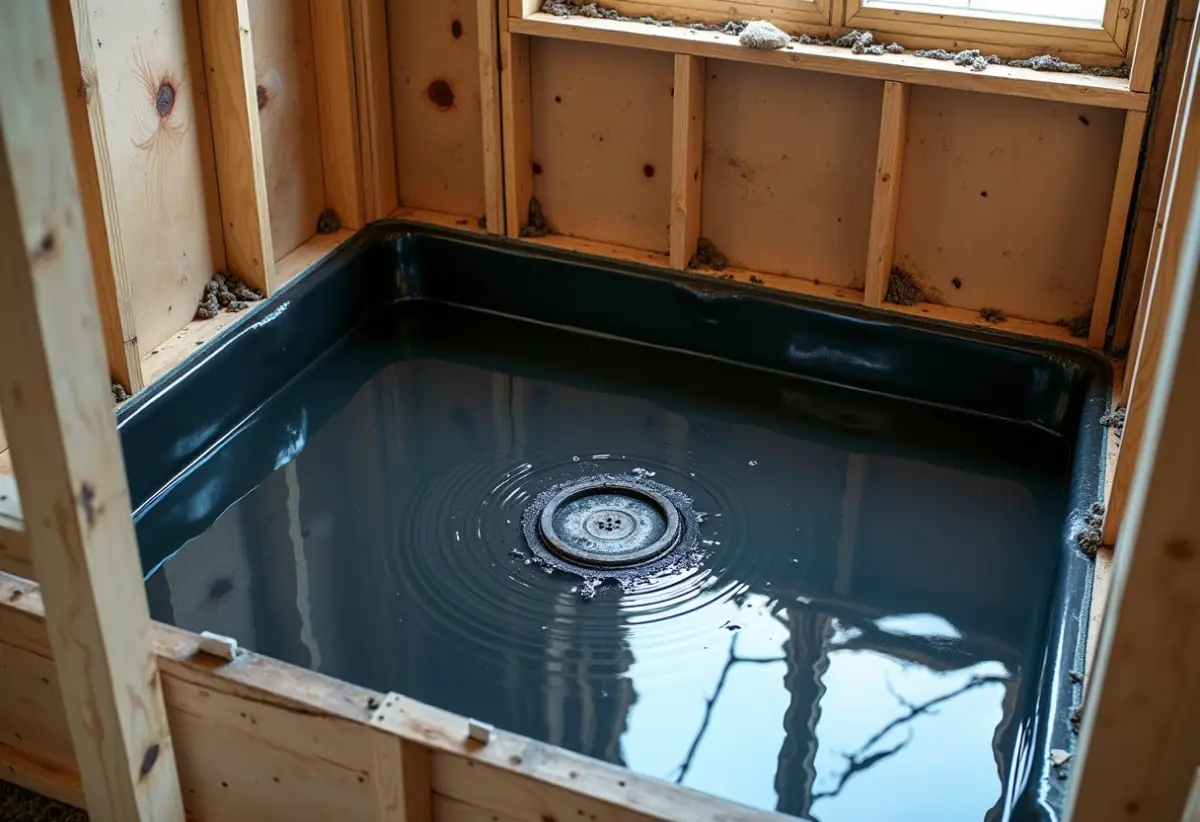
Plug the drain below the weep holes, fill the liner with at least 2 inches of water at the threshold, mark the line and wait. IPC 312.9 sets a 15 minute minimum with no leakage; Oatey asks for water to the curb height for at least 2 hours, and its 130 Series drain sheet says 4 hours.
Under IPC Section 312.9, the drain is plugged watertight and the floor is filled to at least 2 inches at the threshold, using a temporary threshold if the curb is not built yet. A pass means the waterline holds and nothing below gets wet. Some cities want paperwork: Richmond, Virginia uses a signed shower liner test certification.
Fix leaks now, while it costs a scrap of liner and adhesive. Once tile goes on, the same leak becomes one of the signs of a leaking shower pan, and Angi puts full pan replacement at $900 to $2,300.
Shower pan liner or bonded waterproofing: which system fits your shower?
A shower pan liner sits under the mortar bed and relies on weep holes; a bonded membrane such as Schluter KERDI, Laticrete Hydro Ban or RedGard goes on top of the sloped mortar, right under the tile, so the bed stays dry. IRC P2709.2 accepts both, with sheet membranes held to ANSI A118.10.
The membrane route changes the drain. Schluter’s KERDI-DRAIN instructions set the bed at 1/4 inch per 12 inches, flush with a bonding flange, and embed the KERDI collar in thinset with a 1/4 x 3/16 inch V-notch trowel. There are no weep holes, and Schluter wants 24 hours of cure before a water test.
| System | Layers (bottom to top) | Code / standard | Cost signal | Typical failure mode |
|---|---|---|---|---|
| PVC liner, mortar bed (Oatey, Pasco) | Pre-slope, PVC liner, clamping drain, pea gravel, mortar bed, tile | ASTM D4551; IRC P2709.2.1, P2709.3 | Custom tile pan $900 to $3,500 (This Old House, Angi data) | Flat or missing pre-slope, clogged weep holes, nails below 1 in |
| CPE liner, mortar bed (Oatey) | Same as PVC, with Oateyweld joints | ASTM D4068; IRC P2709.2.2 | Same tile pan range; Oatey’s choice over radiant heat | Wrong adhesive at dam corners, cut corners |
| Sheet lead or copper pan | Felt isolation, 4 lb lead or 12 oz copper, drain, mortar bed | IRC P2709.3.1 | Rare in new work; metal and brazing or burning labor | Contact with conducting materials, joint failure |
| Bonded sheet membrane (Schluter KERDI) | Sloped mortar or foam tray, membrane in thinset, tile | ANSI A118.10; IRC P2709.2 | Membrane and bonding-flange drain bought as a system | Thin or skipped thinset at seams and collar |
| Liquid membrane (Laticrete Hydro Ban, RedGard) | Sloped mortar, rolled or troweled membrane, tile | IRC P2709.2.4 (liquid, trowel-applied) | Sold by the gallon; check the maker’s data sheet | Coat applied below the maker’s thickness |
| Prefab acrylic or fiberglass base | Leveled base, compression or glue-on drain | Not an on-site built receptor, so no liner rule | Prefab shower kit $2,000 to $6,000 (This Old House) | Drain gasket leak, cracked unsupported base |
Pick a liner when the drain is a clamping style and the crew knows mud beds. Pick a membrane for curbless or linear-drain floors. Do not stack them: a membrane over a liner can trap water in the mortar between.
How we sourced this
We consulted 14 sources and cite 10. Code rules come from IRC P2709 on UpCodes (Colorado’s 2021 IRC adoption), IPC 312.9 on the ICC site and Minnesota Rule 4714.0408 for the UPC. Product and step details come from Oatey’s liner guide and 130 Series drain sheet, Schluter’s KERDI-DRAIN instructions and retailer listings, read in October 2026. Costs come from Angi and This Old House. The sizing example is our arithmetic. We excluded TCNA method numbers and the IPC lining section number, which we could not read in primary text.
Frequently asked questions
How far up the wall should a shower pan liner go?
Under the 2021 IRC, Section P2709.2, the lining runs at least 2 inches above the finished threshold and 2 inches beyond the rough jambs. UPC areas such as Minnesota require 3 inches above the threshold. Oatey’s install guide marks the framing 5 inches above the curb, so most installers go higher than the code minimum.
Does a shower pan liner go under or over the mortar?
Both. A traditional pan has a sloped mortar pre-slope under the liner and a reinforced mortar bed over it. The pre-slope pitches the liner toward the drain weep holes, and the top bed carries the tile. Oatey’s 130 Series drain sheet calls for at least 1-1/2 inches of mortar over the liner.
Do you need a pre-slope under a shower pan liner?
Yes. IRC Section P2709.3 requires the lining to slope 1/4 inch per foot toward the weep holes of the drain, over a smooth, solidly formed subbase. A liner laid flat on the subfloor holds water in the mortar bed, which leads to a dark grout ring, odor and early failure.
Can you nail or staple a shower pan liner?
Only high on the wall. IRC Section P2709.3 bans nailing or perforating the lining at any point less than 1 inch above the finished threshold. Oatey goes further and tells installers to staple only the top 1/2 inch of the liner. On the curb, bond the liner with adhesive and never screw or nail through it.
What is the difference between PVC and CPE shower pan liners?
PVC liners meet ASTM D4551 and are solvent welded, while CPE liners meet ASTM D4068 and are joined per the maker’s instructions, per IRC P2709.2. Oatey sells both in 30 and 40 mil, recommends CPE over radiant floor heat, and pairs X-15 adhesive with PVC and Oateyweld with CPE.
How long should you flood test a shower pan liner?
IPC Section 312.9 sets the minimum at 2 inches of water held 15 minutes with no leakage. Oatey’s liner guide asks for water to the curb height for at least two hours, and its 130 Series drain sheet asks for 4 hours. A longer hold, such as overnight, catches slow seeps a short test misses.
Do you need a pan liner with KERDI or RedGard?
No. A bonded membrane replaces the liner instead of joining it. IRC Section P2709.2 lists sheet-applied bonded membranes to ANSI A118.10 as their own lining option, and P2709.2.4 covers liquid, trowel-applied membranes. The membrane goes on top of the sloped mortar, right under the tile, with a bonding-flange drain.