How to Install a Shower Drain
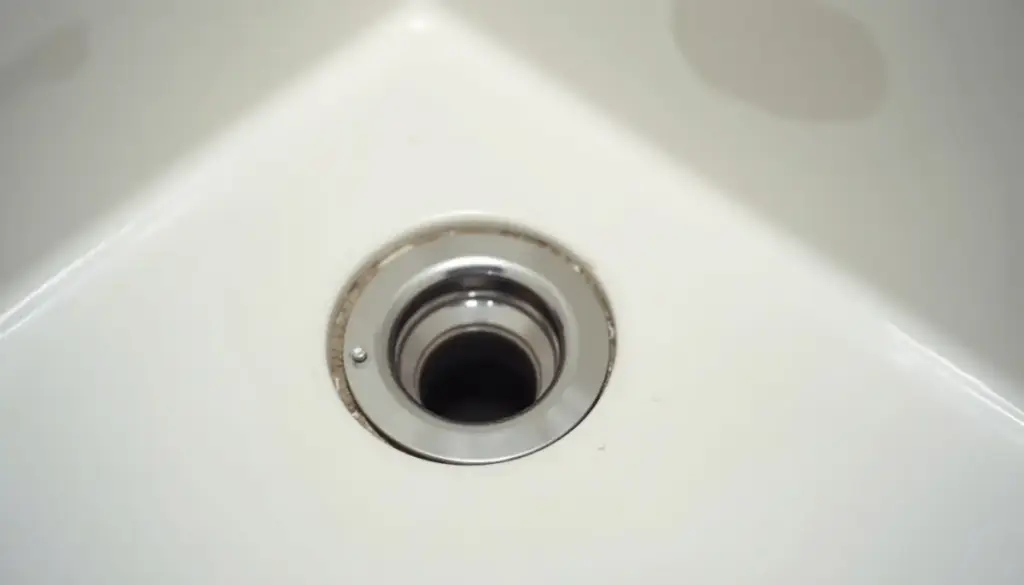
How to install a shower drain depends on the base: a compression drain for acrylic, a clamping-ring drain over a liner for mortar-bed tile, or a bonded flange for KERDI and linear systems, all on a 2 inch line.
Key Takeaways
- The 2024 Uniform Plumbing Code (408.5) requires a 2 inch shower outlet; IPC Table 709.1 allows 2 inches up to 12.3 gpm.
- Oatey’s No-Caulk drain wants the riser 3/4 inch below the barrel flange top; American Standard’s Axis bases want it 3/8 inch above the subfloor.
- Oatey’s clamping-ring tile drains sit in a 4.5 inch hole over a 1/4 inch per foot pre-slope, with weep holes kept clear.
- IPC 312.9 and UPC 408.8.5 set the flood test at 2 inches of water for 15 minutes; Oatey asks for 4 hours.
- Schluter wants 24 hours of membrane cure before water testing a KERDI shower.
What do you need before you install a shower drain?
Before you install a shower drain you need a 2 inch trap and riser in the right spot, the drain made for your base, and the base maker’s rough-in sheet. The 2024 Uniform Plumbing Code sets a 2 inch minimum outlet and the IPC sizes the trap by flow. Riser height, hole size and sealant come from the drain’s own sheet. Once the drain and riser sit right, check shower pan liner sizing and code rules before pouring the mortar bed.
UPC Section 408.5 requires a 2 inch shower outlet and tailpiece, and UPC Table 702.1 lists a 2 inch trap (2.0 fixture units) for a single-head shower. IPC Table 709.1 instead sizes the trap on total flow of every head and body spray.
The UPC caps a showerhead at 2.5 gpm at 80 psi (Section 408.3), so one head sits inside the 5.7 gpm tier. Add a rain head and body sprays and the total can cross 12.3 gpm, which pushes the IPC trap to 3 inches.
Buy 2 inch Schedule 40 DWV pipe in the drain hub’s material (PVC to PVC, ABS to ABS), large channel locks for the locking ring, and a test plug; Oatey’s tool-free plug is rated to 40 feet of head.
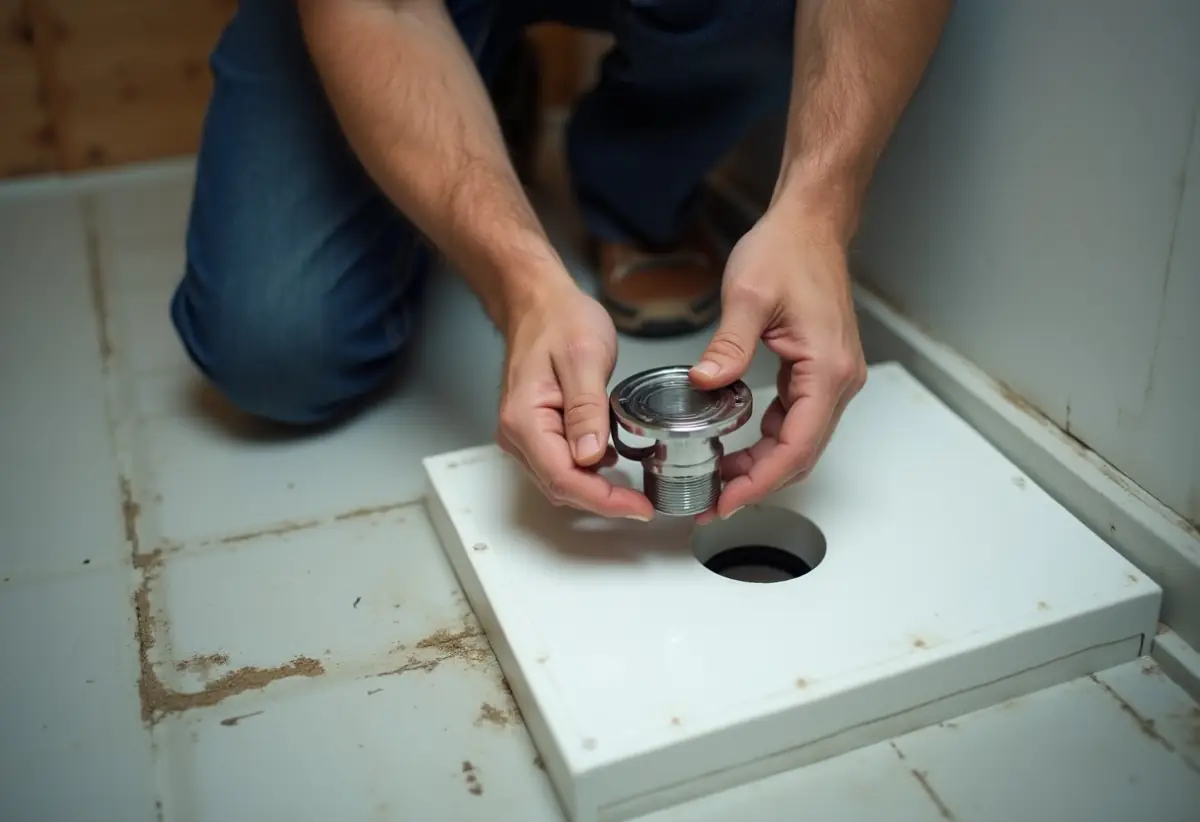
Which shower drain fits your base?
The base picks the drain. Acrylic and fiberglass bases take a compression or glue-on drain through the factory hole. Mortar-bed tile over a PVC or CPE liner takes a clamping-ring drain with weep holes. Bonded-membrane showers such as Schluter KERDI take a bonding-flange drain or a linear channel.
Our guide to shower drain types covers styles; this table covers connection and difficulty.
| Drain type | Base | Connection | Difficulty |
|---|---|---|---|
| Compression (Oatey No-Caulk 140 / 101 PNC) | Prefab acrylic, fiberglass or stone base | Gasket and set screw on 2 in Sch 40, from above | Easy |
| Glue-on (solvent weld) drain body | Prefab base with access below the floor | Hub cemented to the riser from below | Easy to moderate |
| Clamping-ring tile drain (Oatey 130 Series) | Mortar-bed tile over PVC or CPE liner | Base glued below; ring clamps the liner | Moderate to hard |
| Bonded flange point drain (Schluter KERDI-DRAIN) | Foam tray or mortar bed, membrane on top | Cemented 2 or 3 in outlet; membrane thin-set to flange | Moderate |
| Linear channel drain (Schluter KERDI-LINE) | Single-slope tile floor, curbless or curbed | Channel bedded in thin-set, cemented or coupled | Hard |
If you are converting a tub, the drain usually moves and grows from the 1-1/2 inch tub size (UPC 409.2) to 2 inches; our tub to shower conversion cost guide prices that rework.
How do you install a shower drain in an acrylic or fiberglass base?
To install a shower drain in an acrylic or fiberglass base, seal the drain to the base, set the base over a 2 inch riser cut to the maker’s height, then seal the pipe. Oatey’s No-Caulk drain wants the riser 3/4 inch below the barrel flange top and a 4 hour water test.
Start with the rough-in. American Standard’s Axis base instructions call for a 5 by 5 inch floor opening, a 2 inch PVC waste pipe, and a pipe top 3/8 inch above the subfloor, plus or minus 1/16 inch. Drain location is on each model’s drawing.
The Oatey No-Caulk instructions run in this order:
- Dry set the base with the barrel in place and mark the riser at the flange top. Lift the base, measure down 3/4 inch more, cut square, deburr and chamfer.
- Roll a 1/2 inch bead of putty under the barrel flange (100 percent silicone on an ABS drain) and press the barrel in without twisting.
- From below, add the sealing washer, friction washer and locking ring. Tighten with channel locks, wait 30 minutes, then tighten again.
- Set the base. Axis bases bed in low-shrink grout, mortar or plaster (not concrete), none under the apron, level in two directions.
- Push the pipe gasket, flat side down, to the bottom of the barrel, then tighten the set screw with the supplied wrench.
- Plug the drain, fill the base with 3 to 4 inches of water and wait at least 4 hours before snapping in the strainer.
If the riser ends more than 3/4 inch low, Oatey says to cut it below the subfloor and add a coupling and new pipe. A glue-on drain is cemented from below, so it suits bases with basement or crawlspace access.
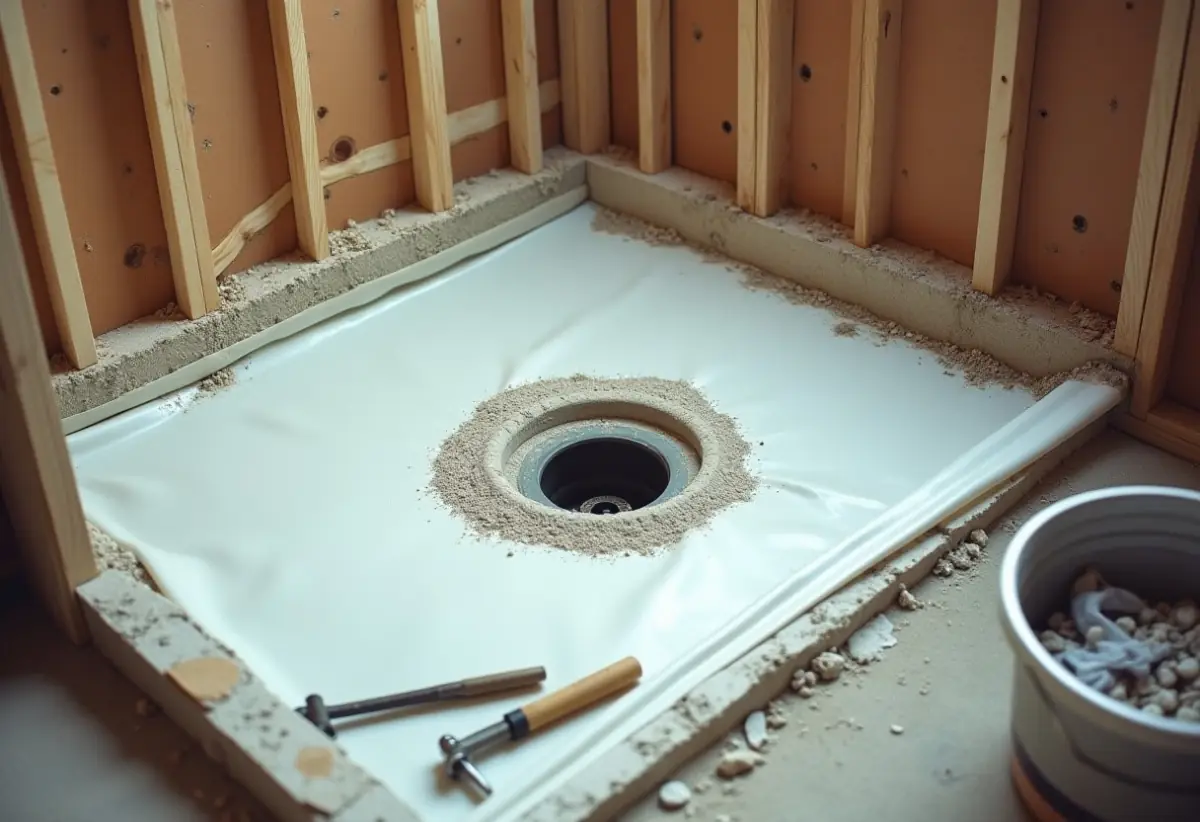
How do you install a tile shower drain with a clamping ring?
Shower drain installation for tile over a liner is a sandwich. The drain base is solvent welded to the 2 inch riser and screwed to the subfloor, a mortar pre-slope pitches 1/4 inch per foot, the PVC or CPE liner clamps between the base and the ring, and pea gravel keeps the weep holes open under at least 1-1/2 inches of final mortar.
On a wood subfloor, the Oatey tile shower drain guide runs:
- Cut a 4.5 inch hole centered where the drain goes and set the drain base level on the subfloor.
- Cut the riser square, deburr and chamfer. Dry, it should slide 1/3 to 2/3 of the way into the hub.
- Prime hub, pipe, then hub again and cement within 5 minutes (no primer on ABS). Give the base a 1/4 turn as you push it on.
- Screw the base down through its 4 countersunk holes and plug the opening.
- Float a pre-slope that rises 1/4 inch per foot from the base to the walls, up to but not over the flange.
- Once it cures, lay the liner at least 3 inches above the finished curb, pitched 1/4 inch per foot to the weep holes (UPC 408.8).
- Cut the liner to the drain opening, keep weep holes free of liner and silicone, and bolt the ring down.
- Flood test, then thread the barrel in so the tile lands flush with its top. Inverting the ring adds about 3/4 inch.
- Cover the weep holes with pea gravel and place at least 1-1/2 inches of reinforced mortar bed.
The 2024 UPC also sets the finished floor slope at 1/8 to 1/2 inch per foot toward the drain, and the dam or threshold must be 2 to 9 inches above the top of the drain (Section 408.6).
How do you install a shower drain in concrete?
To install a shower drain in concrete, the trap and riser go below the slab and the drain body sits in a recess at least 4.5 inches across, resting level on the slab, per Oatey. After the solvent weld, backfill the recess with mortar and build the pre-slope as on wood.
Three steps change on a slab:
- Skip the screws. Oatey’s slab version has no anchoring step; the backfilled mortar holds the base.
- Fill box-outs with dry-pack mortar or concrete; Schluter says a pipe coupling can form around the waste line.
- Bed a KERDI-DRAIN in at least 3/4 inch of mortar at the flange perimeter over concrete, versus 1 inch over wood, per the Schluter Shower System Installation Handbook.
Moving a slab drain means breaking concrete to reach the trap arm, usually under a plumbing permit, so get a licensed plumber’s price before buying a base that does not line up.
How do bonded-membrane and linear drains install?
Bonded-membrane drains such as Schluter KERDI-DRAIN put the waterproofing on top of the mortar, so there are no weep holes. The drain sits in a ring of mortar, the screed is flush with its bonding flange, the bed slopes 1/4 inch per 12 inches, and the KERDI collar is embedded in thin-set with a 1/4 by 3/16 inch V-notch trowel.
Schluter makes KERDI-DRAIN with 2 or 3 inch outlets and sets these limits in its handbook and KERDI-DRAIN-H instructions:
- Floor hole no wider than 5 inches, so tile stays supported.
- At least 1 inch of mortar at the flange perimeter over wood, 3/4 inch over concrete, fully supported so grout does not crack.
- Stainless flanges take KERDI-FIX instead of thin-set, with at least 1 inch of notched KERDI-FIX under the collar.
- Never screw through the small flange-edge holes; they are a manufacturing artifact.
KERDI-LINE floors pitch on a single plane at 1/4 inch per 12 inches toward the channel. Against a wall, Schluter puts the outlet hole about 2-1/8 inches on center from the solid backing. Without access from below, set and connect the channel in one step.
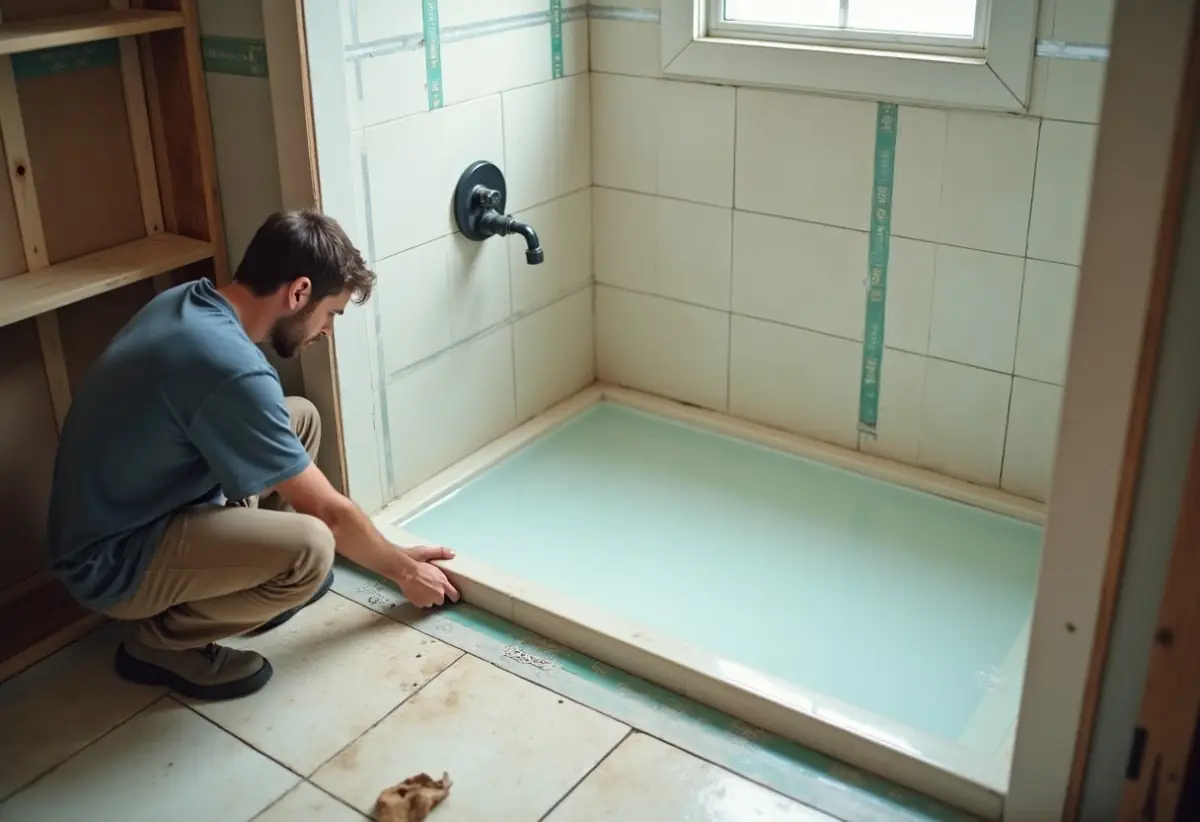
How do you flood test a new shower drain?
Plug the drain below the clamp, fill the pan to at least 2 inches at the threshold and hold it at least 15 minutes, per IPC 312.9 and UPC 408.8.5. With no threshold, build a temporary 2 inch dam. Oatey asks for 4 hours, and Schluter for 24 hours of membrane cure first.
- Seat the plug so both sides of the subpan are tested where it clamps to the drain (UPC 408.8.5).
- Fill to the code depth, or for Oatey tile drains to just below the top of the curb.
- Tape the water line, check it at 15 minutes and 4 hours, and look below for drips at the hub and ring.
- If the level drops, repair and retest until it holds.
Richmond, Virginia, requires a signed liner test certification at final inspection.
Why do new shower drains leak?
New shower drains usually leak at four spots: under the flange where putty or the locking ring failed, at a pipe gasket that never seated over a too-tall riser, through weep holes blocked by mortar, or through a liner cut too wide or run too low.
| Symptom | Likely cause | Fix |
|---|---|---|
| Drip from flange, prefab base | Locking ring not retightened; putty on ABS | Retighten after 30 min; use silicone on ABS (Oatey) |
| Leak at pipe gasket | Riser above the 3/4 in mark; gasket tilted | Recut riser, chamfer, reseat flat side down |
| Wet grout, slow drying tile pan | Weep holes clogged | Pea gravel over weep holes before mortar |
| Water at curb or framing | Liner under 3 in above dam; no pre-slope | Rebuild pan per UPC 408.8 |
| Cracked grout at drain | Flange not fully supported | Pack mortar under flange (Schluter) |
A pan that fails after years of use is a different job, covered in our guide to a leaking shower pan. If the new drain runs slow, pop the strainer and follow our steps to unclog a shower drain.
How we sourced this
We read the 2024 Uniform Plumbing Code in IAPMO’s free edition, IPC Table 709.1 as posted by the Town of Ithaca, the IPC 312.9 text on Richmond, Virginia’s liner test form, and Minnesota Rule 4714.0408. Install figures come from Oatey, American Standard and Schluter instruction sheets. We left out cost figures and any spec we could not trace to a primary source. Codes vary by adoption.
Frequently asked questions
Do you glue a shower drain to the pipe?
Only some drains are glued. A glue-on body is solvent welded to the 2 inch riser, PVC cement for PVC and ABS cement for ABS, per Schluter and Oatey. A No-Caulk compression drain is never glued, because a rubber gasket squeezed by a set screw seals the pipe. Clamping-ring tile drains glue below and clamp the liner above.
How far should the drain pipe stick up for a shower base?
Follow the base and drain sheets, because they differ. American Standard’s Axis acrylic bases want the 2 inch PVC waste pipe 3/8 inch above the subfloor, plus or minus 1/16 inch. Oatey’s No-Caulk drain wants the pipe top 3/4 inch below the top of the barrel flange with the base in final position. Dry set and mark before cutting.
What size drain pipe does a shower need?
Plan on 2 inches. The 2024 Uniform Plumbing Code requires a shower waste outlet of at least 2 inches and lists a 2 inch trap for a single-head shower. The IPC sizes the trap by total flow, 1-1/2 inches up to 5.7 gpm and 2 inches up to 12.3 gpm, so multi-head showers can need 3 or 4 inches.
Do you put plumber’s putty on a shower drain?
On many prefab bases, yes. Oatey’s No-Caulk instructions call for a 1/2 inch bead of putty under the barrel flange, stain-free putty on stone or plastic bases. An ABS (black) drain is the exception, since Oatey says to use 100 percent silicone instead. American Standard’s Axis bases specify silicone between drain body and base.
How long should a shower pan flood test last?
The code minimum is short. IPC 312.9 and UPC 408.8.5 both call for at least 2 inches of water held at least 15 minutes with no leakage. Oatey’s tile drain instructions ask for water just below the curb for at least 4 hours, and Schluter wants 24 hours of membrane cure before any water test.
Can you install a shower drain in a concrete slab?
Yes, but the drain body needs a recess. Oatey asks for one at least 4.5 inches in diameter, with the body resting level on the slab and the recess backfilled with mortar. Schluter says to fill box-outs with dry-pack mortar or concrete and wants at least 3/4 inch of mortar at the KERDI-DRAIN flange over concrete.
Can you replace a clamping ring drain with a KERDI drain?
Sometimes. Schluter sells adaptor kits that convert an existing clamping-ring drain to a KERDI-DRAIN point drain, so the body in the floor can stay. A linear drain is different, because Schluter’s handbook says an installed clamping-ring drain must be replaced to use KERDI-LINE. Expect to tear out the old pan either way.