How to Install a Refrigerator Water Line (and What It Costs)
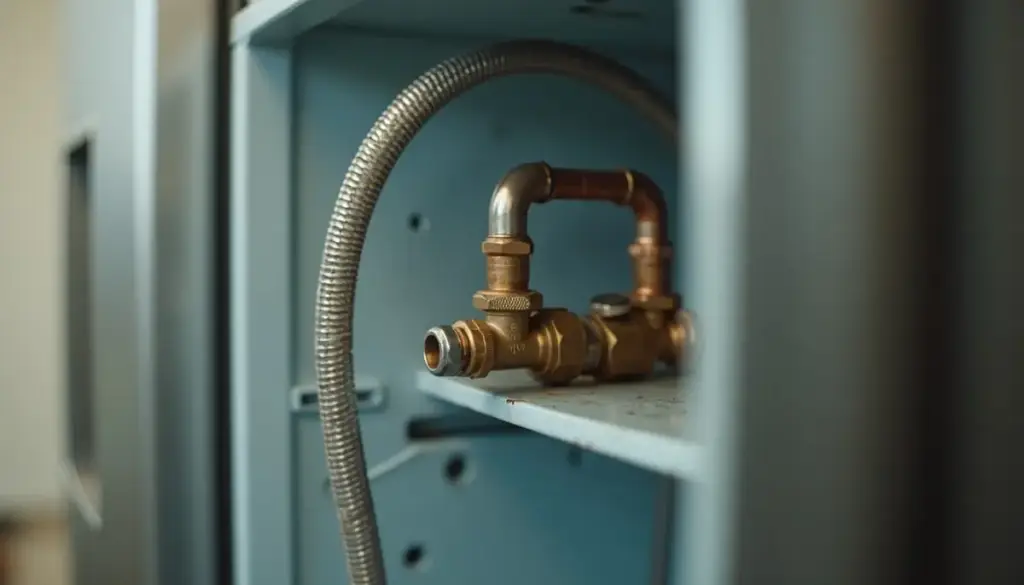
How to install a refrigerator water line: tee into the nearest cold pipe through a dedicated quarter-turn valve, run 1/4-inch braided stainless, PEX, or copper to the fridge, flush 2 to 3 gallons, and leak-check every joint.
Key Takeaways
- HomeGuide puts the national average for a pro install at $175 for parts and labor, with most jobs between $150 and $200 and a full span of $75 to $400.
- The Insurance Information Institute reports water damage and freezing claims averaged $15,400 each from 2019 to 2023, roughly 88 times the average install price.
- Whirlpool tells installers not to use a piercing-type or 3/16-inch saddle valve, because it reduces water flow and clogs more easily.
- GE installation instructions call for 20 to 120 psi at the supply, and Samsung gives a 10-second cup test (5.75 ounces or more means at least 20 psi).
- GE says to add 8 feet to the measured run and coil it into 3 turns about 10 inches across.
- Samsung says to dispense at least 2 to 3 gallons through a new line and filter and discard the first 1 or 2 buckets of ice.
How do you install a refrigerator water line?
You install a refrigerator water line by choosing a cold-water source, adding a dedicated shut-off valve, running 1/4-inch tubing to the fridge inlet, and connecting both ends with compression or push-fit fittings. Then you flush the line and filter and check every joint under pressure. With a cold pipe a few feet away, most people finish in one to two hours.
The job comes down to three decisions.
- The source. A tee under the sink, a tee on a nearby cold line below the floor, or a recessed ice maker outlet box.
- The valve. A dedicated quarter-turn valve with a 1/4-inch outlet, never a self-piercing saddle valve.
- The tubing. Braided stainless, PEX, soft copper, or plastic.
Most failures start at one of two spots: a saddle valve at the supply that weeps years later, or a line cut too short behind the fridge that kinks every time the unit rolls out.
What do you need before you start a fridge water line?
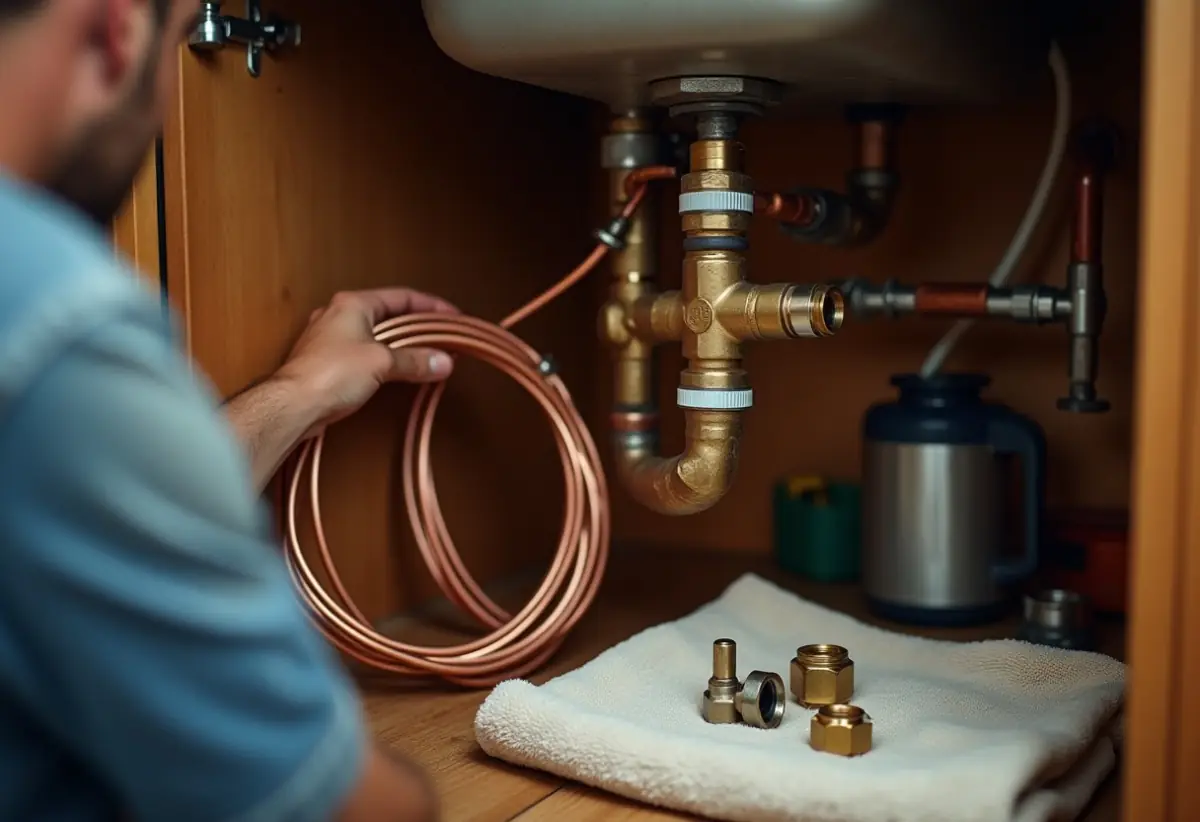
You need a working shut-off for the pipe you will tap, a tee or valve that matches that pipe, 1/4-inch tubing long enough for a service loop, compression nuts and ferrules or push-fit ends, and enough water pressure for the ice maker. Check the pressure first, because a line that cannot fill the ice tray is wasted work. Low pressure causes more ice maker headaches than any other factor, so see troubleshooting weak ice maker supply before you start cutting pipe.
GE installation instructions call for 20 to 120 psi. Whirlpool’s installation support asks for 1/4-inch OD soft copper or PEX on a cold supply, and its printed instructions set a 35 to 120 psi window. Wells with a low pressure switch setting and reverse osmosis feeds can fall short.
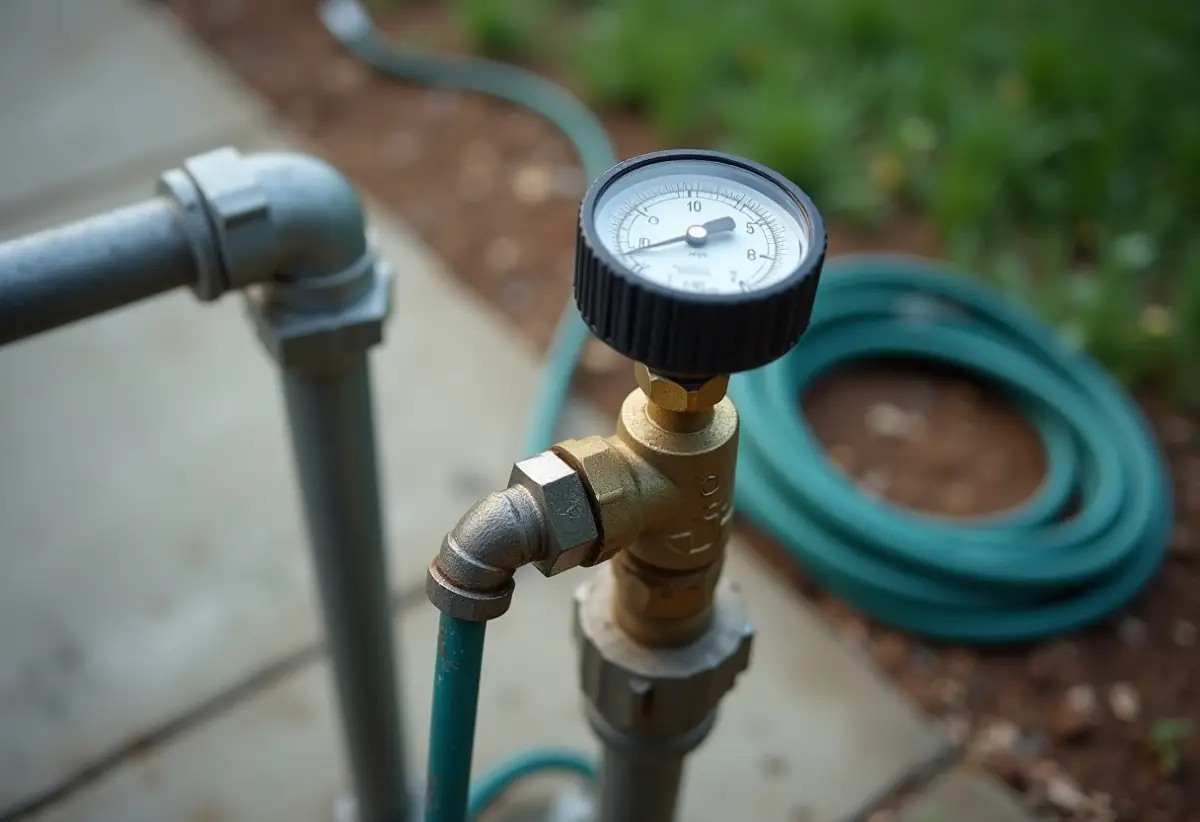
Samsung’s support page gives a quick test you can run after hookup. Dispense into a measuring cup for 10 seconds. If you collect at least 5.75 ounces, pressure is above 20 psi.
Tools and parts for a typical under-sink tee:
- Two adjustable wrenches, a tubing cutter, and a deburring tool
- A dual-outlet stop, or a tee plus a quarter-turn valve with a 1/4-inch outlet
- 1/4-inch tubing or a braided stainless connector long enough for a service loop
- Insert stiffeners for PEX or plastic in compression fittings, plus a bucket and towels
Where should a refrigerator water line connect?
A refrigerator water line should connect to the closest cold potable supply through a valve you can reach. The three common options are a tee into the cold line under the kitchen sink, a tee into a cold line in the basement or crawlspace that comes up through the floor, or a recessed ice maker outlet box set in the wall behind the fridge.
The under-sink tee is the easiest DIY route when the sink sits within a cabinet or two of the fridge. Swap the angle stop for a dual-outlet stop, or add a tee above it and fit a separate quarter-turn valve, then run the line through the cabinet sides.
Match the tee to the pipe you are cutting, not the tubing you are running. Our guide to plumbing fittings by type and connection covers compression, sweat, threaded, and push-fit options by pipe material.
| Supply option | Best for | Where the valve lives | Trade-off |
|---|---|---|---|
| Tee or dual-outlet stop under the kitchen sink | Fridge within a few feet of the sink | Sink cabinet, easy to reach | Line has to cross cabinets or run along the floor |
| Tee on a cold line in the basement or crawlspace | Fridge on an outside wall or far from the sink | Below the floor at the tee | Drilling the floor, longer run, valve out of sight |
| Recessed ice maker outlet box | Remodels, new builds, built-in or counter-depth fridges | In the wall behind the fridge | Wall must be open, costs more, usually a plumber job |
| Self-piercing saddle valve | Not recommended | Clamped on the pipe | Small hole limits flow, gasket can weep, not approved in many areas |
The recessed outlet box is the cleanest finish. Oatey and Sioux Chief sell boxes with a built-in quarter-turn valve, so the shut-off sits behind the fridge and the unit slides closer to the wall.
Why are saddle valves a bad idea for a fridge water line?
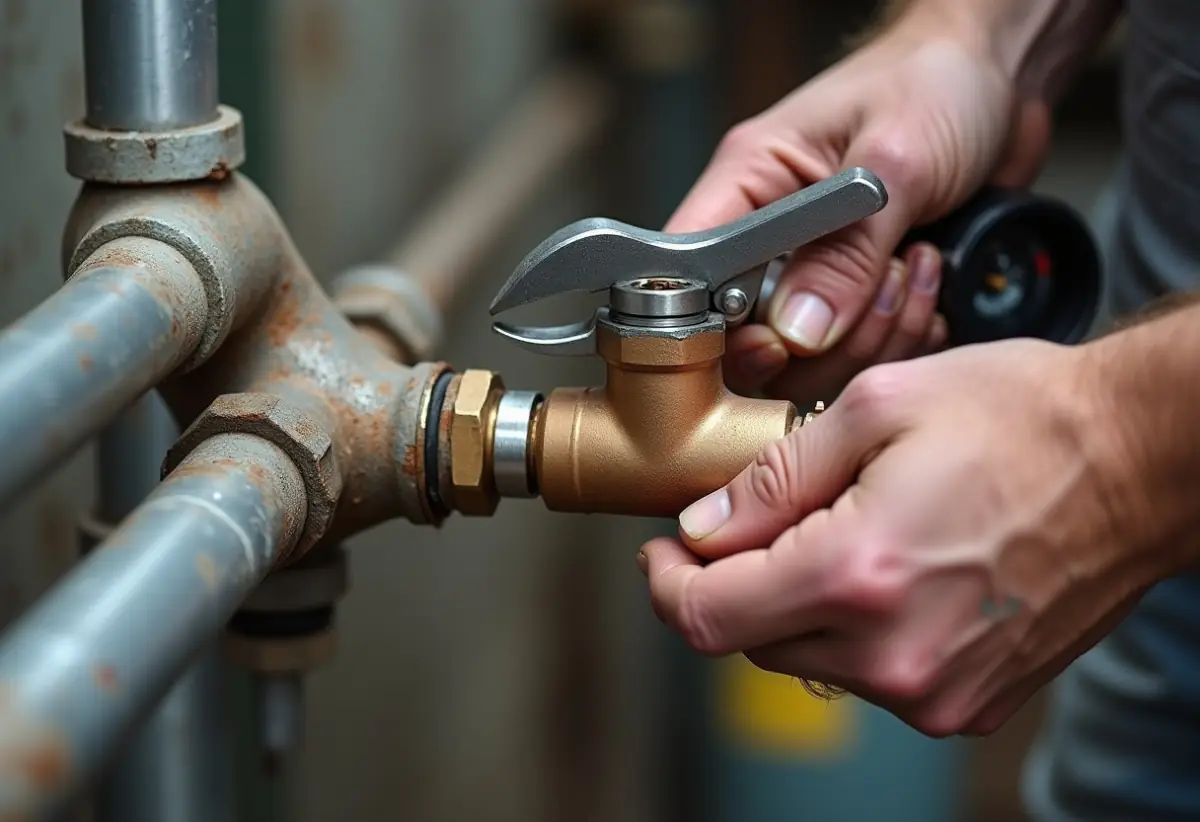
Self-piercing saddle valves are a bad idea for a fridge water line because they clamp onto the pipe and punch a tiny hole, which limits flow, clogs easily, and depends on a rubber gasket that can weep as it ages. Whirlpool tells installers not to use them, GE says to confirm local code first, and many inspectors flag them on sight.
Whirlpool’s support page says not to use a piercing-type or 3/16-inch saddle valve because it reduces water flow and clogs more easily. GE’s instructions note that saddle valves come in many supply kits and tell buyers to check local plumbing codes first.
Code acceptance varies by jurisdiction. Minnesota home inspection firm StructureTech points out that saddle valves are not an approved product under the state’s plumbing code approval standards (Minnesota Rules 4715.0420), even though no line in that code bans them by name. Ask your building department before relying on one.
If your kitchen already has a saddle valve, shut the water, remove it, and cut in a proper tee or repair coupling. If the fridge line is going away for good, cap the abandoned water line back at the tee so you do not leave a stagnant stub in the wall.
Which tubing is best for a refrigerator water line?
Braided stainless is the best all-round tubing for a refrigerator water line because it resists kinks and comes with factory-crimped 1/4-inch compression nuts. PEX and soft copper are both accepted by Whirlpool and suit longer or concealed runs. Plain plastic tubing is the cheapest choice and the one most likely to crack with age.
| Tubing type | Durability | Relative cost | Notes |
|---|---|---|---|
| Braided stainless connector | High; HomeGuide calls it the most durable and reliable option | Mid | Fixed factory lengths with nuts attached; buy one long enough for the service loop; no taste issues |
| PEX, 1/4-inch OD | Good; flexible and kink-tolerant | Low | Whirlpool lists it as acceptable; use insert stiffeners in compression fittings; keep away from heat and UV |
| Soft copper, 1/4-inch OD | High once installed | Highest per HomeGuide | Accepted by Whirlpool and GE; kinks if bent tightly; Whirlpool says keep it where temperatures stay above freezing |
| Plastic (polyethylene) tubing | Lowest; GE warns some types turn brittle and crack | Lowest | Samsung requires the molded bulb end at the fridge; HomeGuide notes possible off taste over time |
For a short run from an under-sink tee, braided stainless is the low-risk pick. For a run through a floor, one continuous length of PEX or copper avoids hidden joints. Older GE instructions rule out plastic tubing because the line stays under pressure around the clock.
How do you install a refrigerator water line step by step?
To install a refrigerator water line step by step, shut off and drain the supply, fit the tee and a dedicated valve, run tubing with a service loop, connect the fridge inlet with a compression nut, flush the line into a bucket, and then pressurize and inspect each joint. Unplug the fridge before you start working behind it.
Our walkthrough on how to shut off the water shows where to find the fixture stop and the main, and how to drain the line so the tee goes on dry.
- Unplug and shut off. Unplug the fridge, close the supply valve, and open the faucet to drop the pressure.
- Measure the run. Measure along the route, then add 8 feet for the service loop, per GE.
- Install the tee and valve. Fit a dual-outlet stop, or cut in a tee and a quarter-turn valve. Cut square and deburr.
- Choose your joint. On copper, PEX, or CPVC, push-fit fittings make the tee a no-solder job. Mark the insertion depth and push until the mark meets the fitting.
- Route the tubing. Drill clean holes through cabinets or the floor and avoid sharp bends.
- Connect at the valve. Slide on the compression nut and ferrule, seat the tubing fully, and tighten.
- Flush the line. Put the loose end in a bucket and run water until it is clear.
- Connect the fridge inlet. Remove the inlet cap and attach the line. Samsung warns not to overtighten the nut and not to reuse old hoses.
- Clamp and coil. Fit the tubing clamp to take strain off the coupling, then form the loop.
- Pressurize and inspect. Open the valve slowly and check every joint.
On compression joints, snug is the goal. If one weeps, tighten a little more rather than cranking it, since a crushed ferrule leaks worse.
How do you flush the new filter and check for leaks?
You flush a new refrigerator filter by dispensing at least 2 to 3 gallons of water through it, which is Samsung’s guidance for clearing air and impurities, and by throwing out the first 1 or 2 buckets of ice. Then check each joint with a dry paper towel right away, again after an hour, and again the next day.
Expect the dispenser to sputter at first. That is trapped air, and cloudy early water is usually air too. If it stays cloudy after the full flush, check the filter is seated and locked.
Wrap a dry paper towel around each nut for a few minutes and look for damp spots. It finds slow weeps faster than your eyes.
A leak detector is cheap insurance for a line you cannot see. A battery water sensor behind the fridge alarms at the first drip, and an automatic shutoff valve closes the supply when a sensor gets wet.
The stakes are real. The Insurance Information Institute counts 1.50 water damage and freezing claims per 100 insured house-years from 2019 to 2023, at an average of $15,400 per claim. An IBHS study of closed claims put the average plumbing supply system failure at more than $5,000 after the deductible.
How much does it cost to install a water line for a fridge?
The cost to install a water line for a fridge averages $175 for parts and labor, according to HomeGuide, with most jobs between $150 and $200 and a full range of $75 to $400. Doing it yourself costs only parts. ContractorPlus cost data puts materials at $20 to $150, depending on tubing, fittings, and the valve.
HomeGuide lists plumber rates at $75 to $150 per hour, but most charge a $150 to $200 minimum even for a short job. That minimum is why a quick under-sink tee still lands near the average.
Price climbs with distance and access. A finished floor, a drywall patch, or a recessed outlet box can push past HomeGuide’s $400 high end, and ContractorPlus adds $0 to $200 for permits where required.
When is a plumber worth the money?
Call a plumber when the run goes through a finished wall or floor, the shut-offs are seized, the supply is old galvanized steel, or local rules require a licensed installer for a new branch. Condo buildings may set their own rules too.
DIY makes sense for a short, visible run from an under-sink tee with a working stop.
How we sourced this
We reviewed the top-ranking pages for this query in October 2026, then went to primary sources. Installation specs come from Whirlpool, GE, and Samsung instructions. Claim data comes from the Insurance Information Institute (2019 to 2023) and an IBHS closed-claims study released in 2012. Cost figures come from HomeGuide (September 2025) and ContractorPlus cost data. The saddle valve code note comes from StructureTech, a Minnesota inspection firm. We excluded fridge-specific claim figures repeated on restoration sites that we could not trace to a primary insurer or IBHS document.
Frequently asked questions
Can I install a refrigerator water line myself?
Yes, in many areas a homeowner can run a fridge line in their own home, and most installs take one to two hours when a cold pipe sits close by. The hard parts are tapping the supply without a saddle valve and leaving enough slack. Check local rules first, since some jurisdictions want a permit or a licensed plumber for any new branch off the supply.
How much does it cost to install a water line for a fridge?
HomeGuide puts the national average at $175 for parts and labor, with most jobs between $150 and $200 and a full range of $75 to $400. Long runs, opening walls or floors, and recessed outlet boxes push the price up. Doing it yourself costs only the parts, which ContractorPlus cost data puts at $20 to $150.
Can you use a saddle valve for a refrigerator water line?
It is a poor choice and often not allowed. Whirlpool tells installers not to use a piercing-type or 3/16-inch saddle valve because it reduces flow and clogs more easily, and GE says to confirm any saddle valve complies with local code. Minnesota inspectors note the valves are not an approved product there. A tee with a quarter-turn valve is the standard alternative.
What size is a refrigerator water line?
Most refrigerator water lines are 1/4-inch outside diameter tubing with 1/4-inch compression connections. Whirlpool specifies 1/4-inch OD soft copper or PEX, and HomeGuide notes that a few very large refrigerators use a 3/8-inch line. Confirm the size in your model’s installation guide before you buy fittings, since the adapter at the supply end depends on it.
Is braided stainless or copper better for a fridge water line?
Braided stainless is the easier and more forgiving choice for most kitchens because it resists kinks and comes with factory crimped ends. Copper is durable and accepted by Whirlpool and GE, but HomeGuide notes it costs the most and kinks if bent tightly. Plain plastic tubing is the cheapest and least durable, and GE warns some types turn brittle and crack.
How long should a refrigerator water line be?
Long enough to reach the inlet with the fridge pulled fully out. GE installation instructions say to measure from the fridge valve to the supply pipe and add 8 feet, then coil the extra into 3 turns about 10 inches across. That service loop lets you slide the unit out for cleaning without straining or kinking the line.
How much water should you run through a new refrigerator filter?
Samsung tells owners to dispense at least 2 to 3 gallons after hooking up a new line, which purges air and impurities from the line and filter. It also advises throwing out the first 1 or 2 buckets of ice. Expect sputtering and cloudy water at first, which clears as the trapped air works its way out.