Water Heater Pressure Relief Valve: Why It Leaks, How to Test It and How to Replace It
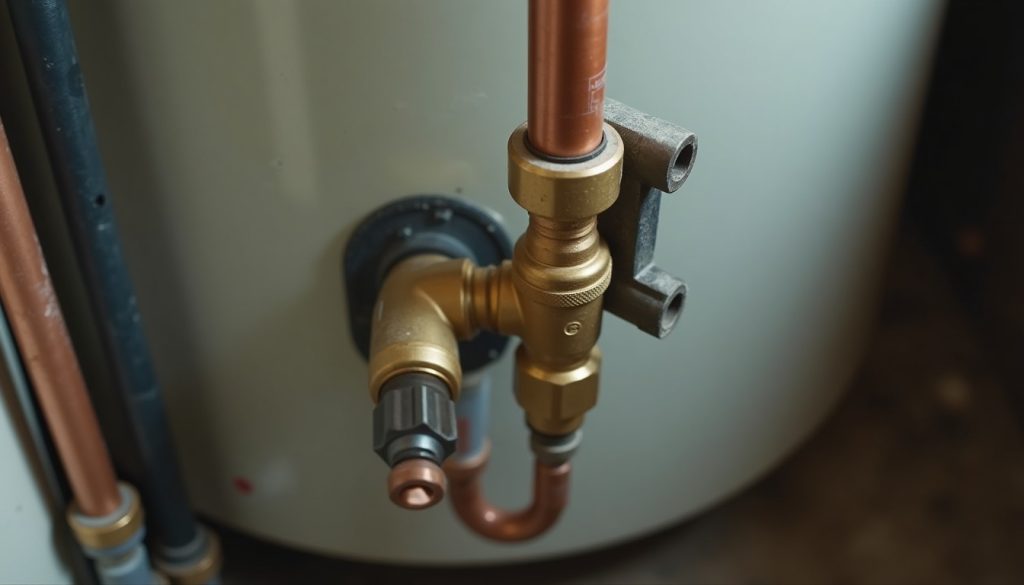
A water heater pressure relief valve opens automatically at about 150 psi or 210°F to keep the tank from bursting, so a drip means high pressure, excess heat or a worn seat, and capping it is never the fix.
Key Takeaways
- T&P valves such as the Watts 100XL open at 210°F or at a set pressure of 75 to 150 psi; 150 psi is the common tank-heater setting.
- Watts says to operate the test lever at least once a year; no flow means the valve is inoperative.
- Most drips trace to thermal expansion in a closed system, high street pressure, sediment on the seat, a thermostat set too high, or a valve at the end of its life.
- The ICC model codes (IPC Section 504.6 and IRC Section P2804.6.1) require a full-size discharge pipe with no valves, no tees and an unthreaded end within 6 inches of the floor.
- HomeAdvisor puts pressure relief valve replacement at $20 to $200.
- The CPSC says 150°F water gives most adults third-degree burns in 2 seconds, so stand clear when the valve opens.
What does a water heater pressure relief valve do?
A water heater pressure relief valve is a spring-loaded safety valve, usually a combined temperature and pressure (T&P) valve, threaded into the top or upper side of the tank. It stays shut in normal use and opens on its own when tank pressure reaches its set point, typically 150 psi, or when the water near the top of the tank reaches 210°F. Opening dumps hot water through the discharge pipe until conditions drop back to safe.
A calibrated spring holds a disc on the seat until pressure overcomes it, while a probe reaching into the tank expands with heat and forces the valve open. Watts installation instructions require the probe to sit in the water within the top 6 inches of the tank. The valve is a backstop for a failed thermostat or gas control, not a control itself.
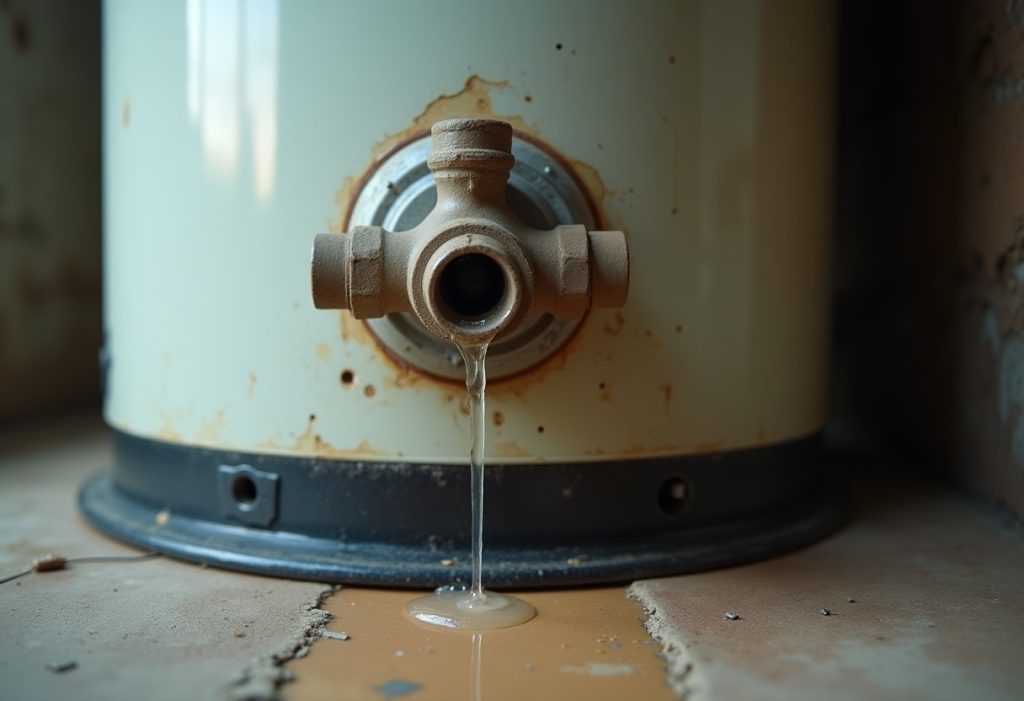
Why is my water heater pressure relief valve dripping or leaking?
A water heater pressure relief valve that drips is usually doing its job. The five common causes are thermal expansion with no room for it, street pressure that runs too high, sediment or scale stuck on the valve seat, a thermostat set hotter than needed, and a valve that has simply worn out. Only the last one is fixed by a new valve alone, so diagnose before you buy parts.
A wet discharge pipe means the valve is opening; water at the threads means a failed seal. Water from the tank seams or bottom is a different problem, covered in our guide to a water heater leaking from somewhere else.
| Cause | Sign | Fix |
|---|---|---|
| Thermal expansion (closed system) | Drips during or right after a heating cycle; a hose-bib gauge shows pressure climbing as the burner or elements run | Install or recharge a thermal expansion tank sized for the heater and supply pressure |
| High supply pressure | Gauge reads high at all times, not just during heating; faucets and toilet fill valves also leak or hammer | Install or replace a pressure-reducing valve on the main |
| Sediment or scale on the seat | Weeps steadily after a test or after a heavy discharge, even at normal pressure | Lift and release the lever 2 or 3 times to flush; replace the valve if it keeps weeping |
| Thermostat set too high | Water at the tap is scalding; valve discharges hot water or steam during recovery | Lower the setting toward 120°F; test the thermostat or gas control if it overshoots |
| Failed valve | Leaks at normal pressure and temperature, corroded body, stuck lever, or no flow on test | Replace with a valve of the same pressure, temperature and BTU rating |
How do I tell thermal expansion from high street pressure?
Thread a pressure gauge with a max-reading needle onto a hose bib or the heater’s drain valve and watch it through a heating cycle. If static pressure sits in a normal range but spikes while the heater runs, thermal expansion is the cause. If it reads high before the burner even fires, the street supply or a failed pressure-reducing valve is the cause.
Thermal expansion hits closed systems, where a check valve, backflow preventer or pressure-reducing valve stops heated water from pushing back to the main. Water grows as it warms, so each heating cycle ratchets pressure toward the T&P setting. A properly sized thermal expansion tank gives that water a cushion to move into, and many jurisdictions require one on closed systems.
The model plumbing codes generally cap static supply pressure at 80 psi. Well above that, the T&P is fighting the street, and a new valve will not stop the drip.
How do you test a water heater pressure relief valve safely?
To test a water heater pressure relief valve, confirm a discharge pipe is attached, put a bucket under its end, stand to the side, and lift the test lever for 3 to 5 seconds. Hot water should rush out and stop when you let go. Watts says the lever must be operated at least once a year, and if no water flows the valve is inoperative and needs replacing.
- Check the discharge pipe first. Watts warns not to operate the lever unless a discharge line directs the water to a safe place, or personal injury may result.
- Clear the area and protect yourself. Set a bucket under the pipe end, keep children out of the room, and wear gloves. The water is at tank temperature.
- Lift, then release. Raise the lever fully for a few seconds, confirm a strong flow, then let it snap back. Flow should stop within seconds.
- Check again in an hour. A pipe that keeps dripping means debris on the seat. Flush it by working the lever two or three more times, then replace the valve if the weep continues.
The Consumer Product Safety Commission reports about 3,800 injuries and 34 deaths a year from scalding tap water and says most adults suffer third-degree burns after 2 seconds in 150°F water, 6 seconds at 140°F, and 30 seconds at 130°F.
An old T&P may not reseal after a test. Test it anyway, since a valve stuck shut is the real danger, and keep a spare on hand.
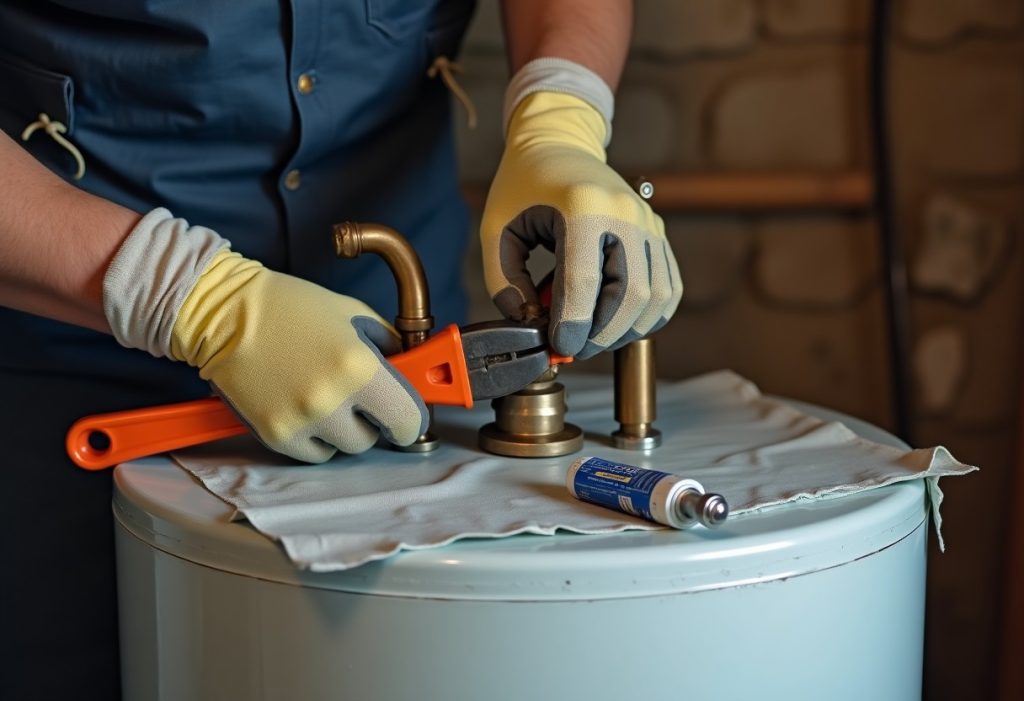
How do you replace a water heater pressure relief valve?
Replacing a water heater pressure relief valve is a short job with a pipe wrench, thread sealant and a valve matching the old one’s ratings. Shut off the heat and cold supply, relieve pressure, drain below the valve port, swap the valve, reattach the discharge pipe, and refill the tank completely before turning the heat back on.
Match the old valve’s tag for pressure, temperature and BTU rating, and do not exceed the working pressure on the heater’s data plate. Watts rates its 100XL series for heaters up to 105,000 BTU/hr; larger units need a higher-capacity valve.
- Shut off the heat. Turn a gas control to OFF or PILOT, or switch off the breaker for an electric heater. An electric element that fires in an empty tank can burn out.
- Close the cold supply and relieve pressure. Shut the cold valve at the heater and open a hot tap in the house.
- Drain below the valve. Attach a hose to the drain valve and let out enough water to drop the level below the T&P port. A side-mounted valve needs more drained than a top-mounted one.
- Remove the old valve. Disconnect the discharge pipe, then turn the valve counterclockwise with a pipe wrench while bracing the heater.
- Clean and seal the threads. Clear old tape and scale from the tank port, then wrap the new valve’s threads with PTFE tape or apply pipe dope rated for potable water.
- Install the new valve. Thread it in hand tight, then snug it with the wrench until the outlet points down or toward the discharge route. Do not overtighten.
- Reattach the discharge pipe to code (next section).
- Refill completely. Close the drain, open the cold supply, and leave the hot tap open until water runs steadily with no sputtering air.
- Restore heat and check. Relight the gas or restore the breaker, then check the valve threads and pipe for leaks over the next heating cycle.
After the swap, check the thermostat. CPSC recommends 120°F, and our guide to the right water heater temperature covers the scald versus bacteria trade-off.
What are the code rules for a T&P relief valve discharge pipe?
Under the International Plumbing Code (Section 504.6) and International Residential Code (Section P2804.6.1), the T&P discharge pipe must be at least the full size of the valve outlet, serve one valve only, drain by gravity with no traps or sags, carry no valves or tees, and end with an unthreaded opening no more than 6 inches above the floor or a receptor. Local amendments vary, so verify with your building department. The full list below comes from the ICC’s CodeNotes on water heater safety (2021 editions).
| Requirement (IPC 504.6 / IRC P2804.6.1) | Why it matters |
|---|---|
| Not smaller than the valve outlet, full size to the air gap | A smaller pipe chokes flow during an emergency release |
| Serves a single relief device only | Shared piping can hide which device is discharging |
| No direct connection to the drainage system; ends at an air gap in the same room | Prevents backflow and keeps the outlet visible |
| Discharges to the floor, the heater pan, a waste receptor or outdoors | Sends hot water somewhere safe |
| Not aimed at occupants; not into a shower, tub, sink or laundry tray | Avoids scalding someone using the fixture |
| End readily observable by occupants | A drip is a warning sign people need to see |
| Drains by gravity with no trapped sections | Standing water can freeze or block the line |
| Ends no more than 6 inches above the floor | Keeps the spray low and away from people |
| No threads at the outlet end | Stops anyone from capping the pipe |
| No valves or tees anywhere on the line | The relief path can never be shut |
| Rated for at least 100 psi at 180°F (Section 605.4 or ASME A112.4.1) | Pipe rated lower can soften or fail during a release |
Some states write stricter versions. The T&P rules sit alongside the expansion tank, pan, strapping and venting rules in our full set of water heater code requirements.
How much does T&P valve replacement cost compared with other water heater repairs?
HomeAdvisor’s 2025 cost data puts pressure relief valve replacement at $20 to $200, the low end being the part alone and the high end a plumber’s visit. Total cost rises if the plumber also has to correct the discharge pipe, add an expansion tank or fit a pressure-reducing valve.
Bars show the high end of each range in HomeAdvisor’s repair cost guide, which puts the average water heater repair at $616 and replacement at $875 to $1,800.
When should you call a plumber about a water heater pressure relief valve?
Call a plumber about a water heater pressure relief valve when it will not open on test, discharges steam or very hot water repeatedly, is seized in a corroded fitting, or keeps opening because of a pressure or control problem you cannot trace. Rerouting a discharge pipe to code is also worth handing off.
- No flow on test. Watts says to turn off the water heater and call a plumber immediately.
- Steam or boiling discharge. The thermostat or gas control is likely failing. Turn off the fuel or power and keep people away.
- Rusted or seized valve. Forcing a stuck valve can crack the tank fitting, which ends with a new heater.
- Pressure problems or permits. Expansion tank and pressure-reducing valve work, and in some areas any water heater work, may need a licensed plumber and permit.
How we sourced this
We consulted 11 sources and cited 6: the Watts LF100XL spec sheet and installation instructions for settings, probe location, BTU rating and test frequency; the ICC’s CodeNotes on water heater safety for IPC Section 504.6 and IRC Section P2804.6.1 discharge rules (2021 editions); CPSC Document 5098 for scald data and the 120°F recommendation; and HomeAdvisor’s 2025 water heater repair cost guide for prices. We excluded contractor blogs and cost pages with no stated method. The 80 psi static-pressure ceiling is the general model-code figure; confirm the limit your local code adopts. Code sections change by edition and local amendment, so verify with your building department before installing.
Frequently asked questions
Is it normal for a water heater pressure relief valve to drip?
No. A healthy T&P valve stays dry and opens only in an emergency. A steady drip usually means tank pressure is climbing toward the valve’s setting, most often from thermal expansion in a closed system or high street pressure. A drip that starts right after a test often means debris on the seat. Find the cause before replacing the valve, or the new one will drip too.
How often should you test a water heater pressure relief valve?
Watts, a major T&P valve maker, says the test lever must be operated at least once a year to confirm the waterways are clear. Make sure a discharge pipe is attached first, stand clear of the outlet, and lift the lever for a few seconds. If no water flows, Watts says to turn off the water heater and call a plumber immediately.
What pressure and temperature does a T&P valve open at?
Most residential T&P valves open at 150 psi or 210°F, whichever comes first. The Watts 100XL series lists a 210°F temperature setting and standard pressure settings of 75, 100, 125 and 150 psi. A replacement should match the rating stamped on the old valve’s tag and should not exceed the working pressure printed on the heater’s data plate.
Can I replace a water heater pressure relief valve myself?
Many handy homeowners can, since the job takes a pipe wrench, thread sealant and a valve that costs a small fraction of a service call. You have to shut off the fuel or power, close the cold supply, relieve pressure and drain the tank below the valve opening. Some jurisdictions require a licensed plumber or a permit for water heater work, so check local rules first.
How much does it cost to replace a T&P valve?
HomeAdvisor puts pressure relief valve replacement at $20 to $200. The low end is the part alone for a DIY swap, and the high end covers a plumber’s visit and labor. Costs climb if the old valve is seized in the tank fitting, the discharge pipe has to be rerun to meet code, or the plumber finds an expansion tank or pressure-reducing valve is also needed.
Can I cap or plug a leaking pressure relief valve?
Never. Capping, plugging or valving off a T&P valve removes the one device that stops a tank from rupturing when the thermostat or gas control fails. The ICC model codes ban valves on the discharge piping and threads on its open end for exactly this reason. Put a bucket under the pipe, shut the heater down if the flow is heavy, and fix the root cause.
Why does my T&P valve leak after I tested it?
Opening the valve can let sediment or mineral scale lodge on the seat, so the disc no longer seals when the lever drops. Try lifting and releasing the lever two or three times to flush the seat. If it still weeps after a day, replace the valve. Older valves that have not opened in years are the most likely to stick or leak after a test.