How to Install a Garbage Disposal
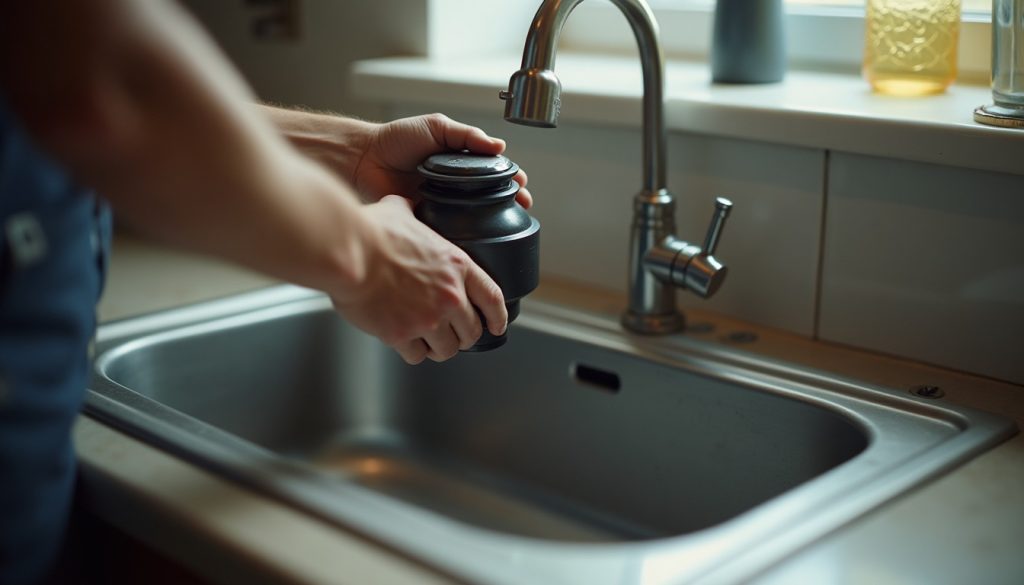
Install a garbage disposal by cutting power at the breaker, mounting the sink flange with plumber’s putty, hanging the unit, wiring it, connecting the discharge tube to the trap, and testing for leaks.
Key Takeaways
- Kill power at the breaker before you touch any wiring; a disposal draws a startup surge above its running load, so treat the circuit as live until you confirm it is off (Home Depot residential electrical code).
- Seal the sink flange with a rope of plumber’s putty, then lock the three-bolt or twist-on mounting ring underneath, per InSinkErator install instructions.
- Residential disposals run 1/3 to 1 horsepower and all fit the same standard 3-1/2 inch sink drain, so power is the only variable (Waste King HP guide).
- Knock out the molded dishwasher plug only if you are connecting a dishwasher, and fish the loose plug out so it cannot jam the grind chamber (InSinkErator).
- A disposal usually needs a 120-volt, 15 or 20 amp circuit; many local codes want it dedicated and GFCI protected, but rules vary by area (Home Depot).
- A DIY like-for-like swap runs about $85 to $150 in parts, versus roughly $200 to $625 hired; pros average 45 to 60 minutes, per Angi.
What tools and parts do you need to install a garbage disposal?
You need the disposal itself, plumber’s putty, and a short list of hand tools. Most units include the mounting assembly, a discharge tube, and a special wrench, so read what came in the box before you buy extras. The table below lists the kit, the spec that matters, and why each item earns a spot on the counter. Once the new unit is in place, cleaning a garbage disposal regularly will keep it running smoothly for years.
| Item | Spec that matters | Why you need it |
|---|---|---|
| Garbage disposal | 1/3 to 1 HP, standard 3-1/2 in mount | The unit; horsepower sets grinding power, not fit |
| Plumber’s putty (or silicone) | 1 stick, pencil-thick rope | Seals the sink flange to the sink; silicone for stone or composite sinks |
| Mounting assembly | Usually in the box (3-bolt or twist-on) | Clamps the flange and holds the disposal under the sink |
| Discharge tube and slip nuts | Fits your P-trap and drain arm | Carries wastewater from the disposal to the trap |
| Screwdrivers (flat and Phillips) | Insulated handles preferred | Mounting screws, wiring, and the dishwasher knockout |
| Channel-lock pliers | Adjustable | Slip nuts and the drain connections |
| Wire connectors and clamp | Match wire gauge; strain-relief clamp | Hardwire only; a cord kit replaces these |
| Bucket and rag | Small bucket | Catches trap water when you disconnect the old drain |
How do you remove the old disposal or set a new sink flange?
Start by cutting power at the breaker and clearing the cabinet. If a disposal is already there, you are swapping it out; if this is a first install or a new sink, you are setting a fresh flange. Both paths meet at the same mounted ring, ready to hang the new unit.
Removing an existing disposal
Unplug the unit or confirm the breaker is off, place a bucket underneath, and disconnect the discharge tube and the dishwasher hose if present. Support the disposal with one hand, insert the wrench into the lower mounting ring, and turn to release it. The unit drops free. Then disconnect the wiring and decide whether to reuse the existing mounting assembly or fit the new one that came with your disposal.
Setting a new sink flange
Roll a pencil-thick rope of plumber’s putty and press it under the lip of the sink flange, then seat the flange into the drain opening from above. From below, slide on the gasket, backup ring, and mounting ring, snap the retaining ring into the groove, and tighten the mounting screws a few turns each in rotation until the assembly pulls up tight and even against the sink, per InSinkErator. Wipe the putty that squeezes out on top. If you are also swapping the basin, our guide to install a kitchen sink covers that first.
How do you wire a garbage disposal: hardwire or cord kit?
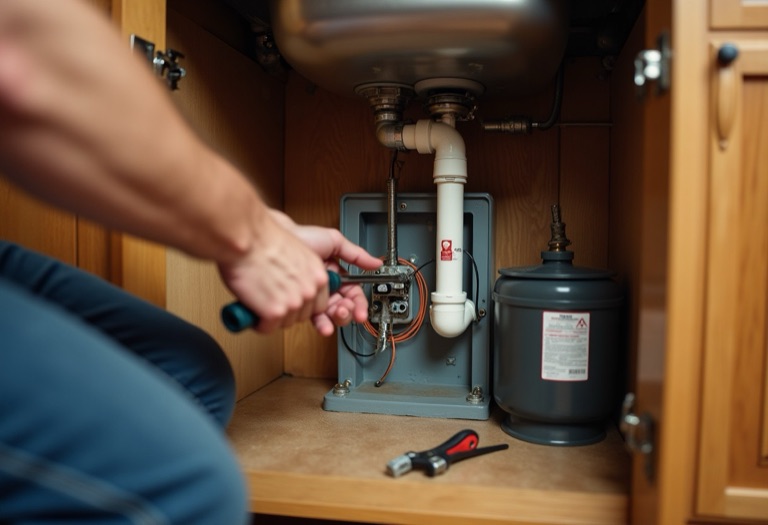
You have two legal ways to power a disposal, and the power must be off at the breaker for both. A hardwire runs cable directly into the unit; a cord kit adds a plug so the disposal fits a switched outlet under the sink. Which one you use depends on how the kitchen is set up.
- Hardwire: Remove the electrical cover plate on the bottom of the disposal, feed the cable through a strain-relief clamp, and join wire to wire, black to black, white to white, and the ground (green or bare) to the green screw. Tuck the wires in without dislodging the cardboard shield and replace the plate.
- Cord kit: Attach a matching appliance cord the same way, black to black and white to white, ground to the green screw, then plug it into a switched receptacle. Cord kits are sold separately because units ship without a cord.
A disposal typically wants a 120-volt, 15 or 20 amp circuit, and because it pulls a surge on startup, many areas want that circuit dedicated so it does not trip when it shares with a dishwasher, per residential electrical code guidance. GFCI protection and the choice between a wall switch or switched outlet vary by local code, so confirm with your building department. If any of the electrical is unfamiliar, stop and hire a licensed electrician.
Do you need to knock out the dishwasher plug?
Only if a dishwasher will drain through the disposal. Every new disposal ships with the dishwasher inlet sealed by a molded plug so units without a dishwasher stay watertight. Skip this step entirely if no dishwasher connects to the unit, or the plug staying in place is correct.
To open it, lay the disposal on its side, set a screwdriver tip against the plug inside the inlet, and tap the handle once with a hammer to knock the plug loose, per InSinkErator. Reach into the chamber and pull the loose plug out. If you leave it inside, it will rattle around and jam the grinder. The dishwasher hose then clamps to the inlet nipple, ideally with a high loop or air gap; our dishwasher plumbing guide covers that connection. Before buying, it helps to know how dishwasher drainage problems get diagnosed down the road and how disposal feed type and horsepower options factor into choosing the right unit for your kitchen.
How do you connect the discharge tube and test for leaks?
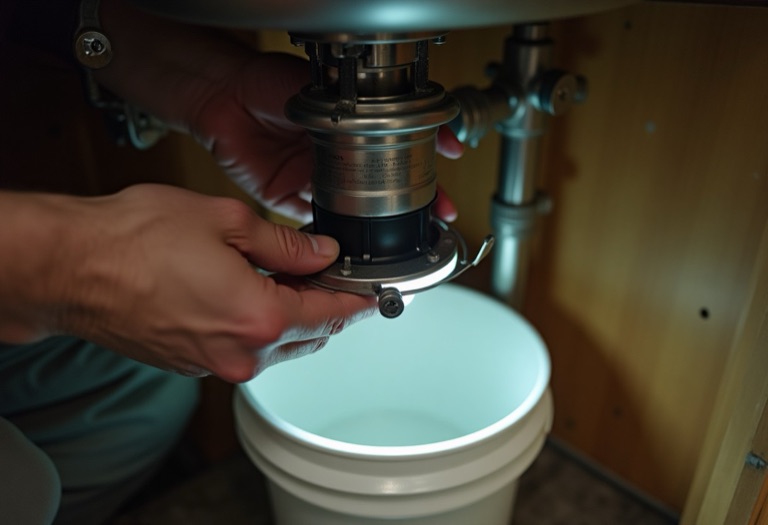
Hang the disposal on the mounting ring, connect the drain, and run water to find leaks before you restore power. Line up the three tabs on the disposal with the ramps on the mounting ring and turn until they lock, so the unit hangs on its own. Rotate the whole unit so the discharge outlet points toward the trap.
- Bolt the discharge tube to the disposal outlet with the supplied gasket and flange, snug but not overtightened.
- Connect the discharge tube to the P-trap and drain arm with slip nuts; cut the tube to length if it is too long. The trap is what blocks sewer gas, so it stays in the line, as covered in kitchen sink plumbing.
- Lock the lower mounting ring fully with the wrench that came with the unit.
- Fill the sink, then release a full basin of water and watch the flange, discharge joint, trap, and dishwasher hose for drips.
- Only after every joint is dry, restore power at the breaker and run the disposal with cold water to confirm it grinds and drains.
If it hums but will not spin, or stays dead, the reset button or a jam is the usual cause; our garbage disposal not working guide walks through it.
What size garbage disposal do you need?
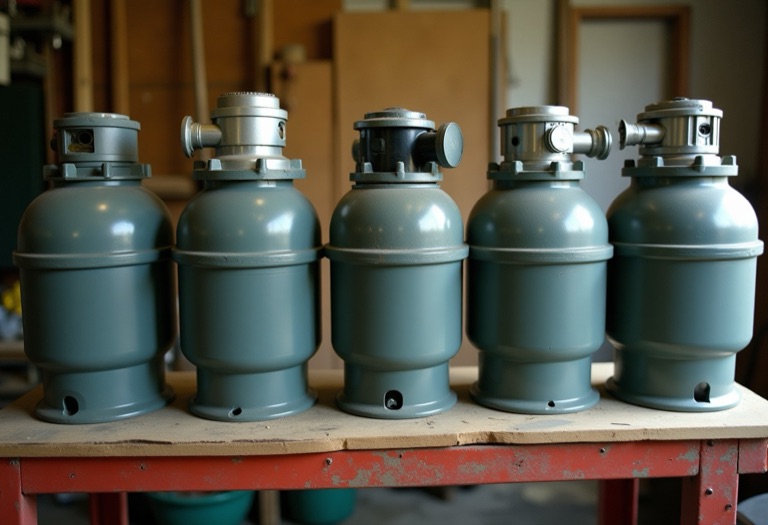
Match horsepower to how much you cook, not to your sink, because every residential unit fits the same 3-1/2 inch drain. More horsepower means more grinding torque and quieter, jam-free operation on tough scraps. The chart shows the four common sizes and the household each one suits, based on manufacturer size guides.
Waste King and InSinkErator size guides point one or two people to 1/3 or 1/2 HP, a regular-cooking family to 3/4 HP, and heavy daily volume to 1 HP. Bar length above is proportional to horsepower. A common upgrade is 1/2 HP to 3/4 HP, which adds torque for peels and stalks for a modest price bump.
How we sourced this
Installation steps, the flange-and-putty sequence, the mounting-ring lock, the wiring and cover-plate procedure, and the dishwasher knockout come from InSinkErator’s published install instructions for new and replacement disposals. Horsepower ranges and the household-fit guidance come from the Waste King horsepower selection guide and InSinkErator sizing. Electrical requirements, the 120-volt 15 or 20 amp circuit, dedicated-circuit practice, and GFCI notes reflect residential electrical code guidance summarized by Home Depot; specifics vary by state and local code. Install time and DIY-versus-hired cost ranges come from Angi and This Old House 2026 cost reporting. We consulted several retailer and contractor pages for context; only the manufacturer, code, and cost figures above are cited, and nothing is estimated or invented.
Frequently asked questions
How do you install a garbage disposal?
Cut power at the breaker, then mount the sink flange from above with a rope of plumber’s putty and lock the mounting ring underneath. Wire the unit (hardwire or a cord kit), knock out the dishwasher plug if you are connecting a dishwasher, hang the disposal on the ring, connect the discharge tube to the P-trap, and run water to check every joint for leaks before restoring power.
Can I install a garbage disposal myself?
Many homeowners install a like-for-like replacement in about one to two hours with basic tools, since the plumbing is straightforward. The electrical side is where caution matters. If the disposal needs a new circuit, a switch, or a GFCI, or if you are unsure about the wiring, hire a licensed electrician. A DIY unit swap runs roughly $85 to $150, versus $200 to $625 hired, per Angi.
Do you use plumber’s putty or silicone on a garbage disposal flange?
Most InSinkErator and Waste King units call for a rope of plumber’s putty under the sink flange to seal it to the sink. Some newer sinks and stone or composite sinks specify silicone instead, because putty can stain certain surfaces. Check the manufacturer instructions for your disposal and sink. Roll a pencil-thick rope, press the flange in, and wipe the squeeze-out.
How do you knock out the dishwasher plug on a garbage disposal?
New disposals ship with the dishwasher inlet plugged so units without a dishwasher stay sealed. To connect a dishwasher, lay the disposal on its side, set a screwdriver tip against the knockout inside the inlet, and tap it once with a hammer to pop the plug free. Reach in and remove the loosened plug, or it will end up in your drain and jam the unit.
Does a garbage disposal need a dedicated circuit and GFCI?
A disposal typically runs on a 120-volt, 15 or 20 amp circuit, and many local codes want it dedicated so a startup surge does not trip a shared breaker, per residential electrical code guidance. GFCI protection may be required depending on your jurisdiction. Rules vary by state and city, so confirm with your local building department before you wire it.
How long does it take to install a garbage disposal?
A professional averages about 45 to 60 minutes for a straightforward install, while a first-time DIYer often spends closer to two hours, per Angi and This Old House. A like-for-like swap on an existing mount is faster because the sink flange stays put. Adding a new circuit, a switch, or fixing corroded drain parts adds time.
What size garbage disposal do I need?
Residential disposals run from 1/3 to 1 horsepower. Waste King and InSinkErator size guides suggest 1/3 to 1/2 HP for one or two people, 3/4 HP for a family that cooks regularly, and 1 HP for heavy daily use. All residential units fit the same standard 3-1/2 inch sink drain opening, so horsepower, not fit, is the choice.
When should you call a pro to install a garbage disposal?
Call a pro when the electrical is not a simple swap. Running a new circuit, adding a switch or GFCI, or working in a panel is licensed electrician work in most areas, and a wiring mistake near a wet sink is a shock and fire risk. The same goes if you smell burning, see scorched wiring, or the existing outlet is not grounded.
On the plumbing side, most homeowners can handle a like-for-like replacement, but call a plumber if the drain lines are corroded, the sink flange will not seal, or you keep getting leaks you cannot trace. A hired install runs about $200 to $625 and often carries a warranty, per Angi. When in doubt on the power, cut the breaker and get an electrician; the plumbing can wait.