How to Install an Outdoor Faucet (Frost-Free Sillcock, Step by Step)
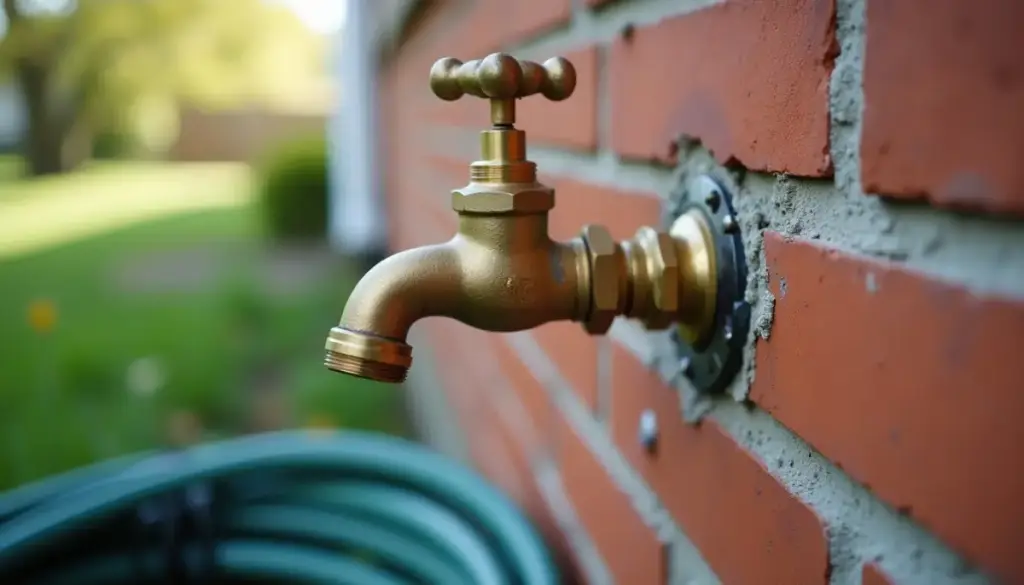
How to install an outdoor faucet: buy a frost-free sillcock long enough to reach heated space, drill a 1-1/8 inch hole, pitch it downward, and confirm built-in backflow protection.
Key Takeaways
- Woodford’s Model 14 and 17 instructions specify a 1-1/8 inch hole, a nozzle pointing down, and a tube with a slight downward pitch so it drains.
- Woodford stocks the Model 17 in 4 to 24 inch lengths; Prier stocks the C-144 from close coupled to 24 inches.
- IRC Section P2902.4.3 requires a vacuum breaker on every sillcock, hose bibb and wall hydrant; ASSE 1011 (screw-on) and ASSE 1019 (built-in) devices both qualify.
- IRC Section P2903.10 requires an inside stop-and-waste valve unless the frostproof stem reaches through the insulation into heated space.
- HomeAdvisor puts a pro hose bib replacement at $300 on average ($200 to $600); frost-free units average about $350.
Which type of outdoor faucet should you install?
Install a frost-free, anti-siphon sillcock anywhere winter nights drop below freezing. Its valve seat sits at the inside end of a 4 to 24 inch tube, so the water stops in heated space and the tube drains when you shut it off. A plain compression hose bib costs less but holds water right at the wall, which makes it a fit only for mild climates or a line you drain every fall. Before draining that compression hose bib for winter, make sure it carries the required anti-siphon valve code demands on outdoor faucets.
Check the anti-siphon rating too. Per Woodford’s instruction sheet, its Model 14 has no anti-siphon protection while the otherwise similar Model 17 is an ASSE 1019 device, so the 17 meets the backflow rule with no add-on.
| Faucet type | Stem length | Freeze protection | Best for |
|---|---|---|---|
| Standard compression hose bib | None; valve sits at the wall face | None unless an inside stop-and-waste valve drains it | Frost-free climates, garden walls, budget swaps |
| Woodford Model 14 frost-free | Sold in the same tube style as Model 17 | Seat inside heated space; no built-in backflow device | Replacing an existing 14 where a separate ASSE 1011 breaker is added |
| Woodford Model 17 frost-free, anti-siphon | 4, 6, 8, 10, 12, 14, 16, 18, 20, 22 or 24 in (varies by inlet) | Seat inside heated space plus ASSE 1019 backflow device | Most new installs through a rim joist or block wall |
| Prier C-144 anti-siphon wall faucet | Close coupled to 24 in from stock; longer on request | Seat inside; cast flange has the drain pitch built in | Brick or block where shimming a flange is awkward |
| Yard hydrant | Buried riser set below the local frost line | Drains underground at shutoff | Barns, gardens and fences far from the house |
If you are swapping a leaky unit rather than adding a new one, start with our guide to repairing an outdoor faucet you already have, since a new washer or a turn of the packing nut often fixes it.
How do you choose the stem length for a frost-free hose bib?
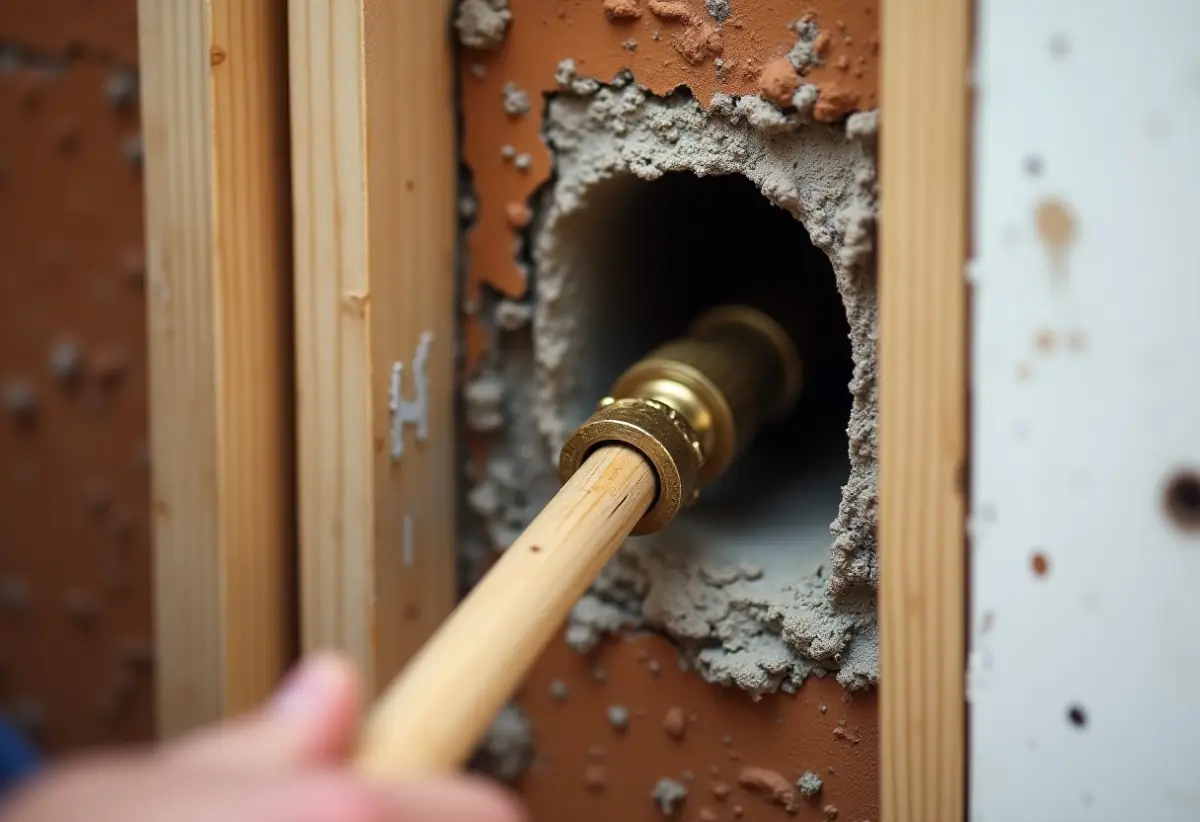
Pick a length that puts the valve seat past the rim joist and insulation into heated space. Measure from the outside face of the siding or brick to the inside face of the rim joist, add the insulation depth, then round up to the next stock size.
Worked example: a 1-1/2 inch rim joist plus 1/2 inch sheathing plus 3/4 inch siding is 2-3/4 inches of wall. Add a 3-1/2 inch batt in the rim bay and you need at least 6-1/4 inches, so buy the 8 inch model.
IRC Section P2903.10 lets a frostproof bibb skip the separate inside valve only when its stem “extends through the building insulation into an open heated or semiconditioned space.” A stem that stops inside a cold, insulated joist bay puts the seat where it can still freeze.
- Too short: the seat sits in the cold zone and the tube can split even with the hose off.
- Too long: harmless, as long as you strap the pipe near the inlet.
- Inlet size: Woodford offers 1/2 and 3/4 inch inlets (the PX3 and W3 codes are 3/4 inch PEX), so match the pipe you are tapping.
For the mechanics of why the long tube works, see how a frost-free faucet works.
Does an outdoor faucet need a vacuum breaker by code?
Yes. IRC Section P2902.4.3 says sillcocks, hose bibbs, wall hydrants and other hose connections “shall be protected by” an atmospheric or pressure-type vacuum breaker, a pressure vacuum-breaker assembly, or a permanently attached hose connection vacuum breaker. The only exceptions are water heater and boiler drain valves and washing machine valves with their own protection. The IPC carries the same rule (Section 608.15.4.2 in the 2006 and 2009 editions, per ICC CodeNotes).
Table P2902.3 of the 2021 IRC lists the qualifying standards to look for on the box:
- ASSE 1011: hose-connection vacuum breaker (1/2, 3/4 and 1 inch), the screw-on cap for a plain bibb or a Model 14.
- ASSE 1019: frost-resistant, automatic-draining wall hydrant (3/4 to 1 inch), the Woodford Model 17 rating.
- ASSE 1052: hose-connection backflow preventer, sizes 1/2 to 1 inch.
Two limits apply. Woodford’s sheet says its ASSE 1019 faucet “shall not be subjected to more than (12) hours of continuous water pressure,” so do not leave a hose with a shutoff nozzle pressurized overnight. A sprinkler system needs its own assembly; compare the options in our breakdown of types of backflow preventers.
How do you install an outdoor faucet, step by step?
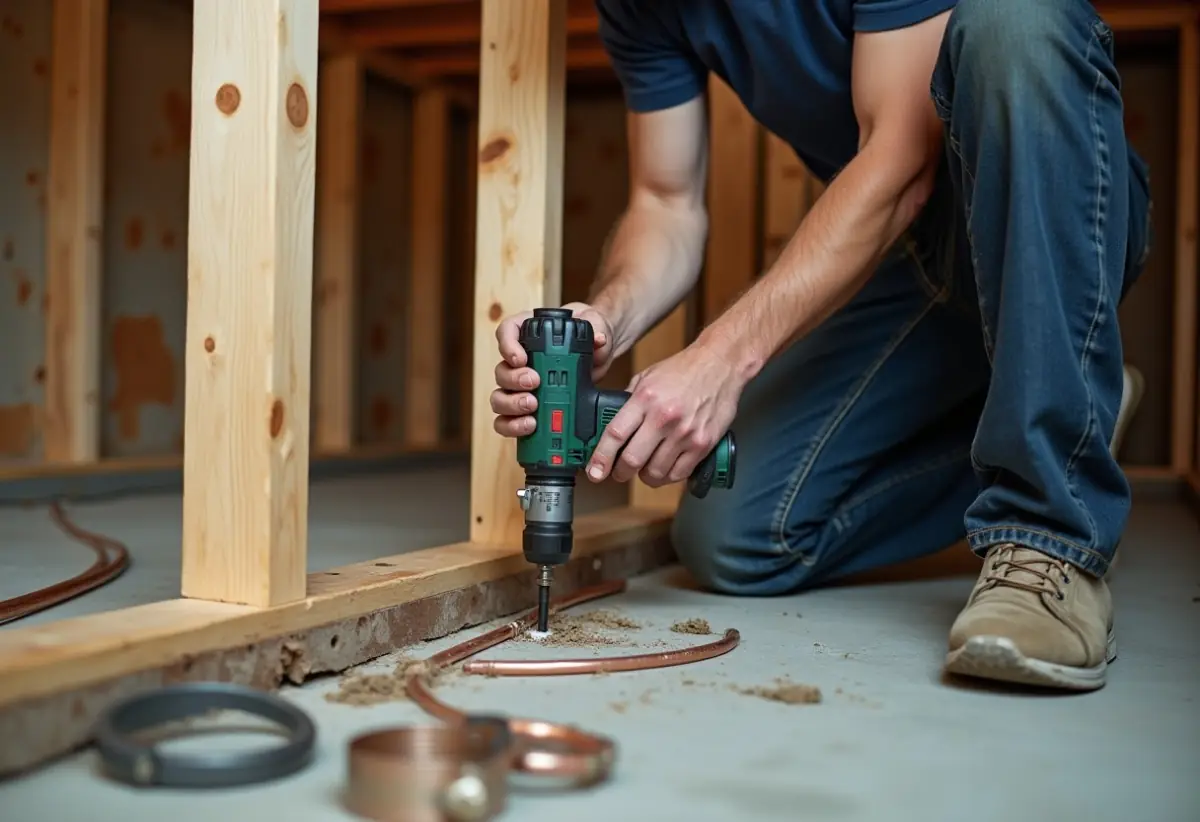
To install an outdoor faucet, shut off the water, drill a pilot hole from inside between two joists, open it to 1-1/8 inches from outside, set the sillcock with the nozzle down and the tube pitched to drain, fasten the flange, then connect and support the supply line inside. This Old House budgets 4 to 6 hours for a first-timer running new copper.
Where should the faucet go?
This Old House recommends a spot reachable year-round, well drained, out of mower and foot traffic, and near a supply pipe. The hole has to land between two floor joists so the tube clears framing. We found no minimum bibb height in the IRC sections we reviewed, so place it high enough to clear grade, mulch and snow, and keep the spout off a walkway.
The install, in order
- Flush and shut off. Woodford’s step 1 is to flush the supply line to clear debris. Then shut off and drain the line.
- Drill the pilot. From inside, drill a 1/4 inch pilot through the rim joist and siding, as This Old House does.
- Bore the hole. From outside, open it to 1-1/8 inches (Woodford and the Home Depot sheet) or up to 1-3/8 inches (This Old House) with a self-feed bit. For brick or a concrete foundation, rent a hammer drill and use a masonry bit.
- Slide it in from outside. Put plumber’s putty or exterior sealant behind the flange. Insert the faucet with the nozzle pointing down; from inside, the alignment mark on a Woodford tube points down when the nozzle is aimed correctly.
- Set the pitch. The tube must fall slightly toward the spout. Woodford’s adjustable flange matches the slope of siding; the Home Depot sheet supplies a beveled plastic wedge that goes between the flange and the upper side of the wall; Prier casts the pitch into the flange.
- Fasten the flange. Drive two #8 or #10 wood screws, or masonry anchors on brick, per the Home Depot sheet.
- Connect the supply. Solder, crimp or thread the inlet (see the next section), then strap the pipe close to the faucet so hose tugs do not load the joint.
- Test. Turn the water on, open the faucet, and check every joint and the flange. If the stem leaks behind the handle, Woodford says to snug the factory-set packing nut.
Which connection should you use: sweat, PEX, push-fit or threaded?
Use whatever matches the pipe you are tapping, and buy the faucet with that inlet already on it. Woodford and Prier both sell the same faucet body with copper sweat, male pipe thread, PEX crimp or PEX expansion inlets, so you rarely need an adapter. PEX skips the torch in a tight joist bay.
| Connection | Example inlet | Key maker instruction | Watch out for |
|---|---|---|---|
| Sweat (solder) | Prier C-144D: 1/2 in MPT x 1/2 in sweat | Woodford: open the faucet fully before soldering; the Home Depot sheet says remove the stem | Heat can damage the seat rubber and factory solder joint; use lead-free solder |
| Threaded (MIP) | 1/2 in or 3/4 in male pipe thread | Thread onto a female adapter with tape or pipe dope | Do not use the faucet body as a wrench lever; back it up |
| PEX crimp | Woodford PX and PX3; Prier C-144X | Crimp with a ring sized to the inlet | Keep the PEX inside the heated envelope |
| PEX expansion | Woodford W and W3 (Wirsbo); Prier C-144W | Expand the PEX and ring, then seat on the barb | Needs an expansion tool, not a crimper |
| Push-fit | Onto a sweat tail or copper stub | Follow the fitting maker’s insertion mark | Leave it accessible; strap the pipe so hose pulls do not rotate it |
How do you winterize a new outdoor spigot?
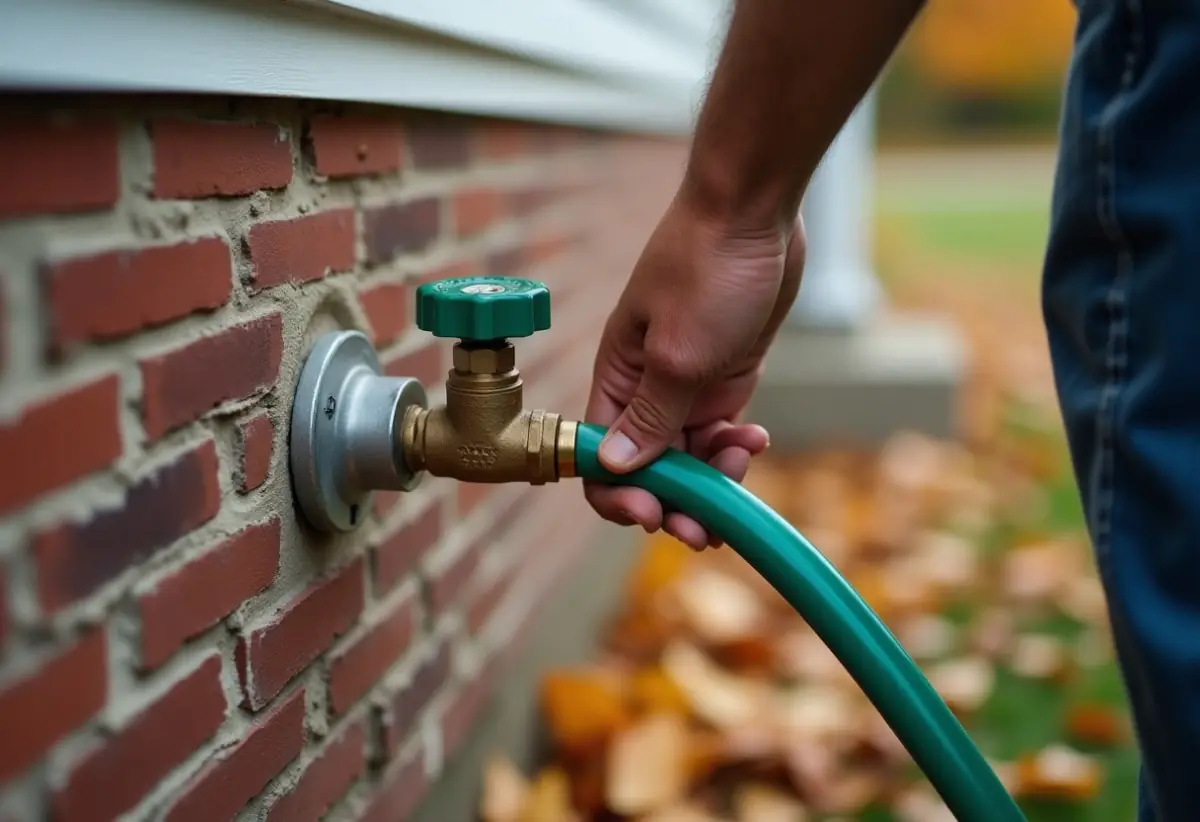
Close the faucet and take the hose off before the first freeze; that alone lets a frost-free tube drain. Woodford states its faucet will not rupture from freezing when the valve is shut and the hose is removed, while the Home Depot sheet warns a hose left on traps water that “may freeze and damage” the faucet. Damage from that is not covered by its warranty.
- Disconnect hoses, Y-valves and timers every fall.
- Close the inside stop-and-waste valve if you have one, then open the outdoor faucet so the line between them drains.
- Open the small waste cap on the inside valve to let the last water out, and leave the outdoor faucet open a crack.
- Add an insulated cover in extreme cold, as This Old House suggests.
Our guide to preventing frozen pipes covers the rest of the house.
How much does outdoor spigot installation cost, DIY vs pro?
A DIY install costs about $40 to $60 in parts according to This Old House, and a frost-free sillcock alone runs $35 to $45 per Fixr. A plumber charges about $300 on average for a hose bib replacement, with most jobs between $200 and $600, per HomeAdvisor’s guide updated June 2026.
HomeAdvisor lists plumber labor at $45 to $65 an hour and about one hour for a straight swap. Fixr gives a wider $45 to $200 hourly band, a $200 national average, a $150 to $500 typical range, and one to two hours for a standard spigot.
- Finished space: HomeAdvisor adds 20 to 50 percent for a finished basement and 50 percent or more to labor for runs through walls or ceilings.
- Permits: $50 to $100 for simple work, per HomeAdvisor; rules for a like-for-like swap vary by town.
Call a licensed plumber when the nearest supply pipe is behind finished drywall or you would be soldering inside a closed joist bay.
How we sourced this
We mapped the top-ranking guides in October 2026, then sourced every number from primary documents. Hole size, pitch, solder and pressure limits come from Woodford’s Model 14 and 17 installation instructions (Rev 11/19, Form II17.103) and a generic anti-siphon sillcock sheet hosted by Home Depot (Rev 7/1/10). Woodford lengths and the 125 psi rating come from a distributor parts list; Prier C-144 details come from distributor product descriptions. Code text comes from the 2021 IRC Chapter 29 on UpCodes and ICC CodeNotes on backflow protection; your jurisdiction may adopt a different edition, the UPC, or local amendments. Costs come from HomeAdvisor (updated June 20, 2026), Fixr (updated January 31, 2025) and This Old House. We excluded Mueller specs we could not verify and forum advice.
Frequently asked questions
Can I install an outdoor faucet myself?
Yes, if you can solder copper or crimp PEX. This Old House rates the job 3 out of 5 for skill and budgets 4 to 6 hours plus $40 to $60 in materials. Many towns require a permit for new supply piping, so call the building department before you cut a pipe. Hire a licensed plumber if the run crosses finished ceilings or needs a new branch line.
What size hole do I drill for a frost-free sillcock?
Woodford’s Model 14 and 17 instructions call for a 1-1/8 inch hole through the wall, and a generic sillcock sheet hosted by Home Depot gives the same size. This Old House enlarges its hole to 1-3/8 inches, which leaves room for putty and small angle corrections. Drill a 1/4 inch pilot from inside first so the hole lands between two floor joists.
Does an outdoor faucet need to slope downward?
Yes. Woodford’s instructions say the tube must have a slight downward pitch toward the nozzle for drainage, and Prier builds the pitch into its C-144 flange. If the tube slopes back toward the house, water sits in it after shutoff and can freeze and split the tube inside the wall, where the leak may not show until spring.
How long should a frost-free hose bib be?
Long enough that the valve seat sits past the insulation in heated space. Measure from the outside face of the siding through the rim joist and insulation, then pick the next stock length up. Woodford sells the Model 17 in lengths from 4 to 24 inches, and Prier stocks the C-144 from close coupled to 24 inches. When in doubt, go one size longer.
Does an outdoor faucet need a vacuum breaker?
Yes. IRC Section P2902.4.3 requires every sillcock, hose bibb and wall hydrant to have an atmospheric or pressure-type vacuum breaker, a pressure vacuum breaker assembly, or a permanently attached hose connection vacuum breaker. Buy a faucet with one built in, such as the ASSE 1019 Woodford Model 17, or thread an ASSE 1011 breaker onto a plain bibb.
Can you use PEX for an outdoor faucet?
Yes. Woodford sells Model 17 faucets with PEX inlets, including W versions for Wirsbo expansion PEX, and Prier offers C-144X crimp and C-144W expansion versions. Run the PEX only inside the heated part of the house and strap it close to the faucet so hose pulls do not twist the joint. Keep PEX out of direct sunlight.
How much does it cost to install an outdoor faucet?
HomeAdvisor puts the average hose bib replacement at $300, with most jobs between $200 and $600 and frost-free models averaging about $350. Fixr lists a $200 national average and a $150 to $500 range. A brand-new supply run adds $50 to $150 per linear foot by HomeAdvisor’s figures, and simple permits can add $50 to $100.
Do you need a plumber to replace an outdoor spigot?
Not always. This Old House rates the job 3 out of 5 for skill and budgets 4 to 6 hours plus 40 to 60 dollars in materials if you can solder copper or crimp PEX. Many towns require a permit for new supply piping, so check with the building department first. Hire a licensed plumber when the run crosses finished ceilings or needs a new branch line.