How to Install a Pressure Reducing Valve (Code, Specs, Setting, Cost)
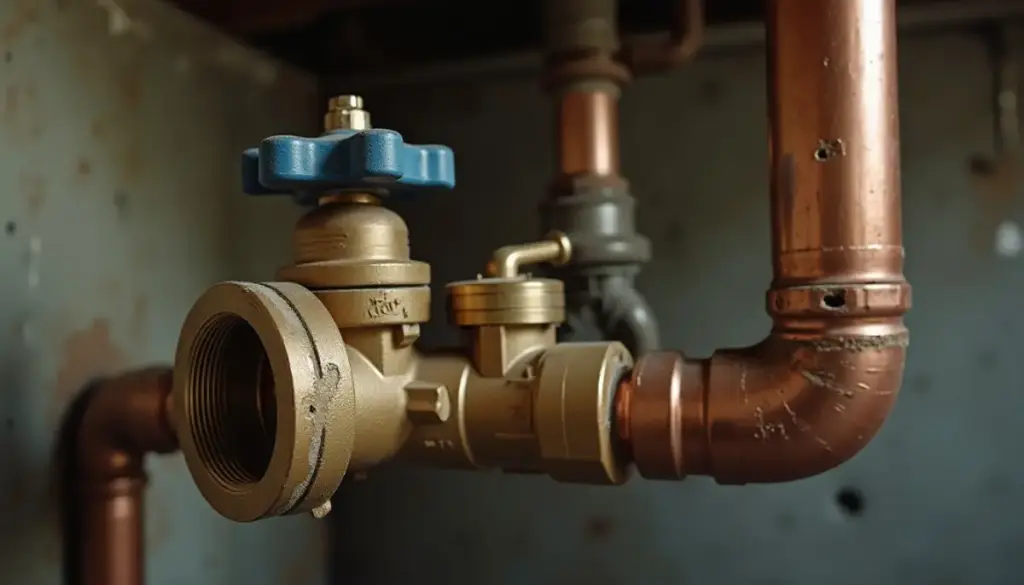
How to install a pressure reducing valve: shut the main, cut the valve in just past the main shutoff with its arrow toward the house, flush the line, then set 50 psi against a gauge on a hose bib.
Key Takeaways
- IRC P2903.3.1 and IPC 604.8 cap static pressure at 80 psi and require an ASSE 1003 or CSA B356 valve above that.
- Watts (LF25AUB-Z3) and Zurn (Wilkins 70XL) both ship at 50 psi with a 25 to 75 psi range.
- Cash Acme’s EB45 adjusts from 10 to 70 psi and is rated to 400 psi inlet in the 1/2 to 1 inch sizes, per its February 2025 spec sheet.
- Watts and Zurn: clockwise raises pressure, counterclockwise lowers it, confirmed on a downstream gauge.
- IPC Section 607.3 requires thermal expansion control at the water heater whenever its cold supply passes through a pressure reducing valve.
- This Old House budgets 1 to 2 hours and $150 to $300 DIY; ContractorPlus averages $450.78 for a pro job.
When does code require a pressure reducing valve?
Code requires one when static pressure from the main tops 80 psi. The IPC Section 604.8 text on UpCodes says that where pressure within a building exceeds 80 psi static, an approved valve conforming to ASSE 1003 or CSA B356 with strainer shall be installed to bring distribution piping to 80 psi static or less. Test before you buy anything.
IRC Section P2903.3.1 (P2903.3.2 in later editions on UpCodes) sets the same 80 psi cap and puts the valve on the domestic water branch main or riser at the connection to the water service pipe.
Measure static pressure with a gauge on a hose bib and every fixture off. The Watts 276H300 test gauge holds the highest reading over the time it is left on, so an overnight test catches spikes a quick reading misses. Readings in the 40 to 60 psi band covered in our guide to normal water pressure for a house need no valve at all.
Two code details most guides skip. IPC 604.8 exempts service lines to sillcocks and outside hydrants, so a hose bib may tee off ahead of the valve. IPC 604.8.1 requires the valve to fail open, keeping water flowing if it breaks.
Which pressure reducing valve should you buy?
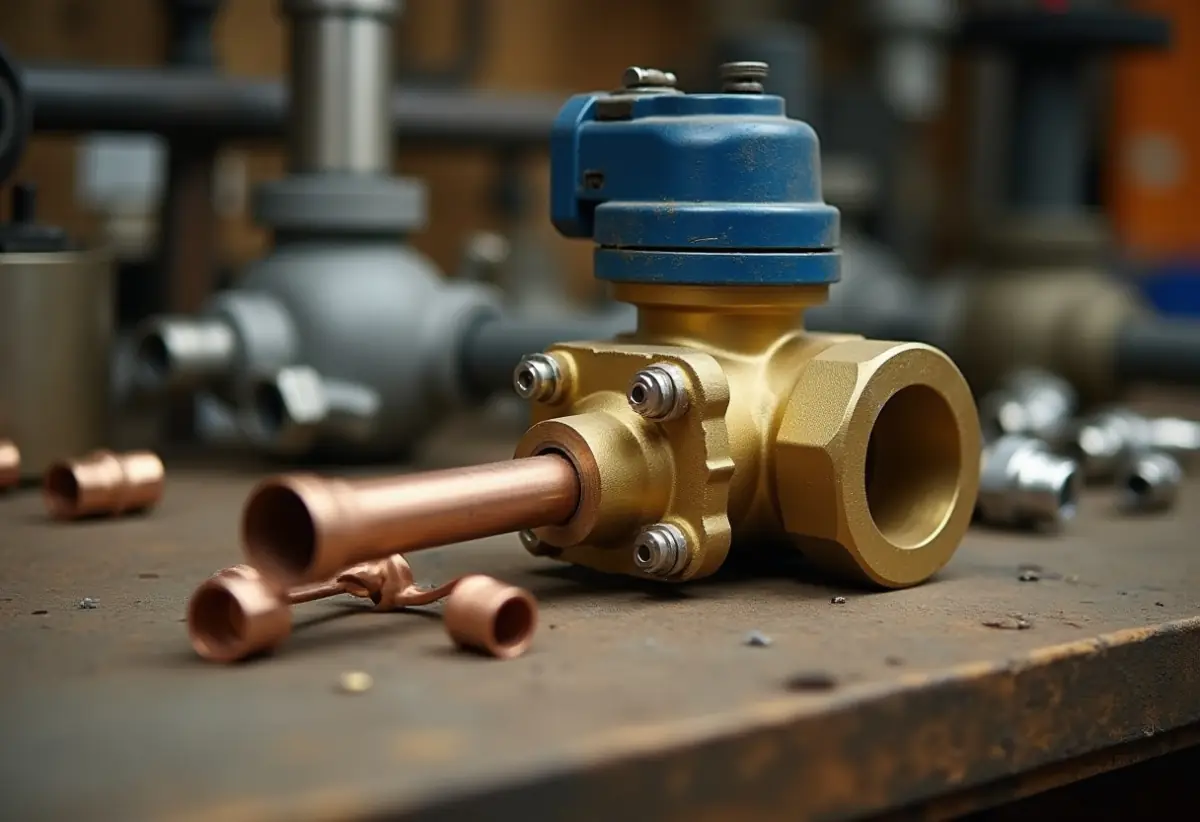
Buy an ASSE 1003 valve the same size as your main line, with end connections that match your pipe so you avoid extra adapters. Zurn’s 70XL instructions say that when actual demand is unknown, the valve should be no smaller than the existing pipe size. All three models below come in 3/4 and 1 inch bodies, the common residential service sizes.
| Model | Adjustable range | Factory setting | End options (suffix) | Price seen |
|---|---|---|---|---|
| Watts LF25AUB-Z3 (1/2 to 2 in) | 25 to 75 psi; LP option 10 to 35, HP option 75 to 125 | 50 psi | Threaded union x FNPT (standard), -S solder union, -DU double union, -S-DU, -DU-PEX, -QC quick-connect, press | $369.18 (3/4 in, part 0009257) and $505.65 (1 in, part 0009309) at PexUniverse, Oct 2026 |
| Zurn Wilkins 70XL (3/4 and 1 in) | 25 to 75 psi; LP option 10 to 35 (3/4 in) | 50 psi | Single union FNPT (standard), C sweat union, DU double union, DUPF push fit, DUPR press, CPVC, CM male sweat | Varies by retailer |
| Cash Acme EB45 (1/2 to 2 in) | 10 to 70 psi | 60 psi per Rev 2 sheet (older Rev 1.1 sheet says 45 psi) | NPT, sweat, cold expansion PEX, SharkBite, CPVC, barb, press; direct, single or double union | Varies by retailer |
The fine print separates them. The Watts LF25AUB-Z3 is rated 33 to 160°F and 300 psi inlet, per the Watts product page and its ES-LF25AUB spec sheet. The Zurn 70XL is rated to 300 psi but only 140°F, and it ships with a 20 mesh strainer. The Cash Acme EB45 spec sheet lists 33 to 180°F and 400 psi inlet for the 1/2 to 1 inch sizes.
Pick double union ends if you can. They let you pull the whole valve later and help meet IPC 604.8.2, which requires repair or parts removal without breaking the pipeline. Add a gauge tapping (Watts -G or -GG, Zurn P or G) to read outlet pressure at the valve.
Plan for very high street pressure. Zurn says to put regulators in series when the reduction exceeds 4 to 1 (200 psi down to 50 psi), and Cash Acme recommends a two-step system when inlet pressure exceeds 150 psi.
Where do you install a pressure reducing valve?
Install the pressure reducing valve on the cold water service just downstream of the main shutoff valve and upstream of every branch tee, so the whole house gets reduced pressure. The Watts spec text calls for the valve in the water service pipe near its entrance to the building, and IPC 606.1 requires a full-open shutoff at that entrance, which becomes your isolation valve.
- Arrow direction. Watts and Zurn both say to install the valve with the arrow on the body pointing in the direction of flow, away from the meter and toward the fixtures.
- Orientation. Watts allows vertical or horizontal, upright or inverted; Zurn says the 70XL may go in any position.
- Clearance. Watts says to leave room for cleaning, service and adjustment, meaning access to the strainer plug and spring cage.
- Outdoors. Watts says never bury the valve directly in the ground; outside, it belongs in an accessible meter box or vault.
- Hose bibs. If you want full street pressure at a garden faucet, tee that line off before the valve, which IPC 604.8 allows for sillcocks.
Measure your cut length from the spec sheet before you cut. Zurn lists the 3/4 inch 70XL at 4-5/8 inches long with a single union and 6 inches with a double union; the 1 inch runs 5 and 5-7/8 inches. Cash Acme lists the 3/4 inch NPT EB45 at 3-7/16 inches direct, 4-3/16 inches single union and 4-15/16 inches double union.
How do you install a pressure reducing valve step by step?
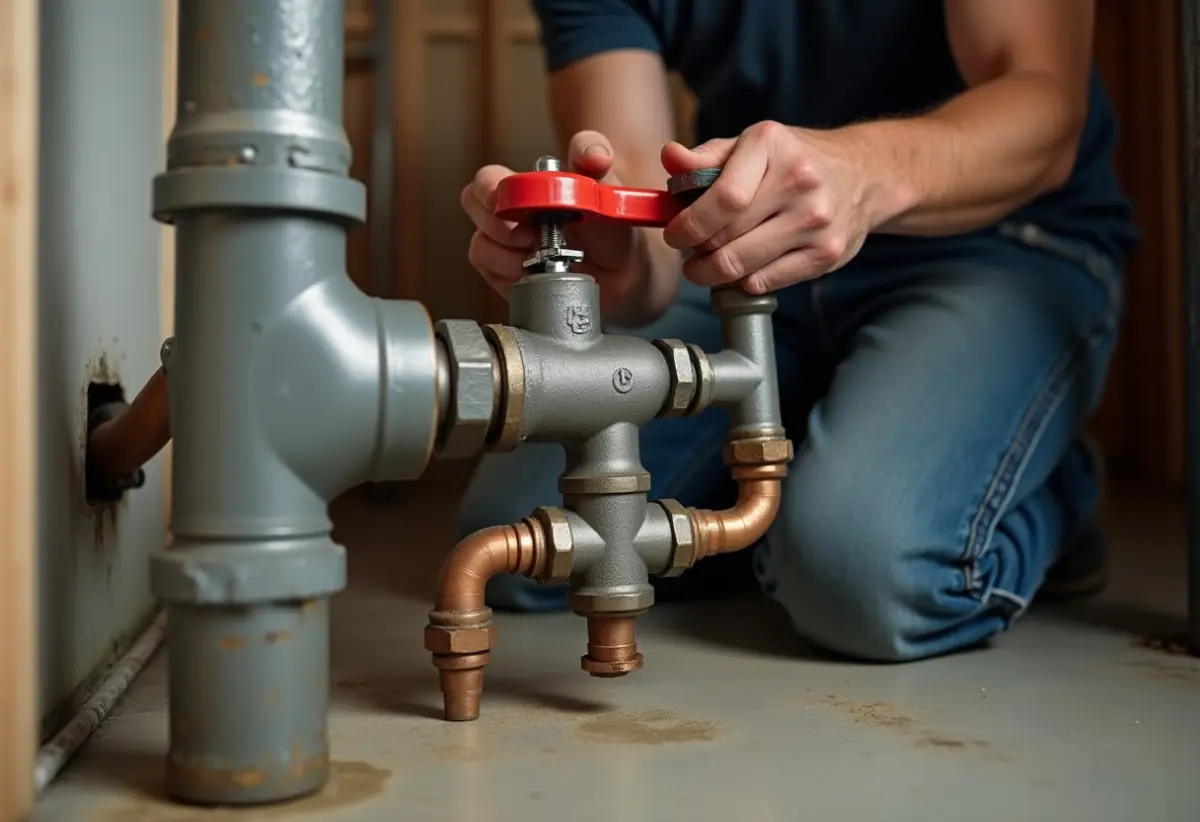
Installing a pressure reducing valve takes nine steps and about 1 to 2 hours by This Old House’s estimate. You shut and drain the main, cut out pipe, flush debris, set the valve with the arrow toward the house, make up the joints, restore water slowly and set pressure against a gauge. The sequence below follows the Watts and Zurn instructions.
- Shut the main and drain the house. Close the main shutoff, then open the lowest faucet and an upstairs faucet to drain and relieve pressure. If you have never closed it, read how to shut off water to your house first.
- Mark the cut. Hold the valve, with unions threaded on, against the pipe and mark both cut points at the union shoulders, allowing for socket depth on sweat or press ends.
- Cut and prep. Use a tubing cutter, not a hacksaw, which This Old House warns leaves a rough or crooked end. Watts says pipe ends must be reamed and threads cut to size.
- Flush the line. Crack the main briefly into a bucket. Both Watts and Zurn say to flush out loose scale and dirt, which can damage the seat and clog the strainer.
- Protect the rubber. On sweat ends, remove the union tailpieces or take out O-rings and gaskets before soldering, as This Old House does, and let the joint cool before reassembly.
- Set the valve. Point the arrow with the flow. Thread or slide the unions on and tighten them by hand, then turn 1/4 to 1 turn more with a wrench, which is the Watts tightening spec.
- Add a gauge. Thread a gauge into the 1/4 inch tapping if your valve has one, or plan to use a hose bib gauge downstream.
- Restore water slowly. Open several faucets, then open the main gradually. Zurn says to let water run several seconds before closing the faucets; Watts says open cold first, then hot, and inspect for leaks.
- Set and lock the pressure. Adjust to your target with the gauge (next section), then tighten the locknut.
Two maker warnings. Zurn’s sealed cage models can trap pressure under the washer, so loosen it slowly. Both makers say never bottom out the adjusting screw.
How do you adjust a pressure reducing valve?
To adjust a pressure reducing valve, loosen the locknut, then turn the adjusting bolt clockwise to raise outlet pressure or counterclockwise to lower it, checking a gauge after every small turn. That direction comes from the Watts LF25AUB-Z3 and Zurn 70XL instructions, and This Old House’s Richard Trethewey gives the same rule.
Read static pressure, not flowing pressure: Watts presets its valve to 50 psi in a static condition, so close every fixture first. When lowering the setting, Zurn says to open a downstream faucet so trapped pressure bleeds off.
Turn in small increments and let the needle settle. Zurn’s caution panel says a downstream gauge must verify every adjustment. Tighten the locknut when done.
If the pressure will not hold, the valve may be dirty or worn rather than misadjusted. Our pressure reducing valve troubleshooting guide covers creeping pressure, noise and replacement.
Do you need an expansion tank after installing a pressure reducing valve?
Usually, yes. IPC Section 607.3 says that where a storage water heater’s cold supply passes through a check valve, pressure reducing valve or backflow preventer, a thermal expansion control device shall be connected to the heater’s cold supply downstream of those devices. IRC P2903.4.1 requires one when expansion pushes downstream pressure above the valve setting.
The valve creates a closed system. As Richard Trethewey explains on This Old House, heated water normally pushes back toward the street, but with a PRV it has nowhere to go and pressure can climb to 150 psi or more.
Do not count on the built-in bypass alone. Watts says its bypass keeps downstream pressure within 10 psi of supply pressure by sending water back to the main, which works only if the main can take it. Watts calls the system closed when supply exceeds 150 psi or a check valve or backflow preventer sits in the supply piping.
Zurn’s troubleshooting chart lists thermal expansion as the first cause of pressure creeping above the setting and says a relief valve or expansion tank must be installed. Watts names its DET, PLT and DETA tanks. For sizing and pre-charge, see our thermal expansion tank explainer.
Watts’ quick test: briefly open a cold tap. If the high reading drops at once to the set pressure, thermal expansion caused it.
How much does pressure reducing valve installation cost?
Pressure reducing valve installation costs about $150 to $300 as a DIY job by This Old House’s budget, and $315.54 to $631.09 with a plumber, averaging $450.78, per the ContractorPlus national estimator. That average assumes 2.5 labor hours, $147.97 in materials and a 30 percent contractor markup.
| Line item | Figure | Source |
|---|---|---|
| DIY project budget | About $150 to $300, 1 to 2 hours | This Old House |
| Pro install, average | $450.78 | ContractorPlus estimator |
| Pro install, typical range | $315.54 to $631.09 | ContractorPlus estimator |
| Labor | 2.5 hr at $79.51/hr ($198.78) | ContractorPlus estimator |
| Permit, where required | About $75 to $150 | ContractorPlus estimator |
| Watts LF25AUB-Z3 valve alone | $369.18 (3/4 in), $505.65 (1 in) | PexUniverse listing, Oct 2026 |
The 1 inch Watts listing alone exceeds This Old House’s DIY range, so price the exact part number at several suppliers.
Hire a licensed plumber when the main is galvanized steel (This Old House flags it for special handling), when the shutoff will not close fully, or when street pressure tops 150 psi and needs a two-stage setup. Watts’ instructions say a licensed contractor should install the valve per local code.
How we sourced this
We consulted 20 sources in October 2026 and cite 12: the Watts product page, the Watts ES-LF25AUB spec sheet and IS-25AUB installation instructions, the Zurn REG-70XL spec sheet (Rev. F, 11/19) and IS70XL instructions (Rev. C, 4/16), the Cash Acme EB45 spec sheets (Rev 1.1, 01-21-22 and Rev 2, 02-13-25), IPC and IRC text viewed on UpCodes, This Old House, the ContractorPlus estimator, and PexUniverse listings. We excluded retailer pages that conflicted with current spec sheets, cost blogs with no stated method, and cost guides that blocked access. Prices change often.
Frequently asked questions
Where should a pressure reducing valve be installed?
On the incoming water service just after the main shutoff and before the first branch tee, with the arrow pointing toward the house. The IRC places it at the connection to the water service pipe, and Watts says near the building entrance. Leave room, because IPC 604.8.2 requires parts to come out without cutting the pipe.
Which way do you turn a pressure reducing valve to increase pressure?
Clockwise raises pressure and counterclockwise lowers it on the Watts LF25AUB-Z3 and Zurn Wilkins 70XL, per both makers’ instructions. Loosen the locknut first, turn in small steps and read a gauge after each one. When lowering pressure, open a downstream faucet so trapped pressure bleeds off, then retighten the locknut.
What should a pressure reducing valve be set at?
Most homes do well at 50 psi, the factory setting on the Watts LF25AUB-Z3 and Zurn Wilkins 70XL. Code caps static pressure at 80 psi, and both springs top out at 75 psi. Check the label on a Cash Acme EB45, because its spec sheets have listed both 45 and 60 psi presets.
Do I need an expansion tank if I install a pressure reducing valve?
Often yes. IPC 607.3 requires thermal expansion control on the water heater cold supply when that water passes through a pressure reducing valve, and IRC P2903.4.1 requires it when expansion lifts pressure above the valve setting. A built-in bypass only helps if water can flow back into a main with no check valve.
Can I install a pressure reducing valve myself?
Yes, if you can sweat copper or make PEX or press joints. This Old House rates the job 3 out of 5 for skill and budgets 1 to 2 hours and about $150 to $300. Watts says a licensed contractor should install it, and many towns require a permit, so call the building department first.
How much does it cost to install a pressure reducing valve?
This Old House budgets about $150 to $300 for a DIY install. The ContractorPlus estimator puts a professional install at $450.78 on average, with a $315.54 to $631.09 range, based on 2.5 labor hours at $79.51 per hour plus materials. It lists permit fees of roughly $75 to $150 where required.