Garbage Disposal Leaking From the Bottom: Causes and Fixes
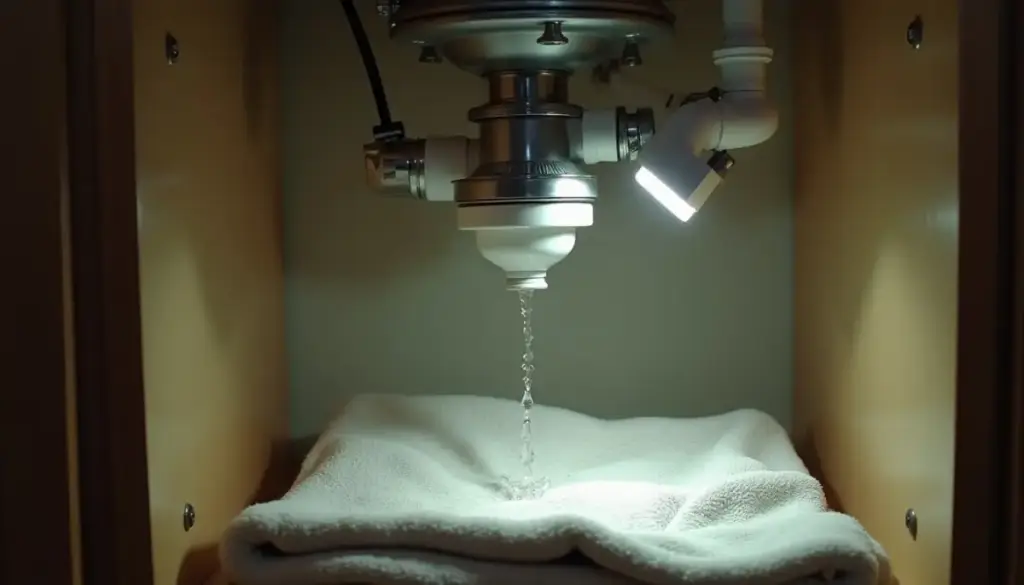
A garbage disposal leaking from the bottom usually has a failed internal seal and needs replacing, but first prove the water is not dripping down from the sink flange or a side hose.
Key Takeaways
- InSinkErator says to rule out a drip from the mounting assembly before treating a leak as a bottom leak, then to contact the company.
- Top leaks are fixable with a 1/2 inch rope of plumber’s putty and 3 evenly tightened mounting screws, per InSinkErator’s ES30 and ES50 manual.
- Side leaks come from the dishwasher inlet or the discharge, InSinkErator says: check the knockout plug, clamps, gasket and 2 discharge bolts.
- Liberty Home Guard says units 8 to 10 years old are the most prone to internal seal failure.
- Angi pegs average replacement at about $550 ($200 to $625), per NerdWallet.
Why is my garbage disposal leaking from the bottom?
A garbage disposal leaking from the bottom has one of two problems. Either water enters higher up and runs down the outside of the unit, or an internal seal has failed and water is escaping the grind chamber into the motor housing. The first is cheap to fix; the second usually means a new disposal.
InSinkErator’s leak troubleshooting page sorts leaks into 7 locations: the mounting assembly, discharge, dishwasher inlet, bottom, container body wall, motor joint and adjacent plumbing. For the bottom, body wall and motor joint it publishes no home repair, only “contact us.” Shut the disposal off at the breaker first, since a bottom leak puts water next to the motor and wiring.
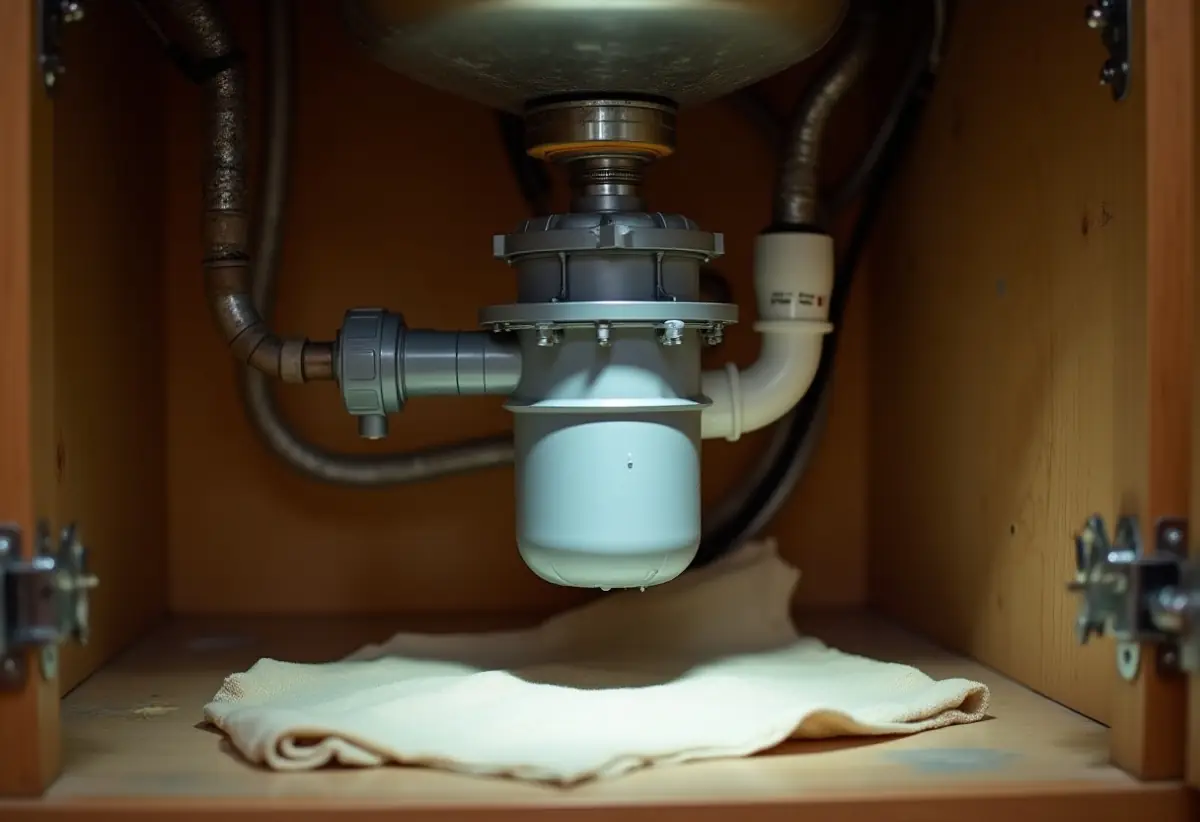
How do you find exactly where a garbage disposal is leaking?
Dry the unit, lay paper under it and run water in stages so each connection is tested alone. InSinkErator’s method uses newspaper taped to the cabinet floor, a full sink, a drain test and a running test. Food coloring in the sink water separates sink drips from supply line or dishwasher drips.
- Turn off the disposal circuit at the breaker and empty the cabinet.
- Wipe the disposal dry: flange underside, dishwasher inlet, discharge elbow and bottom plate.
- Tape newspaper or paper towels flat on the cabinet floor under the unit. A wet spot marks the drip line.
- Stopper the sink, fill it with water tinted with 4 or 5 drops of food coloring and leave it full. A colored drip at the flange means the flange seal has failed.
- Pull the stopper. Colored water at the discharge elbow or trap points to the discharge gasket or a slip joint.
- Restore power, run cold water and the disposal, and hold a dry paper towel around each joint for 10 seconds.
- Run a short dishwasher cycle and watch the dishwasher inlet. A clear drip there is dishwasher drain water.
- If nothing shows, leave the paper down for a few days, then check filters, the sprayer, faucet and countertop seams, as InSinkErator advises.
Color only at the bottom plate or reset button, with everything above dry, means a true bottom leak.
Why is my garbage disposal leaking from the top?
A garbage disposal leaking from the top almost always leaks at the sink flange or the mounting assembly. InSinkErator’s mounting assembly guide lists 4 checks: proper assembly, a locking ring rotated fully to the right, 3 tight mounting screws, and on a new installation, excess plumber’s putty squeezed under the flange.
- Loose mounting screws. Tighten all 3 evenly, a little at a time, before you tear anything apart.
- Locking ring short of its stops. On Lift and Latch units, all 3 ring tabs must sit past the ridges on the flange ramps, or the ES30 and ES50 manual warns of leakage.
- Dried putty. The fix is to pull the flange and reseal it.
- Sink too thick. The Waste King FAQ caps sink thickness at 1/2 inch, with extended flanges on Pro 3-Bolt Mount models for 1/2 to 1-1/4 inch sinks.
InSinkErator gives no torque figure for the mounting screws, only “evenly and firmly against backup flange,” so snug them with a hand screwdriver, not a drill.
How do you reseal a leaking sink flange?
Resealing a sink flange means dropping the disposal, scraping off the old putty, setting the flange in a fresh 1/2 inch rope of plumber’s putty and rebuilding the mounting assembly. These 10 steps follow InSinkErator’s ES30 and ES50 manual. Putty runs about $5, per Liberty Home Guard.
- Kill the breaker, unplug, and disconnect the dishwasher hose and discharge tube.
- Support the disposal and turn the lower mounting ring left to release it. Keep your head out from under the unit.
- Loosen the 3 mounting screws with a flathead screwdriver and pry off the snap ring.
- Push the flange up and scrape all old putty off the sink with a putty knife.
- Roll an even 1/2 inch rope of putty around the flange, press it firmly into the drain and wipe off the squeeze-out.
- Weight the flange, using the disposal on a towel as the manual suggests.
- From below, add the fiber gasket, backup flange and mounting ring in that order, then press the snap ring until it snaps into place.
- Tighten the 3 mounting screws evenly and firmly against the backup flange.
- Hang the disposal and turn the ring right until all 3 tabs clear their ridges. A 1/4 inch Allen wrench in a ring hook gives extra turning force. Reconnect the plumbing.
- Fill the sink, pull the stopper and check underneath for water.
Putty or silicone? The ES30 and ES50 manual calls for putty at the sink flange only and bans putty, thread sealant and pipe dope on every other connection, since they “may harm disposer.” It never calls for silicone, so use putty unless your own model’s sheet says otherwise. Swapping the whole unit? Our guide on how to install a garbage disposal covers the full sequence.
Why is a garbage disposal leaking from the side?
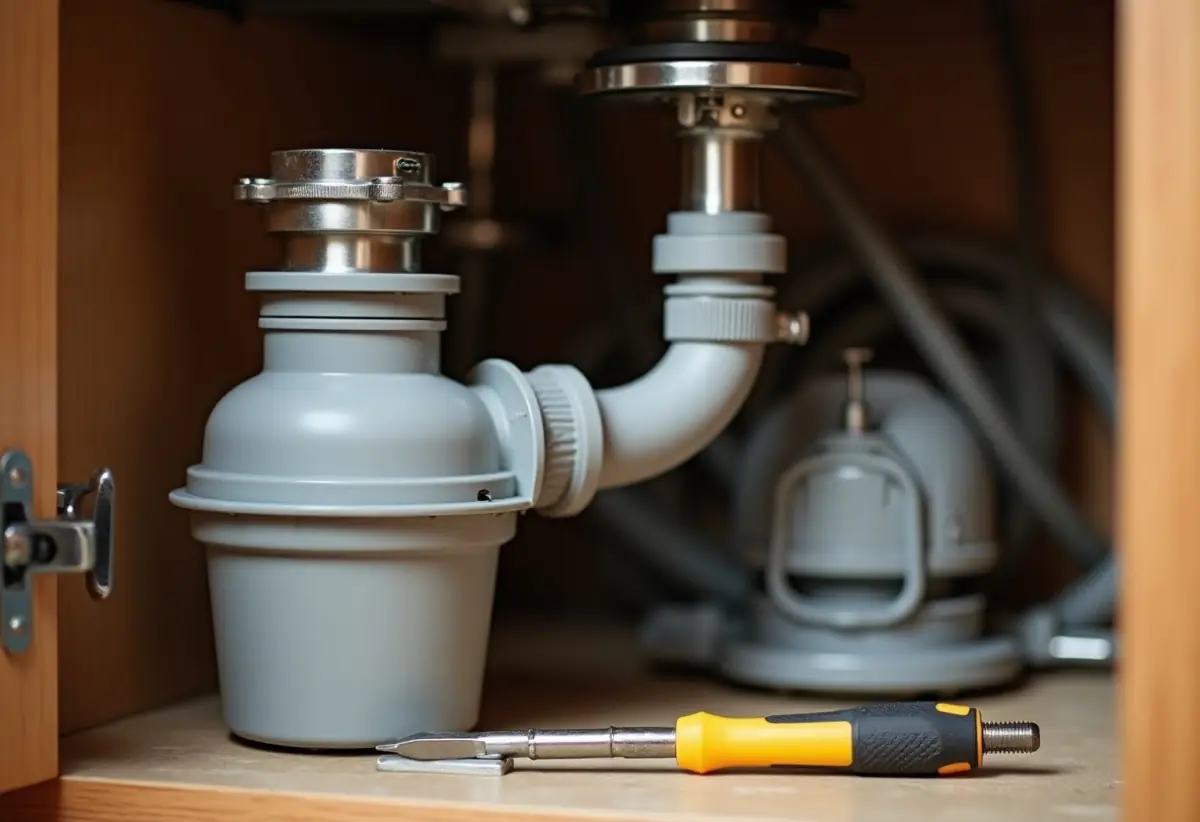
A garbage disposal leaking from the side is leaking at the dishwasher inlet or the discharge outlet. Both seal with a clamp, gasket or bolts, and both are repairable with a screwdriver and parts under $15, based on Liberty Home Guard’s price notes.
Dishwasher inlet
InSinkErator’s dishwasher inlet guide lists 4 checks: knockout plug removed, clamps tight, hose adapter intact, elbow and trap joint tight. A plug left in can make the dishwasher overflow, and it cannot be put back once knocked out. Waste King inlets take a 7/8 inch inside diameter hose; other sizes need a connector kit. Hose routing, including the high loop or air gap, is in our dishwasher plumbing guide.
Discharge outlet
InSinkErator’s discharge leak guide says to tighten the discharge nut or bolts, check the gasket for debris, cracks or rips, and look for a cracked elbow. ES30 and ES50 models hold the tube with a flange and 2 bolts. On Evolution units, confirm the tube sits in the Anti-Vibration Tailpipe Mount under its original spring load clamp. Water pouring from the discharge opening itself points to a buckled detergent shield.
Can a garbage disposal leaking from the bottom be fixed?
A garbage disposal leaking from the bottom generally cannot be fixed at home. InSinkErator publishes no homeowner procedure for the seals between the grind chamber and the motor, and its answer for a confirmed bottom, body wall or motor joint leak is to contact the company. Out of warranty, that means a new unit.
Check the warranty first. The ES30 carries a 2 year in-home warranty and the ES50 a 4 year one, and the manual says the warranty is void if you attempt the repair yourself. InSinkErator’s service line is 1-800-558-5700.
- InSinkErator age. On older serial numbers, the first 2 digits give the year and the next 2 the month, so 1503 means March 2015, per InSinkErator’s warranty page. Since summer 2024, serials use a 10 character format such as IHD2101201.
- Warranty start. InSinkErator counts from the latest of install, purchase or manufacture date, so keep the receipt.
- Waste King. Model and serial sit on a label on the bottom of the unit, and coverage varies by model.
Liberty Home Guard, a home warranty seller, says units 8 to 10 years old are the most prone to this failure, as moisture and acidic food crack the housing. If the unit also hums or stops, our garbage disposal not working checklist covers that, but no reset cures a wet bottom plate.
Should you repair or replace a leaking garbage disposal?
Repair anything that leaks at a connection and replace anything that leaks through the unit itself. The table maps each location to its cause, fix and parts cost.
| Leak location | Likely cause | Fix | Parts cost | Verdict |
|---|---|---|---|---|
| Top, at the sink flange | Dried putty, loose mounting screws, excess putty on a new install | Tighten 3 screws; reseal with a 1/2 inch putty rope (InSinkErator) | About $5 putty (Liberty Home Guard) | Repair |
| Top, at the mounting ring | Ring not turned fully right; Lift and Latch tabs short of ridges | Turn ring right until all 3 tabs lock (InSinkErator) | None | Repair |
| Side, dishwasher inlet | Loose clamp, knockout plug left in, cracked hose | Tighten clamp, knock out plug, replace hose (InSinkErator) | Under $10 hose and clamp (Liberty Home Guard) | Repair |
| Side, discharge outlet | Loose bolts or nut, torn gasket, cracked elbow | Tighten 2 bolts, replace gasket or elbow (InSinkErator) | $5 to $15 gasket (Liberty Home Guard) | Repair |
| Adjacent trap or tailpiece | Loose slip nut | Tighten joints (InSinkErator) | None | Repair |
| Bottom, reset button, body wall or motor joint | Failed internal seal, cracked or corroded housing | Warranty claim or new unit (InSinkErator) | $65 to $515 unit (Angi via NerdWallet) | Replace |
How much does it cost to fix or replace a leaking garbage disposal?
Connection leaks cost $5 to $15 in parts. A bottom leak costs a new disposal, which Angi puts at about $550 installed on average, with a range of $200 to $625, as NerdWallet reported in April 2026. Unit price climbs with motor size.
Source: Angi via NerdWallet, April 2026. Low ends run $65, $85, $100 and $150.
NerdWallet says a standard installation can take as little as an hour at about $50 to $100 per hour, and cites Home Depot’s average installation charge of $189 (range $97 to $339). Electrical work can add $100 or more, and permits, where required, $50 to $500 or more. If a new unit is the answer, compare continuous feed and batch feed designs in our guide to garbage disposal types before you buy.
How do you keep a new garbage disposal from leaking?
Avoid the slips InSinkErator’s manual warns about: excess putty, an unlocked mounting ring and a drain line with too little fall. Getting them right costs nothing.
- Pitch the drain line. InSinkErator requires at least 1/4 inch of fall per foot from the disposer to a lower drain connection. Standing water left in the unit can cause premature corrosion or leaking, the manual warns.
- Remove squeeze-out. Excess putty under a new flange can cause a leak, InSinkErator says. Drop the unit, clear it, retighten the screws and retest.
- Keep sealants off other joints. No putty, thread sealant or pipe dope anywhere except the sink flange.
- Reuse the right mount. Waste King says a same-type EZ Mount or 3-Bolt Mount swap can keep the top hardware, but a Moen disposal cannot use a Waste King 3-Bolt Mount.
- Inspect regularly. InSinkErator’s manual tells owners to check the disposer and fittings for leaks. A dry paper towel around each joint catches a weeping gasket early.
How we sourced this
We read InSinkErator’s leak troubleshooting pages (mounting assembly, discharge, dishwasher inlet), its replacement guide, warranty page and ES30 and ES50 manual (80864 Rev B), plus the Waste King support FAQ. Costs come from NerdWallet’s April 2026 guide, which cites Angi and Home Depot. Age and parts prices come from Liberty Home Guard, a home warranty seller. We excluded scraper sites and any figure without a named source. No torque value appears because InSinkErator publishes none for the mounting screws. Research current to October 2026.
Frequently asked questions
Can a garbage disposal leaking from the bottom be fixed?
Usually not at home. A true bottom leak comes from a failed internal seal, the container body or the motor joint, and InSinkErator publishes no DIY repair for those. It says to rule out a drip from the mounting assembly and then contact the company. Its ES30 and ES50 warranty is void if you attempt the repair yourself.
Why does my garbage disposal leak when the dishwasher runs?
The dishwasher inlet on the side of the disposal is the likely source. InSinkErator says to check that the knockout plug was removed, the hose clamps are tight, any hose adapter is intact and the elbow and trap joint is snug. Waste King inlets take a 7/8 inch inside diameter hose.
Is it safe to use a leaking garbage disposal?
Not until you find the source. A leak near the bottom puts water close to the motor and wiring, so switch the disposal off at the breaker before you inspect it, as InSinkErator advises for any service. A loose side clamp is minor once tightened, but a bottom leak means the unit stays off.
Should I use plumber’s putty or silicone on a garbage disposal?
Use plumber’s putty at the sink flange, in the 1/2 inch rope InSinkErator specifies. Its ES30 and ES50 manual bans putty, thread sealant and pipe dope on every other disposal connection because they may harm the disposer. The manual never calls for silicone, so follow your own model’s instructions.
How long do garbage disposals last before they start leaking?
NerdWallet puts the life of a well maintained disposal at about 10 years. Liberty Home Guard, a home warranty company, says units 8 to 10 years old are the most likely to suffer internal seal failure. A bottom leak at that age points to replacement, while a newer unit is worth a warranty claim first.
How much does it cost to replace a leaking garbage disposal?
Angi puts the average replacement at about $550, with a range of $200 to $625, as reported by NerdWallet in April 2026. Home Depot’s average installation charge is $189. The unit alone runs $65 to $210 for 1/3 HP and $150 to $515 for 1 to 1-1/4 HP.
Why is water coming out near the reset button?
The reset button sits on the bottom of the motor housing, so water there usually means it got past an internal seal. Confirm nothing is dripping down from the flange or side connections first. If the bottom stays wet on its own, stop using the disposal, check the warranty and plan on a replacement.
What is the life expectancy of a garbage disposal?
NerdWallet puts the life of a well maintained disposal at about 10 years. Liberty Home Guard, a home warranty company, says units 8 to 10 years old are the most likely to suffer internal seal failure. A bottom leak at that age points to replacement, while a newer unit is worth a warranty claim first.